|
More on the Weekender Repairs
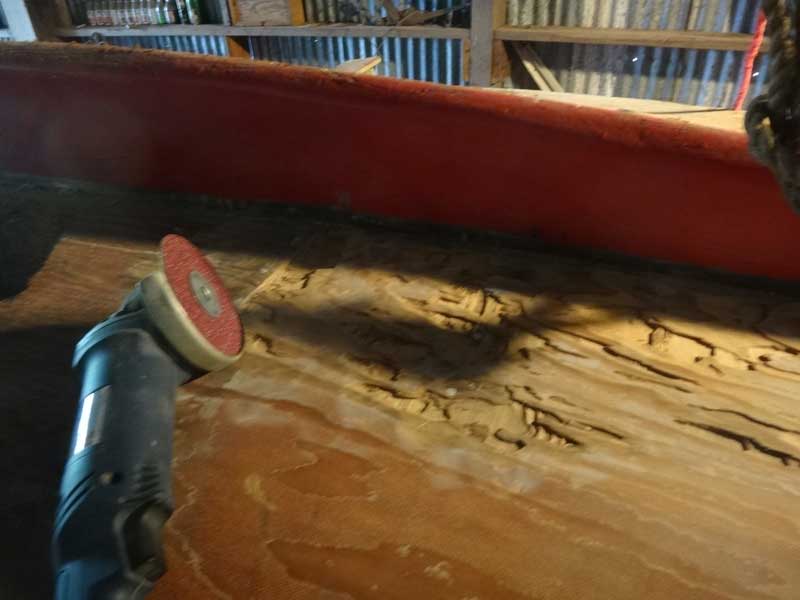
This is starboard of the keel, aft. I decided that wasn't enough, so I took a 4x24 belt sander with a 36grit belt and went to town.
That's a LOT of material removal, but the parts that are left are solid.
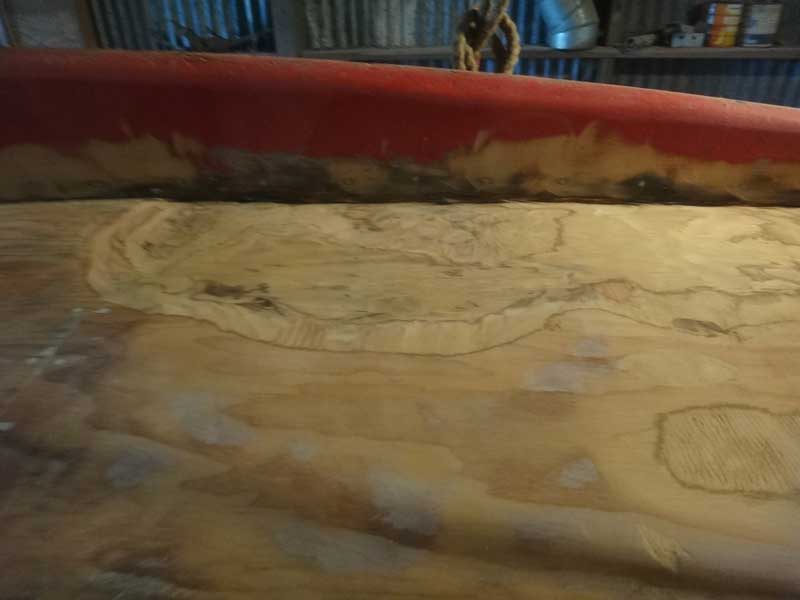
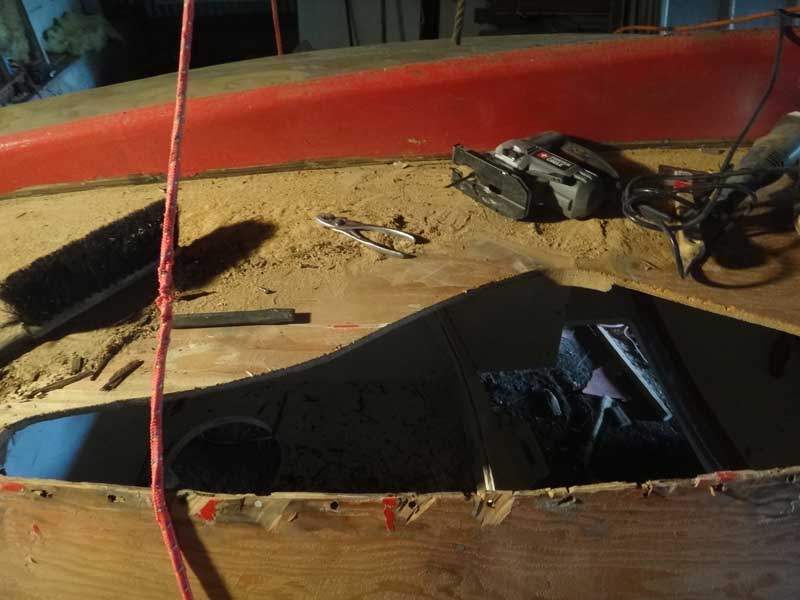
This is how I left the port side last time. The big holes go all the way through, but I can still see rot in there.
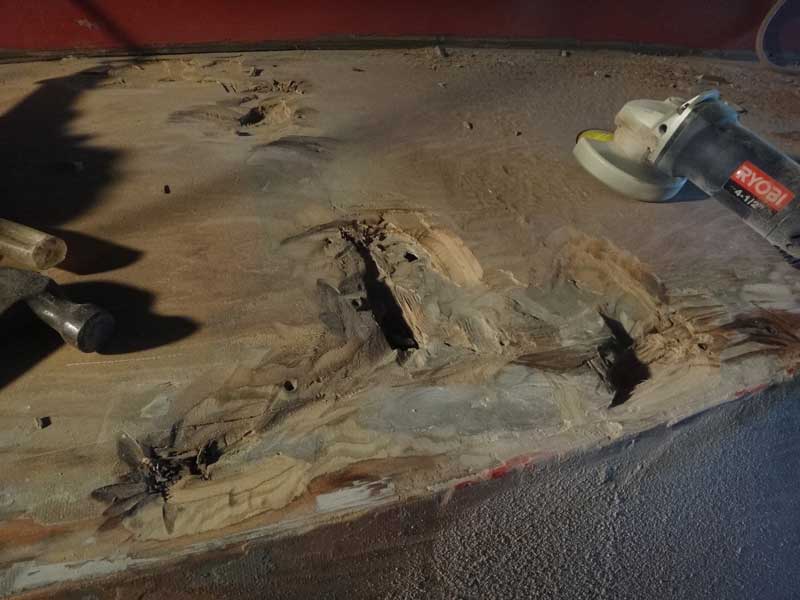
It kept feeling punky, so I took a chisel and pried . . . hmmm. The chine had rotted.
Eff it. No more rot. Big-assed hole, but no more rot.
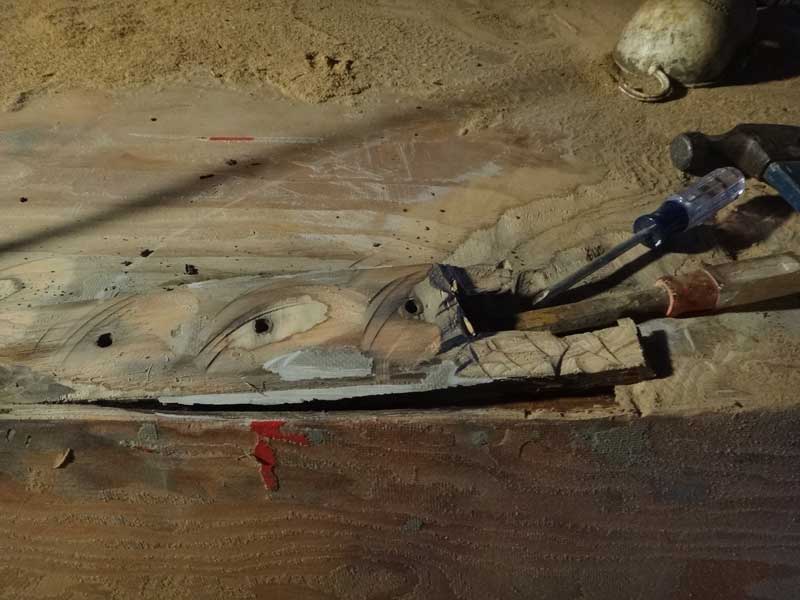
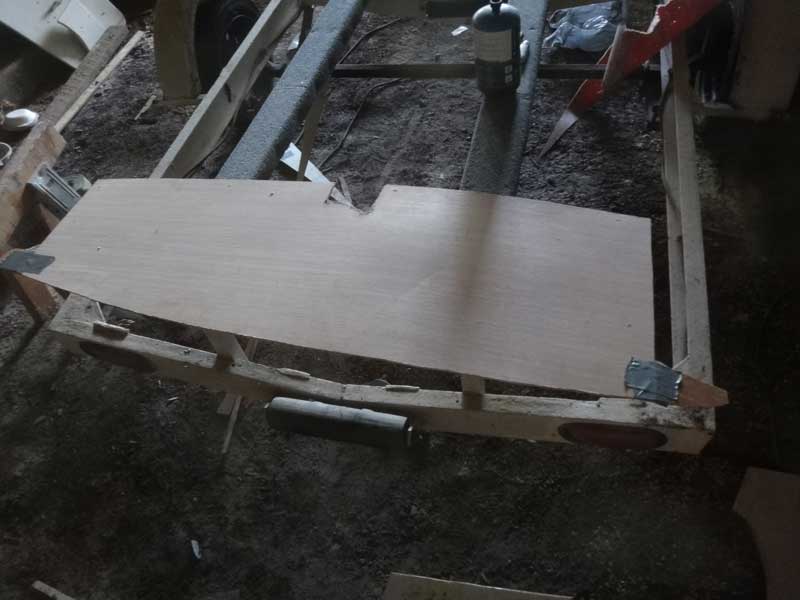
I am going to put a backer board (covered with plastic wrap) behind the hole, then fill it with layers of 6oz fiberglass. This is the backer board.
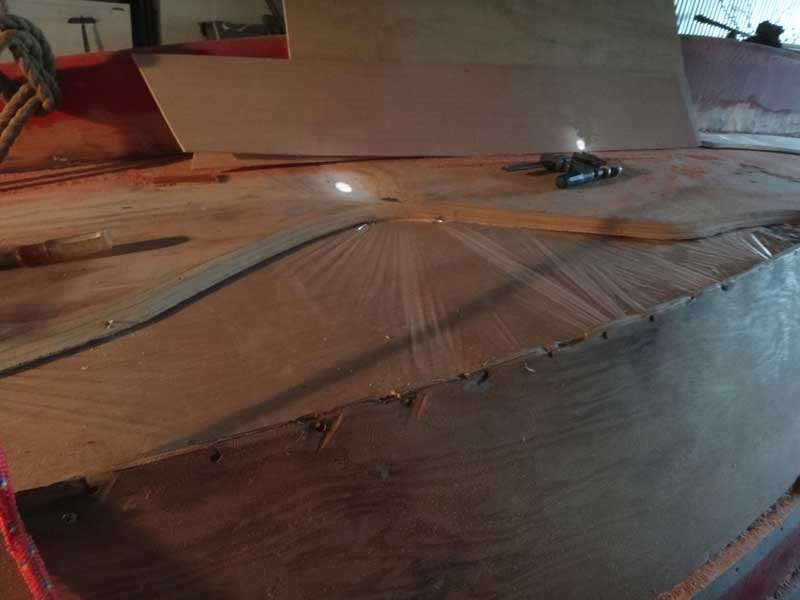
And there is it screwed into place. All I need now is the epoxy and fiberglass.
|