|
Actual build of an "Inspired
by the Greenland-Style Double Paddle" The theoretical design of the paddle was presented in the essay titled "Inspired by the Greenland-Style Double Paddle." This essay shows a refinement on that theory.
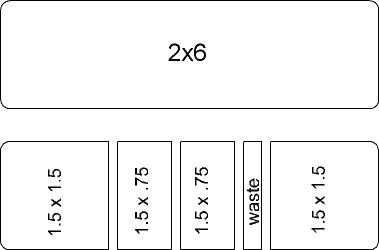
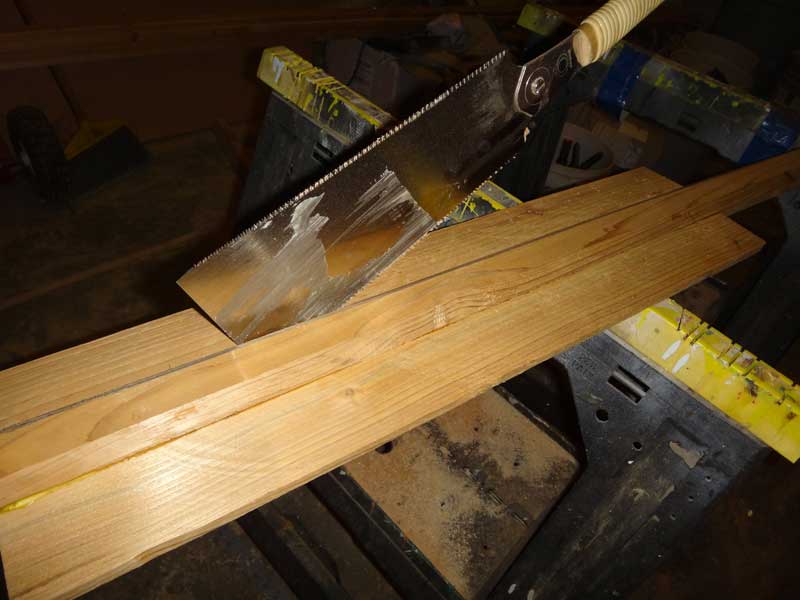
The original plan was to cut the parts for (2) paddles from (1) 2x6, ripping the 2x6 into (2) 8' long 1.5 x 1.5 shafts and (2) 1.5 x .75 sticks that would be chopped into (8) 2' long sticks that would become the blades. There would be a little 1/4" strip of waste material. But by happy accident, the fence was set incorrectly and the first rip ended up with a 1.25 x 1.5 shaft. That caused a rethinking of the design. The finished shafts will be sanded oval and the blades will be planed down to about 1/4" thick anyhow, so why not start with those dimensions in mind?
This cut plan not only results in less planing/sanding (and the resultant waste sawdust,) it gives us a nice 1.5 x 1.5 we can use for other projects - AND the shafts will be a nice oval shape that better fits the hand.
This graphic shows the transformation of the shaft from a 1.5 x 1.25 stick to the blank that will become the shaft
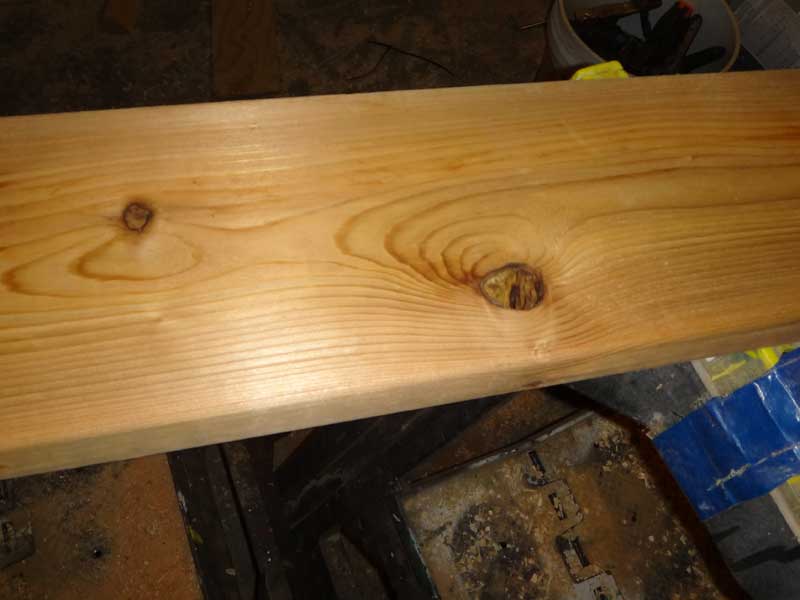
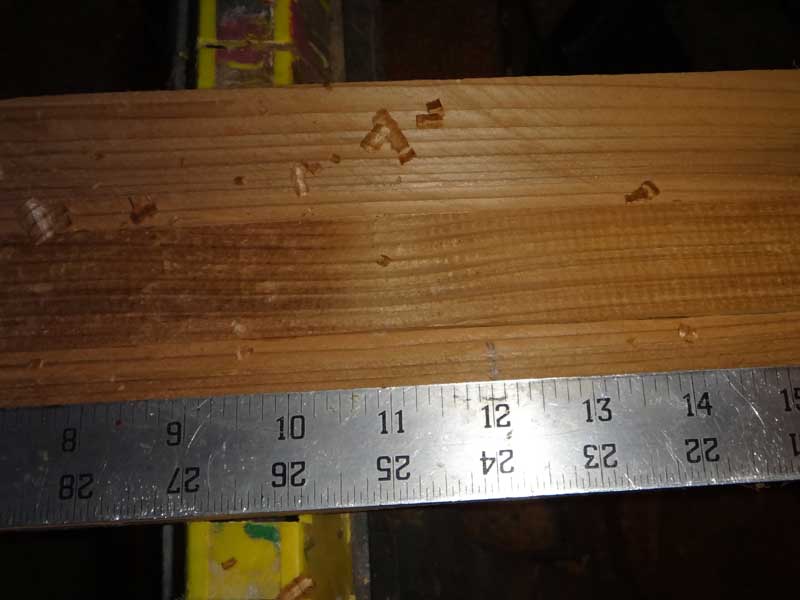
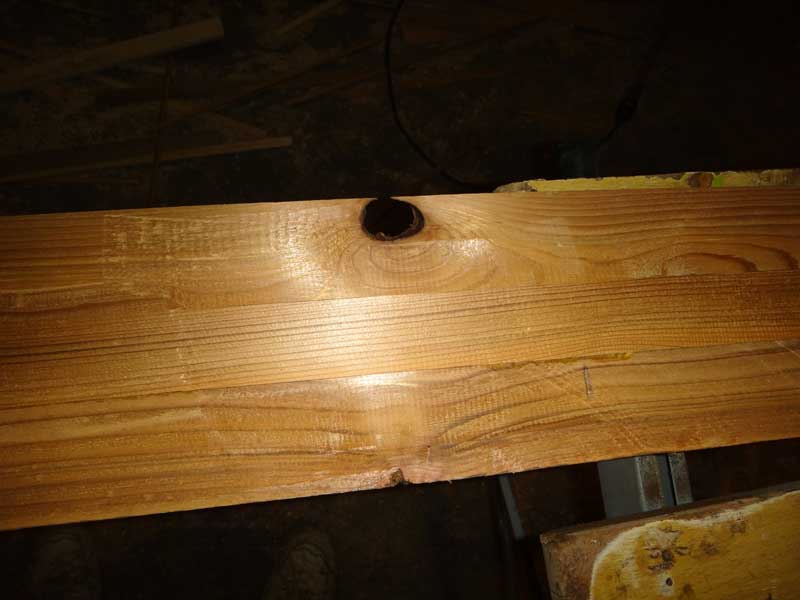
This is a detail of the original cedar 2x6 - note the board is not 'clear' and the knots aren't particularly 'tight.' It's just the best board from the pile. Some people actually like knots in the blades as they give the paddle character.
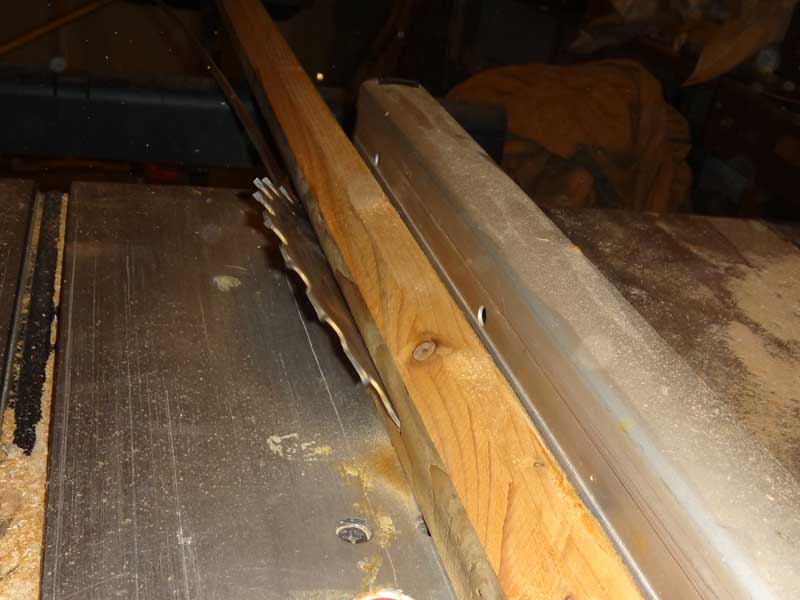
Beveling the shaft - note there are small knots in the shaft and that's OK.
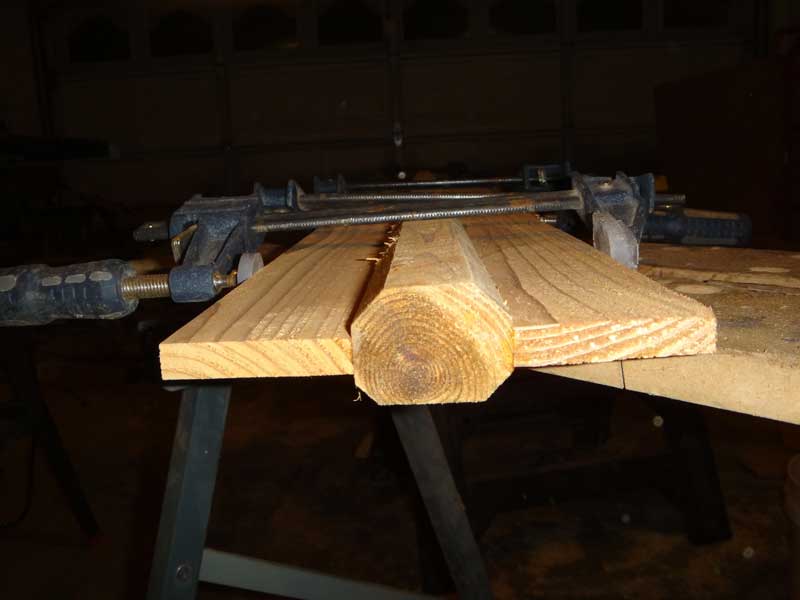
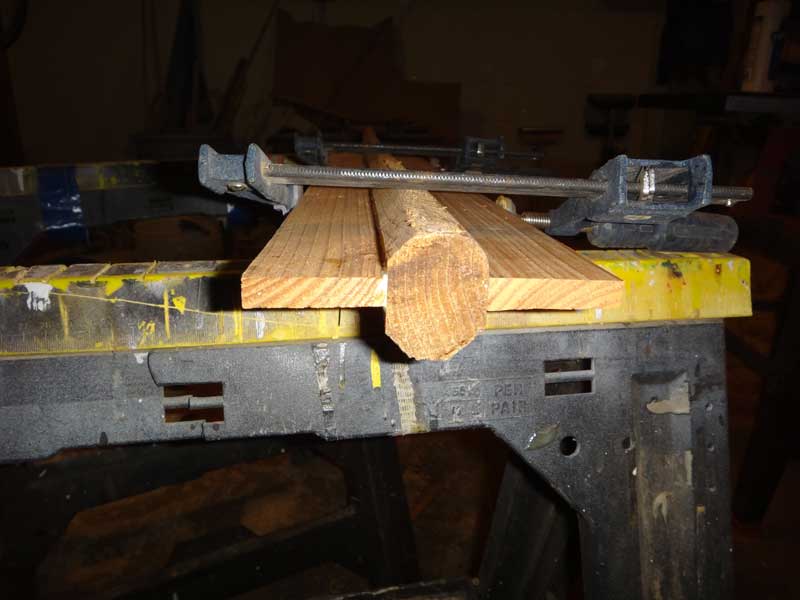
Glue and clamp the blades to the shaft. Almost any glue can be used - in this case, it was TiteBond II. Let the glue cure overnight. Some time during the night, wake up in a cold sweat, realizing you glued the blades on the wrong axis.
The long axis of the oval needs to be 90° to the blades, not the other way around. Cut the blades off and try again.
Glue and clamp the blades on the narrow axis of the oval, go to work and let the glue cure.
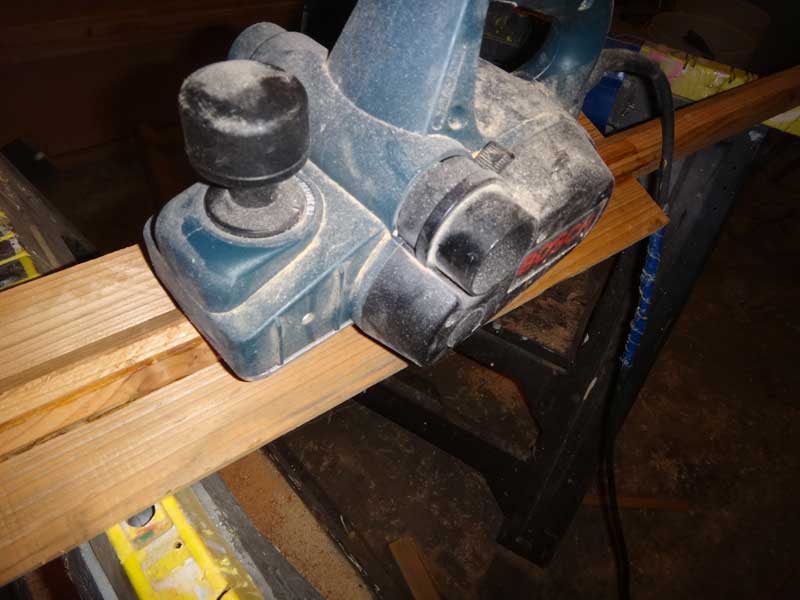
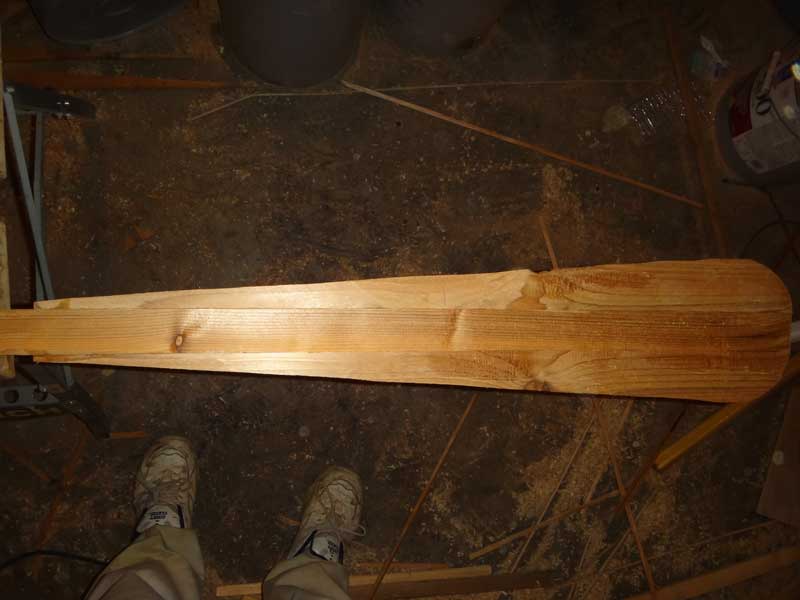
Take your power planer to the paddle and be aggressive - don't be shy about removing wood. Wood is weight and heavy paddles make for tired paddlers.
The blades are 24" long. I arbitrarily picked 12" from the tip as the place where I'd plane the shaft flat to the blade.
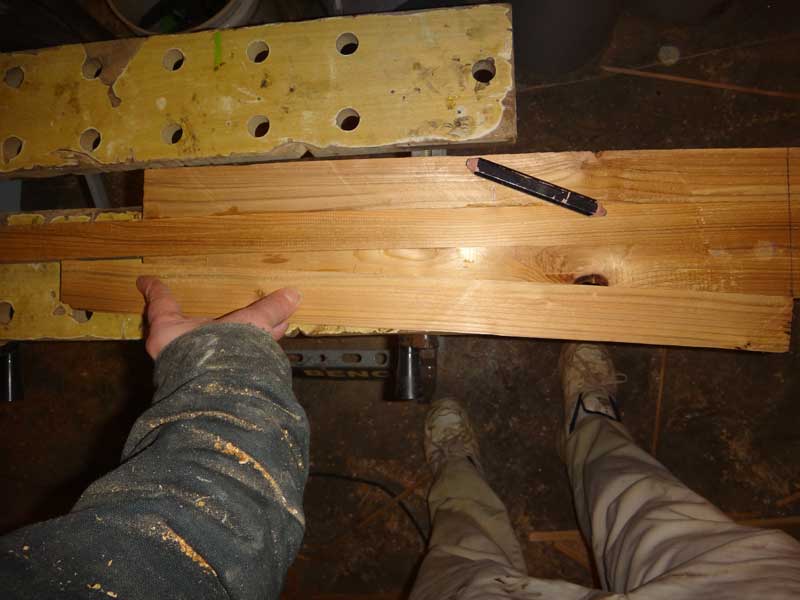
Remember the knot we had? I'd considered putting it next to the shaft for style, but took the safe route and put it on the outside edge of the blade.
There is no special formula for the perfect shape of the tip of a paddle - use any shape or curve that fits your fancy. It's rumored the most common radius in a shop is a Skol can.
The blades can be any shape, too: some people like rectangles, others like triangles or leaf shapes. These blades will be in tear dropped.
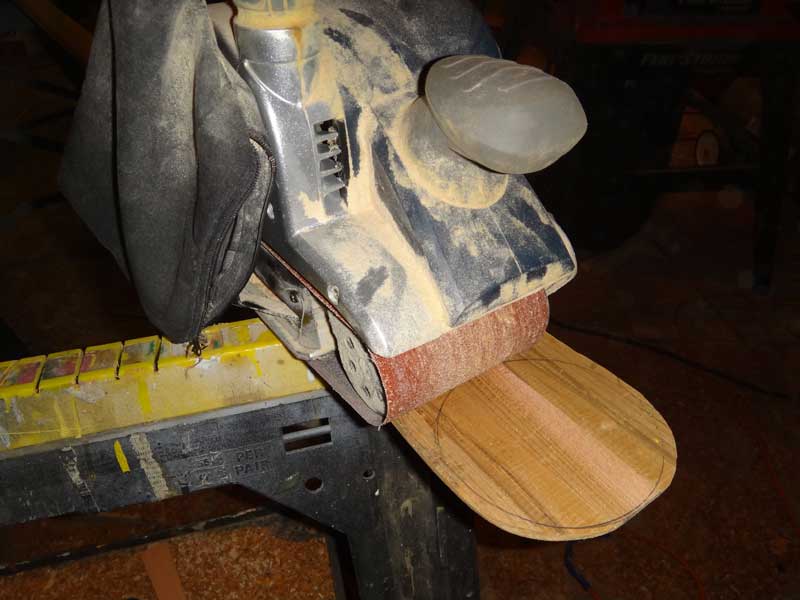
There's the final cut of the blade.
A 4x24 belt sander with a 40 grit belt makes short work of the sanding process.
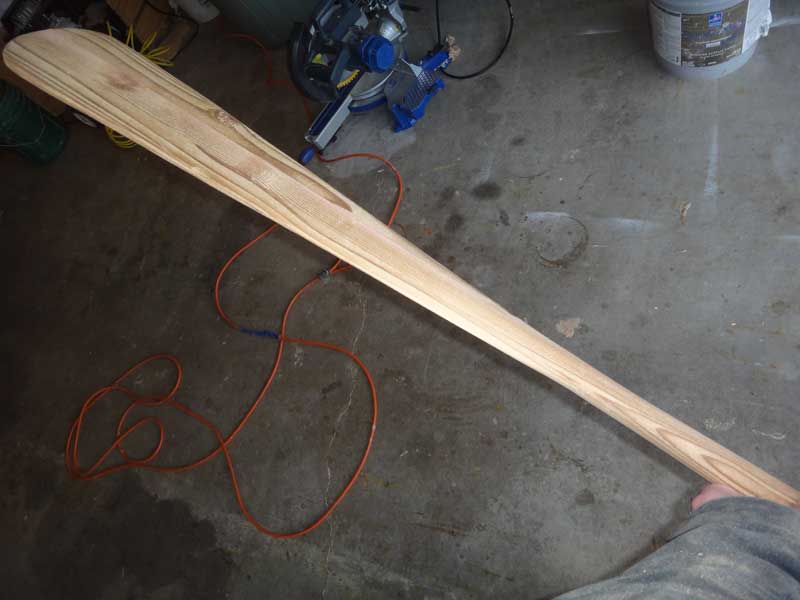
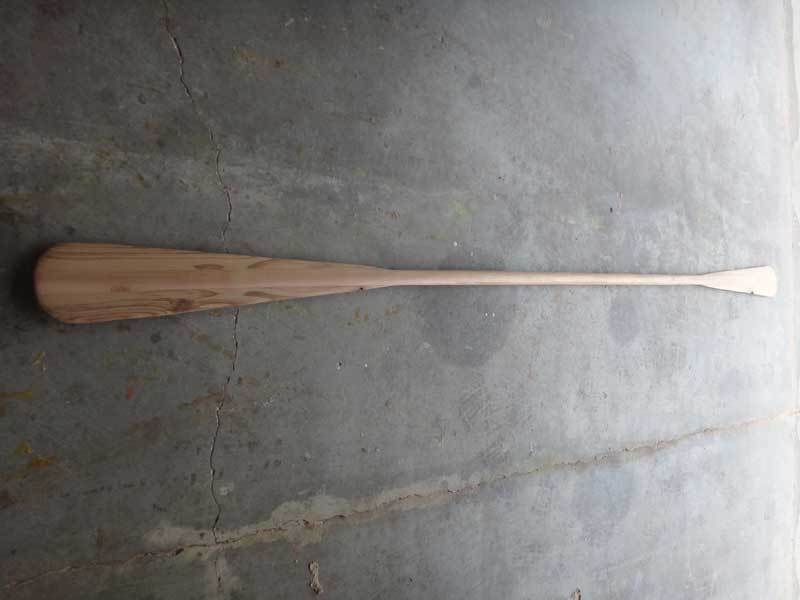
The final shape is quite elegant.
That's a lovely paddle - light and flexible, too.
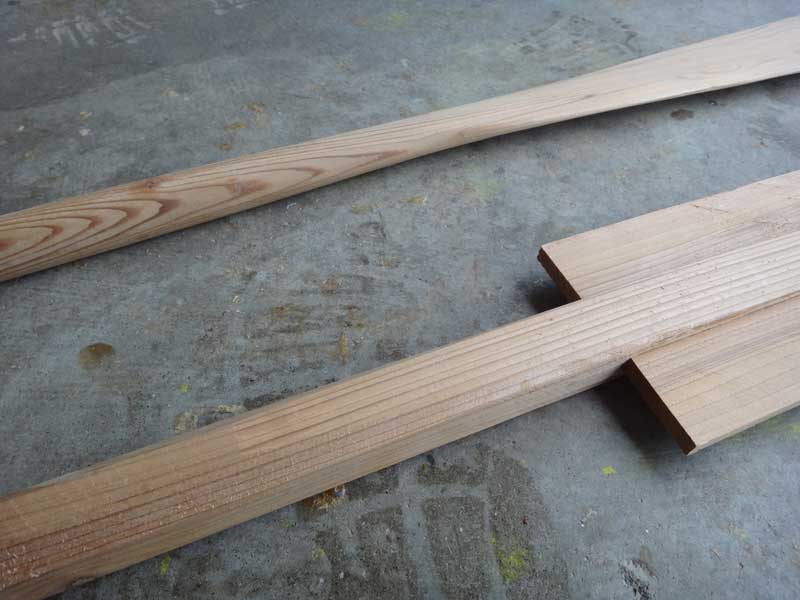
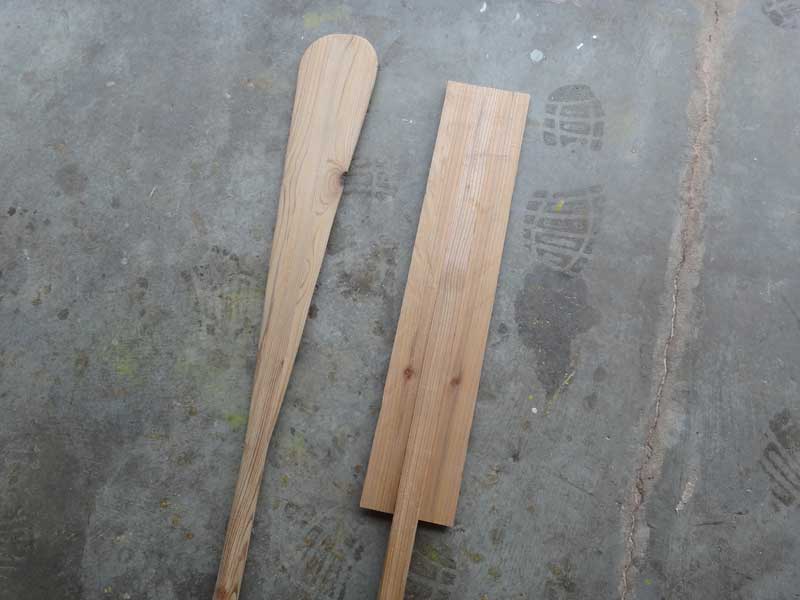
Here's a comparison of the finished shape of the neck compared to the rough shape.
And here a finished to rough comparison of the blade. Cedar is a light, flexible wood that has been used to make paddles in the Pacific Northwest for thousands of years - it's even in the language - in Chinook Wawa, the trade jargon that was used up and down the coast, "cedar" was called "Canim Stick" - Canoe Wood.
|

