|
Making a Square, Hollow mast
Hollow masts are stronger than solid masts of the same weight.
They also have the ability if distributing flaws (knots and
such) so you don't need to find perfect wood.
|
|
Background:
In the world of Puddle Duck Racing, we made a lot of different
masts - from whole trees, solid lumber, some from 2x6s, some
from laminated pieces, some Coopered, Bird's Mouthed, hollow
rectangles, and hollow squares. We tried aluminum tubing,
closet rods, closet rods stuffed inside PVC, - all kinds of
stuff.
We learned a mast doesn't really need to be more than 2 1/2"
square at the bottom 1 1/2" square at the top, and the
walls don't really need to be more than 1/2" thick.
Having a bigger base and making thicker walls tends to give
us comfort and confidence, however, and those are valuable
assets.
First, go to your local big box lumber yard and find a 'pretty
good' stick of the appropriate size. Most often, larger pieces
of lumber have better wood than smaller of the same grade.
For example, a 14' 2x8 is usually of better quality than a
14' 2x4.
You can't make even the smallest recommended hollow mast
(2 1/2" square at the base with 1/2" walls) out
of a single 2x4, so when selecting your lumber, consider your
needs for the rest of your boat. With a little planning, you
can easily rip your mast and all the chines and cleats out
of a single piece of lumber.
This essay shows how to make 2 14' masts out of a single
16' 2x10 and some scrap
NOTE This mast would be GREAT with 3/8" walls.
Hollow masts are very, very strong.
|
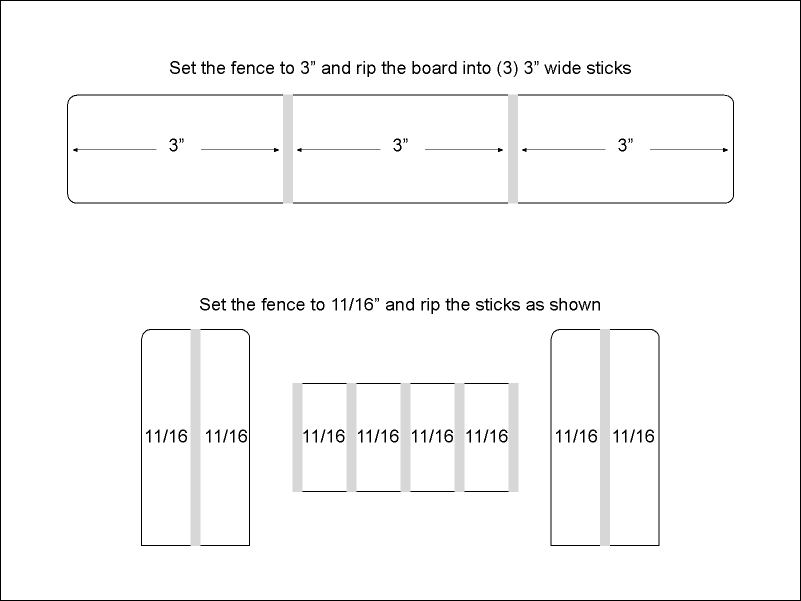
Lowes had a pretty knot-free 16' 2x10 for $11.22. That, and
a bottle of TiteBond II and I was on my way.
The first task is to get the 2x10 (very heavy - green Doug
Fir) down to a manageable size. A 2x10 is actually 1.5x9.25,
and a sawblade is 1/8 thick, so it is quite easy to rip the
2x10 into (3) equal planks.
From there, I need to rip those planks into appropriately
sized sticks. I decided to maximize the wood I had, so I ripped
the sticks into the widest possible sizes - (1.5-1/8)/2 =
11/16.
|
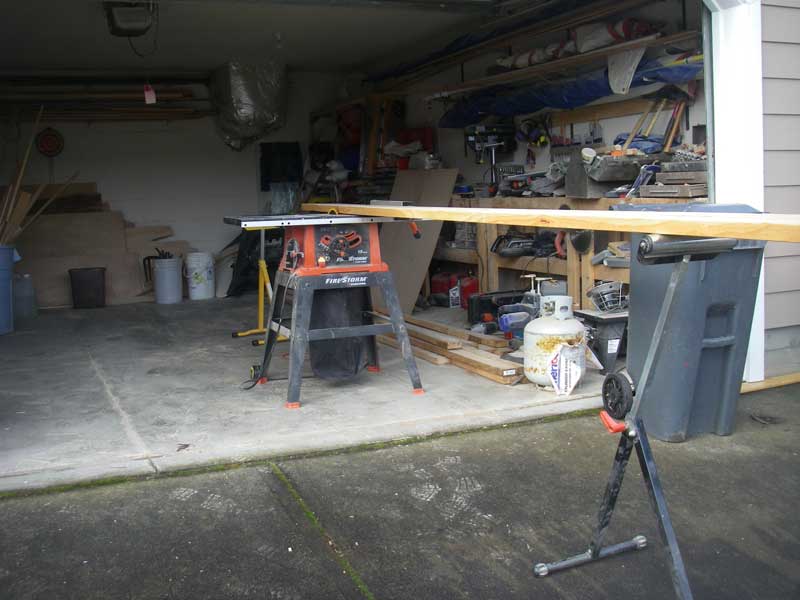
Yeah, that all sounds good on paper. I am doing this alone,
so I had to set up roller feeders and try to keep the board
feeding into the saw smoothly. |
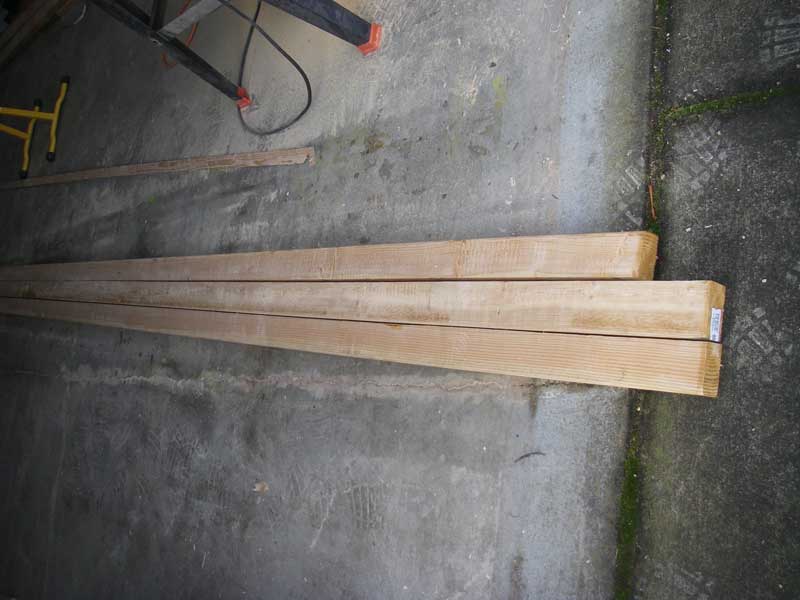
It was a bit more wobbly than I would have liked. The width
of the planks varied about 1/8" or so. |
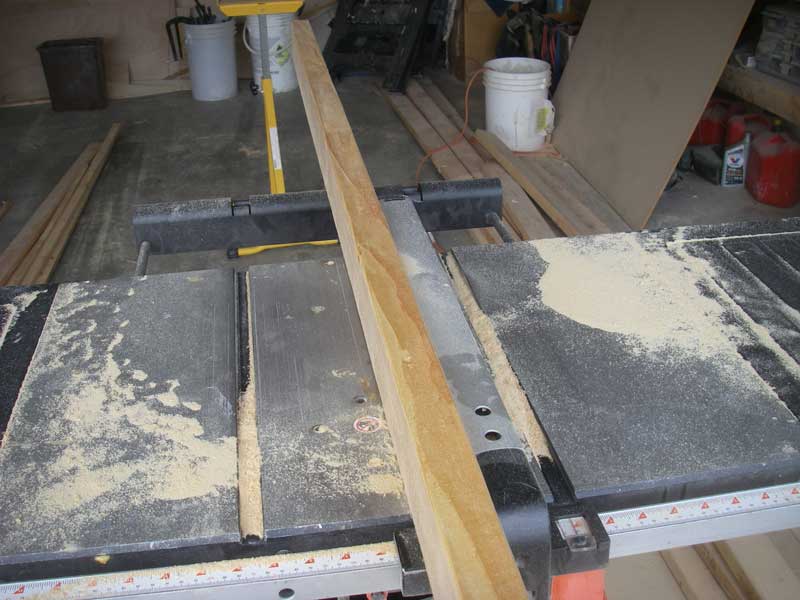
I decided to rip the wide sticks in (2) passes, with the saw
set to about 2" high. This is very dangerous, and Mr.Scheidaman
(my 7th grade shop teacher) would have kicked my ass for this.
As it was, I tripped the breaker (3) times during the cuts.
|
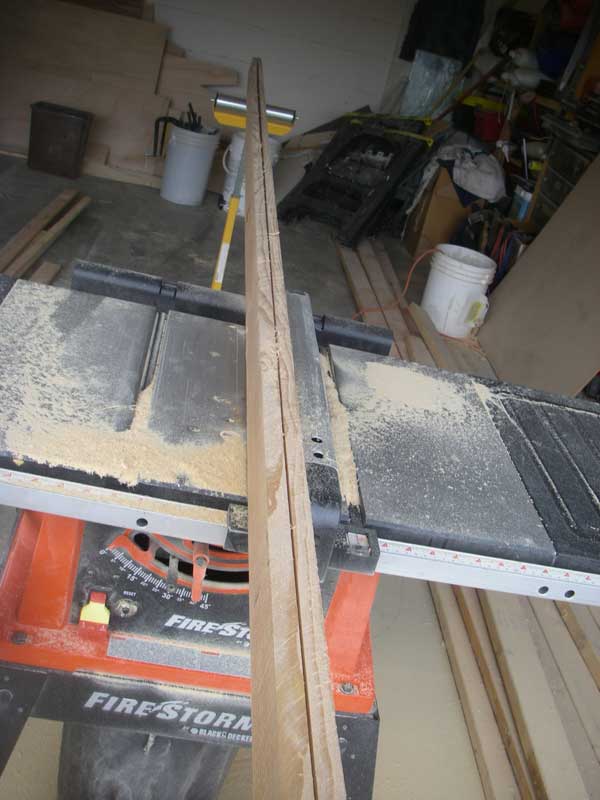
This is the second pass on the wide sticks. It works. It ain't
safe, but it works.You end up with a pretty rough side on
the sticks - but that's easily sanded. |
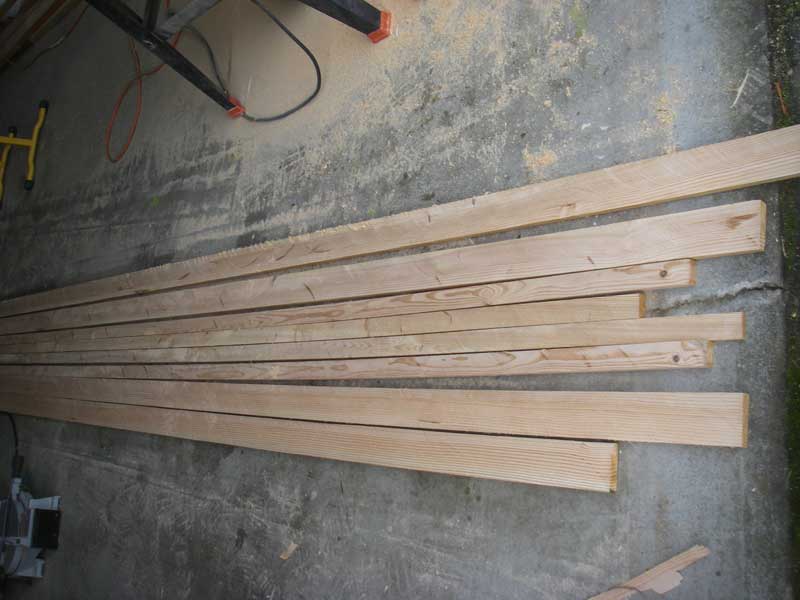
Ripping the smaller sticks was easier - they still wobbled so
their thickness varies from 5/8 to 3/4 . No matter, they are
plenty thick. |
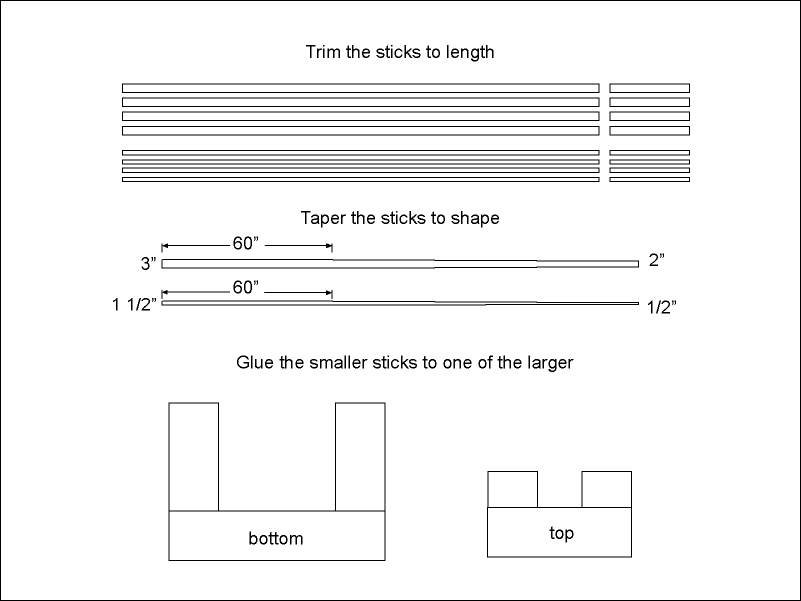
One advantage of cutting the sticks from a 16' piece of wood
is that I can choose which 2' I want to cut off. Some ends are
better than others. (or you could make a 16' mast)
I began my taper 5' up from the bottom - the most stress
on the mast is near the bottom, so you'd want that the thickest.
I tapered the widest sticks to 2" and to get it pretty
close to square, I tapered the thinner sticks to about 5/8.
Epoxy is the best glue for this, but any waterproof wood
glue will work so long as you clamp everything tightly.
|
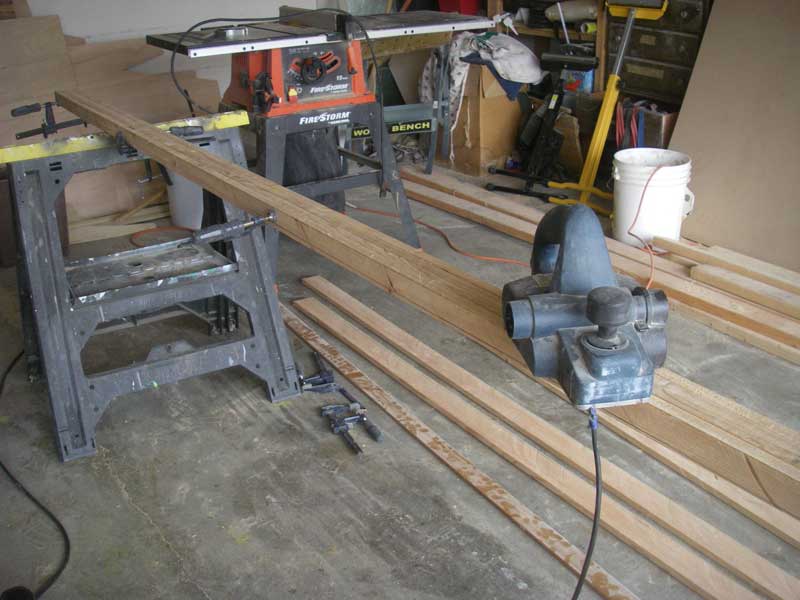
I like to make all my mistakes at once, so I drew the taper
on one wide strake, then clamped all the wide strakes together.
I took great care to make sure the edges were as even as possible
(the sticks really start to curl when you cut them from the
original board.) I then used my power planer to do the taper.
I repeated the process with the smaller sticks.
|
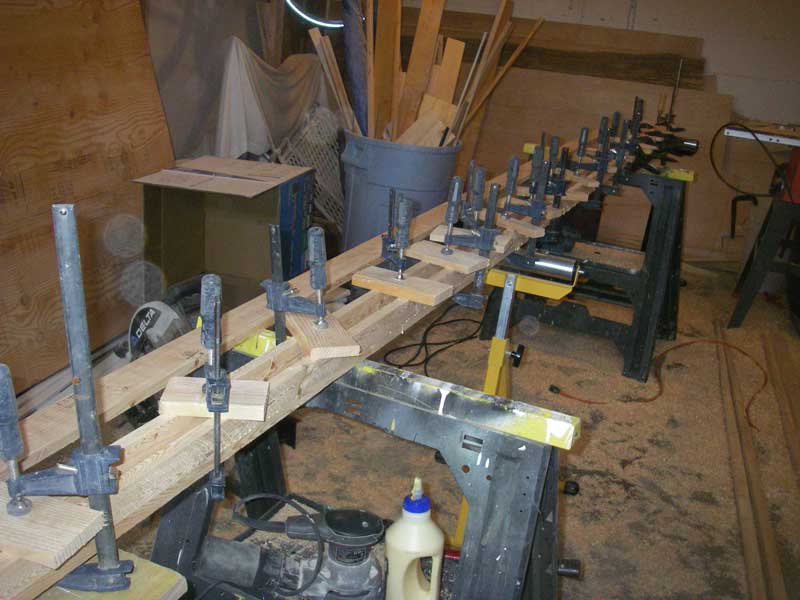
It takes a lot of clamps to make a mast. You'll want to clamp
ever 6" of so, and have clamps on the ends as well. Call
it (30) clamps for a 14' mast.
I got these screw clamps from Harbor Freight. Get 'em on
sale, they are very cheap.
|
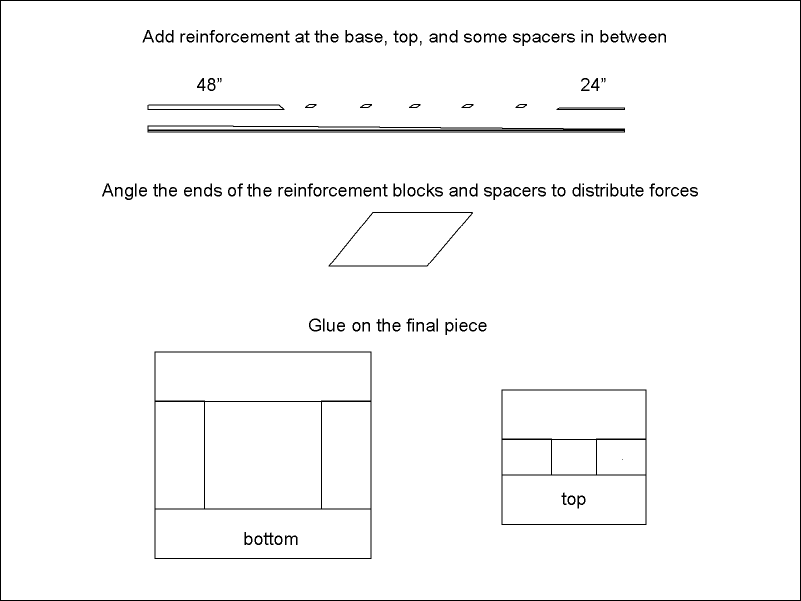
Hollow tubes first crush, then break (bend a straw until it
kinks - that's what happens) so you'll want reinforcement blocks.
The forces on a mast are mostly lefty-righty, so I have chosen
to orient my mast with the wide sticks going lefty-righty,
and the smaller sticks going fronty-backy. I taper my reinforcement
blocks so they don't end in a hard edge against the smaller
sticks.
Most of the stuff I will attach to the mast will be near
the bottom or the top - so I have made those places solid
- 4' at the bottom and (probably excessive) 2ft at the top.
|
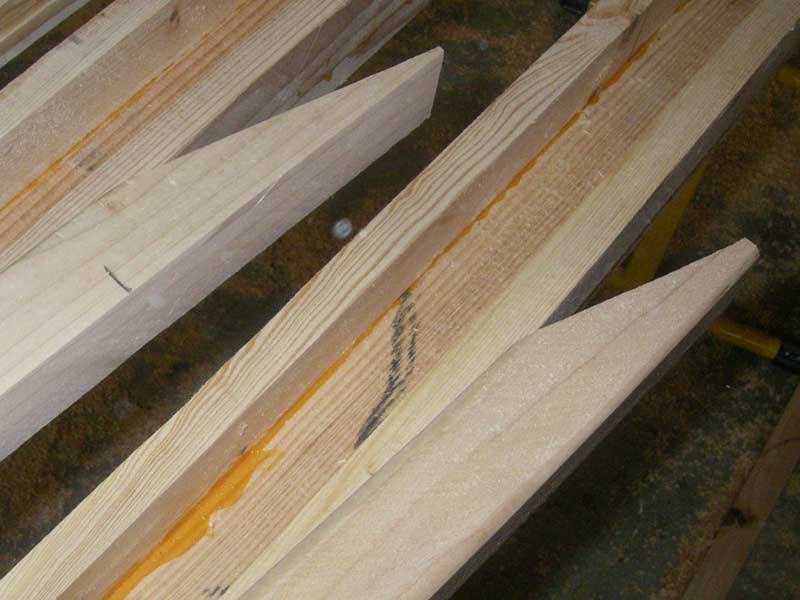
I used another 2x4 to make the reinforcement blocks - first
ripping it in half, then cutting it up as needed. I put a long
angle in the blocks at the top and bottom blocks to spread the
force out as much as possible |
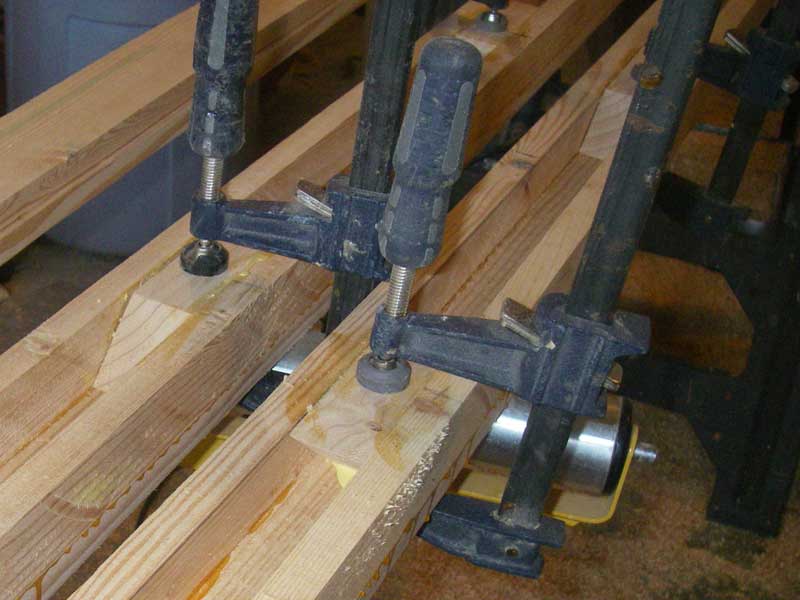
I spaced (5) small blocks evenly inside the mast. I cut the
angles at 45° just because it was easy. Before putting on
the final stick, I clamped and glued all the blocks into place.
|
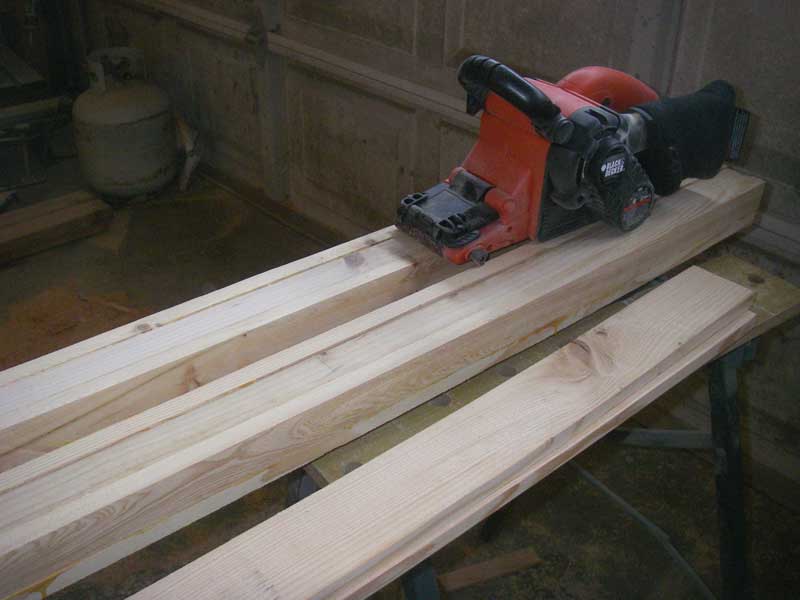
Once the glue had cured, I sanded the whole upper edge smooth.
|
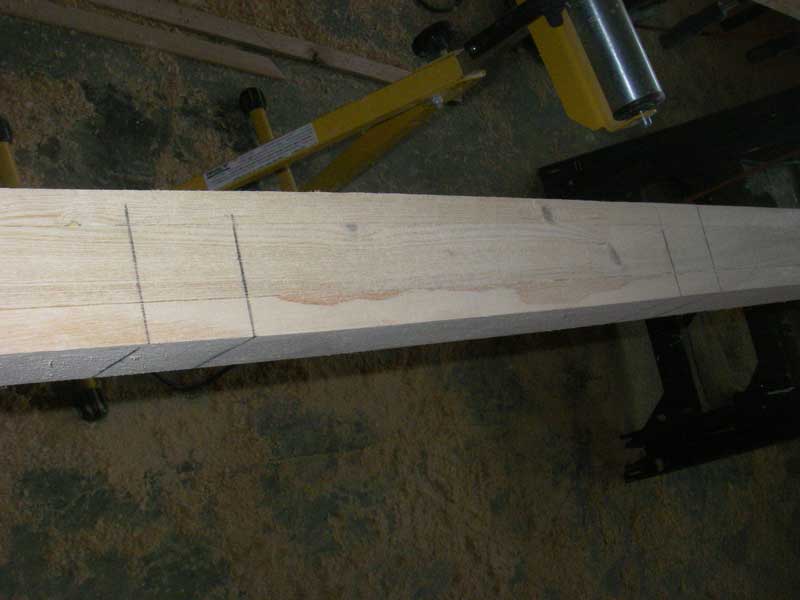
Before gluing on the final stick, I went along and marked where
my reinforcement blocks were. I'll keep these marks all the
way through final painting, so I know where I can attach hardware.
|
|
Final Analysis
These masts were made from green Douglas Fir and ended up
weighing just a tad over 20lbs each. Using dried timber will
result in a lighter mast, but some people have said dried
timber is more brittle.
These masts served me well on the '10 Texas 200, where they
were used on a boat that carried (2) 75sqft Balanced Lugsails.
Using 1/2" or 3/8" thick walls would probably be
fine - but I was too lazy to pass them through the saw another
time. Again, you'd get a lighter mast.
|


