|
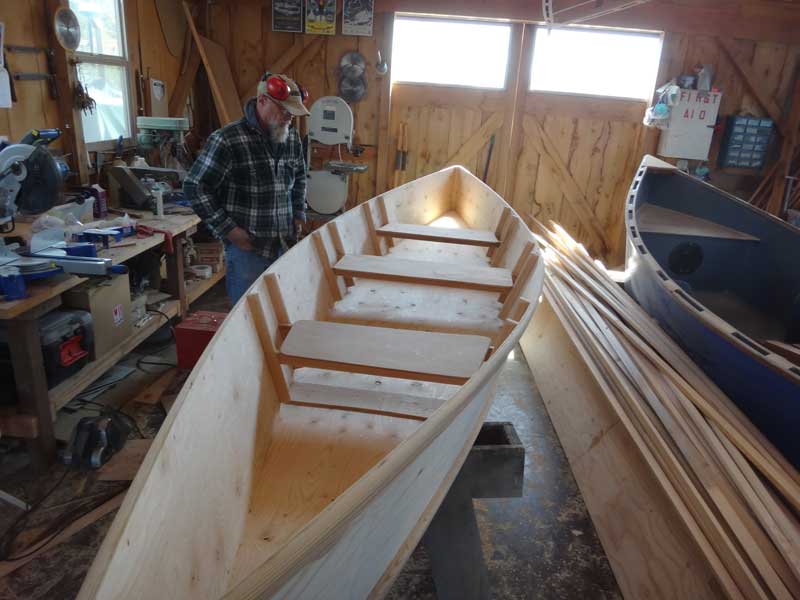
Building the Lazy Weekend Canoe When last we left the Lazy Weekend Canoe, the sides were on, the chines and gunnel were on, and the frames and thwarts were in. Time to finish this boat.
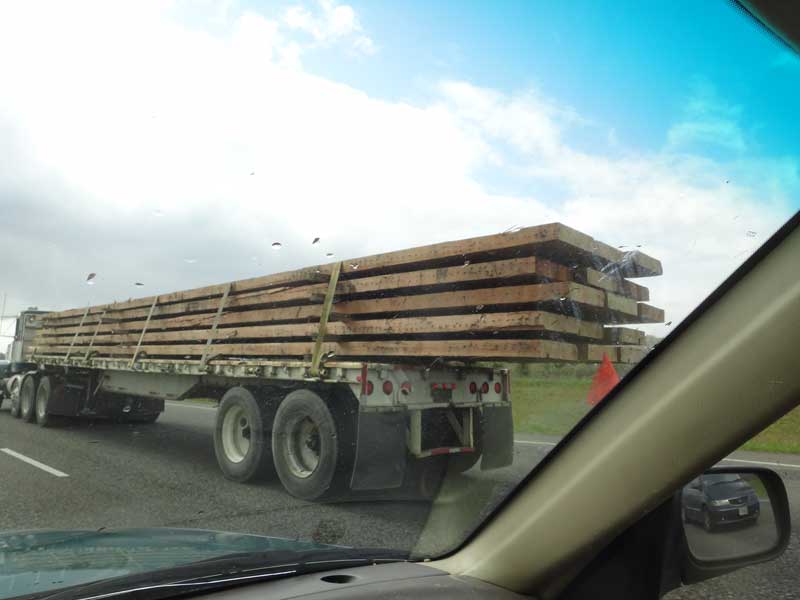
On the way to Toledo, I saw this: A truckload of MONSTROUS slabs of timber, each at least 6" thick and 30' long, some maybe 3' wide. From what I could tell, it look pretty clear. Man, I could make dozens of canoes from just one of those.
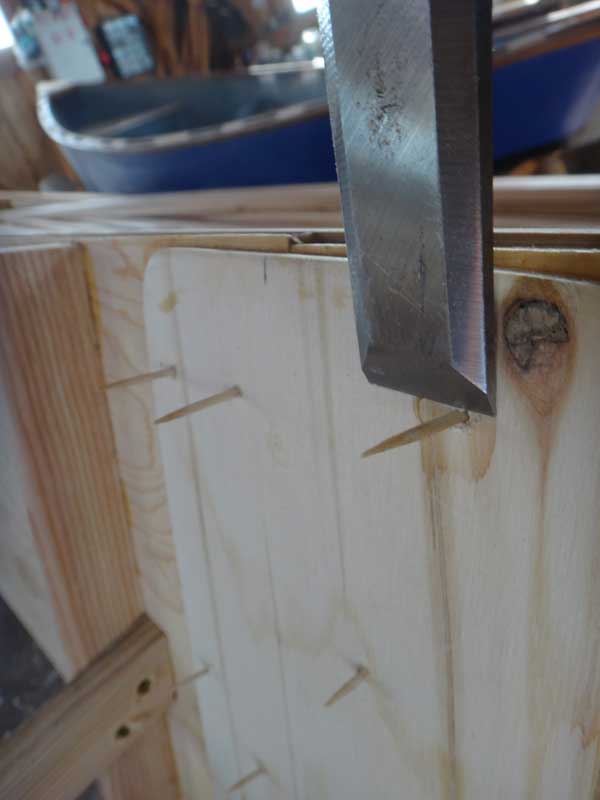
At the Boathouse, the first thing I did was take a chisel to the toothpicks that had been glued into the screw holes of the butt joints. A smarter man would have turned the chisel over so he wouldn't gouge the wood.
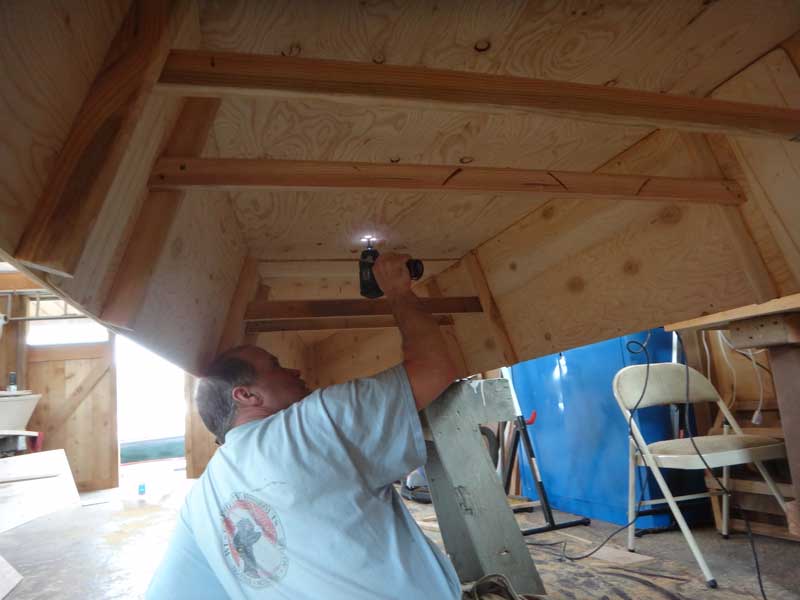
Bottoms Up. I really do like this design - so clean, so easy, so fast to put together.
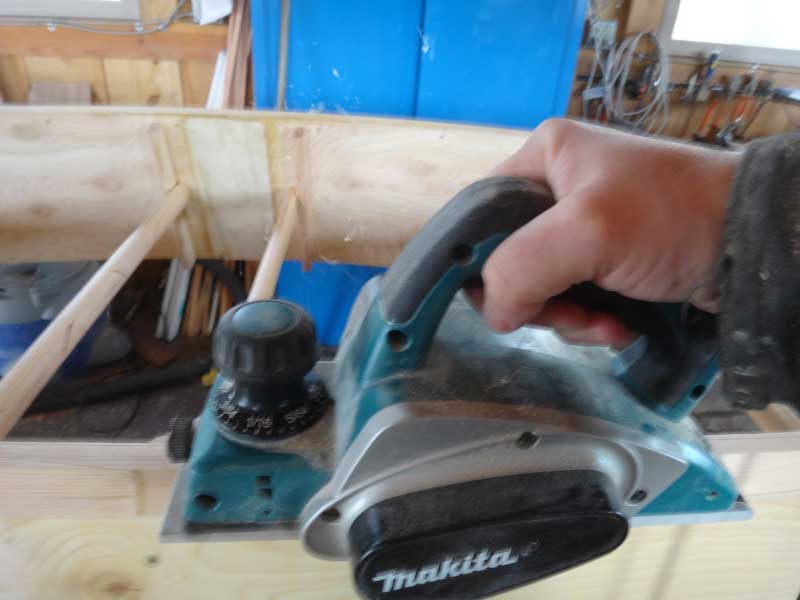
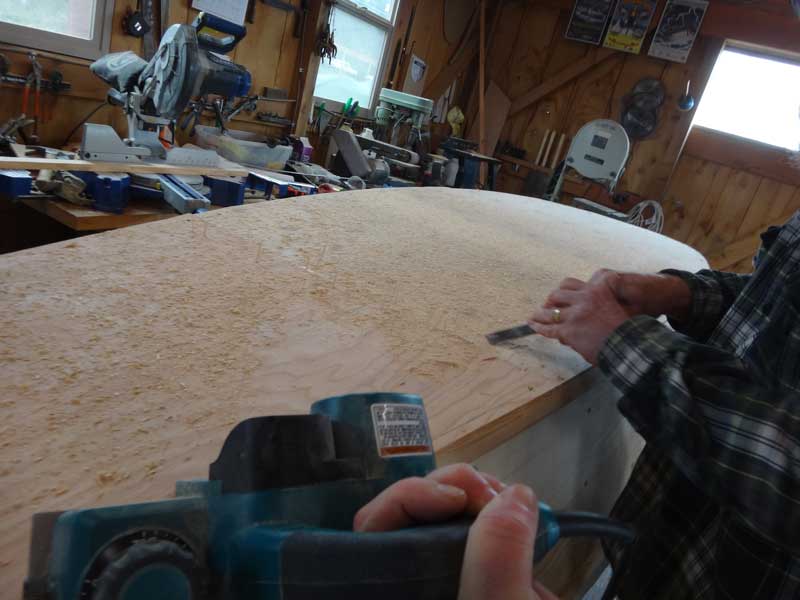
We have hand planes and I tried one for a couple pushes - it's plenty sharp and set correctly, but . . . the power planer flattens the chines in seconds.
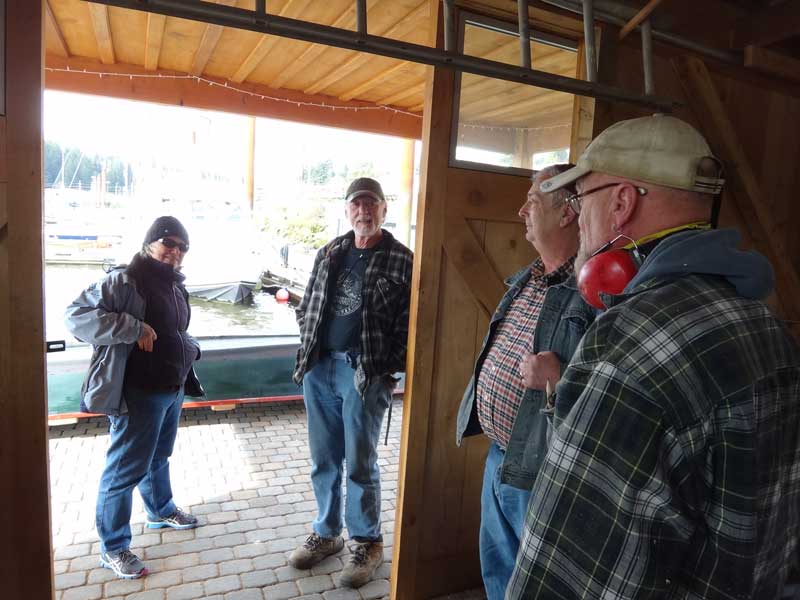
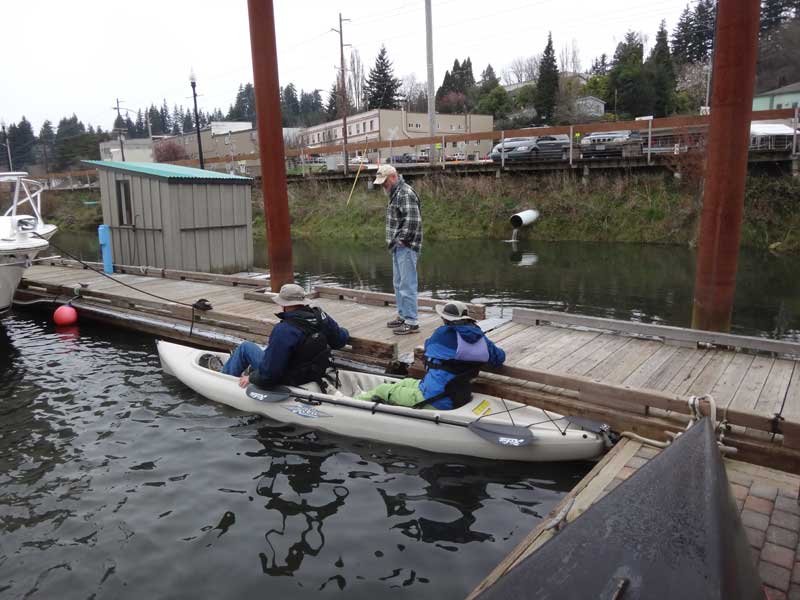
With warmer weather comes visitors. We stopped making sawdust to talk to this couple who had motored their fishing boat up from Newport just to have dinner at Pig Feathers.
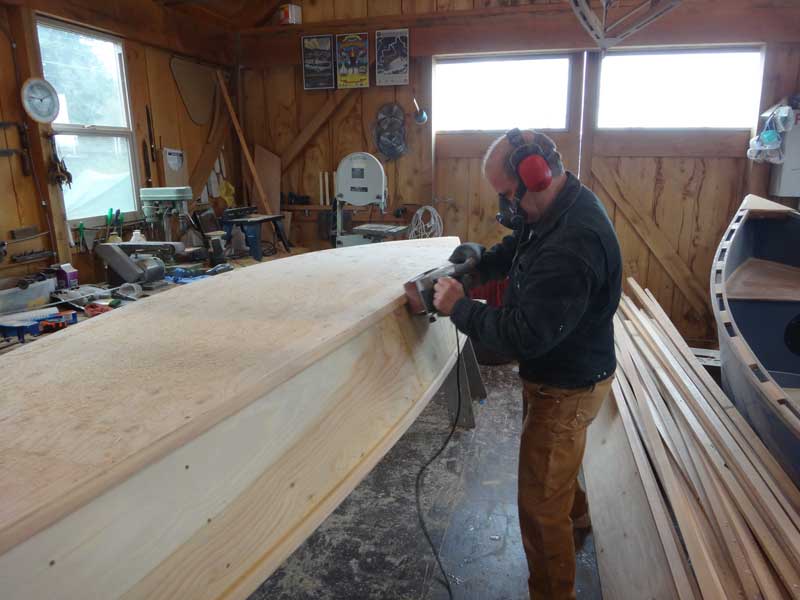
Visitors gone, it was time to hit the chines with a quick run of the belt sander. If you push a power planer too quickly, it leaves little ripples in the wood. You'd think I would have learned to just go slower with the power planer, but some lessons take a long time to sink in. The trick here is to get the chine planed flat so the bottom can be glued/screwed securely.
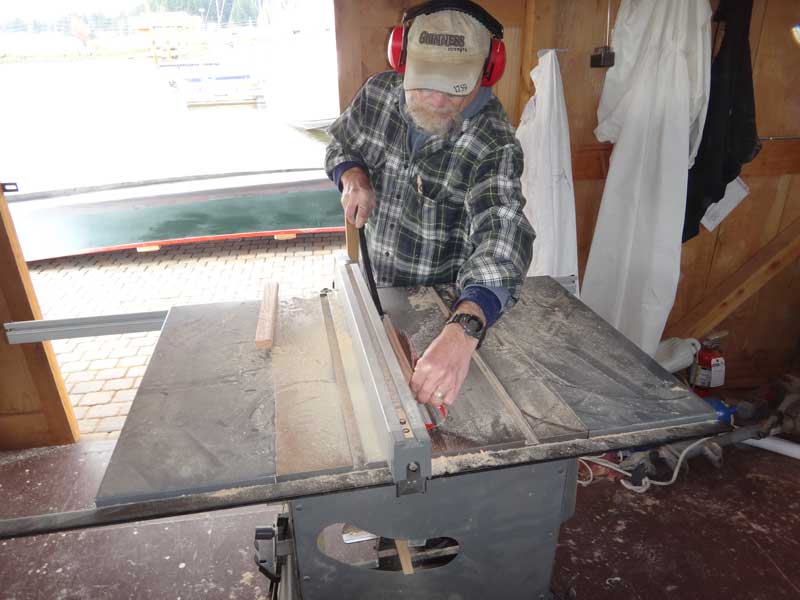
While I was working on the chines, Curt was making the frames for the next Lazy Weekend - (12) 13 1/2" side pieces.
(8) of the side pieces need beveled. Each piece needs to be named so we know where it goes in the boat.
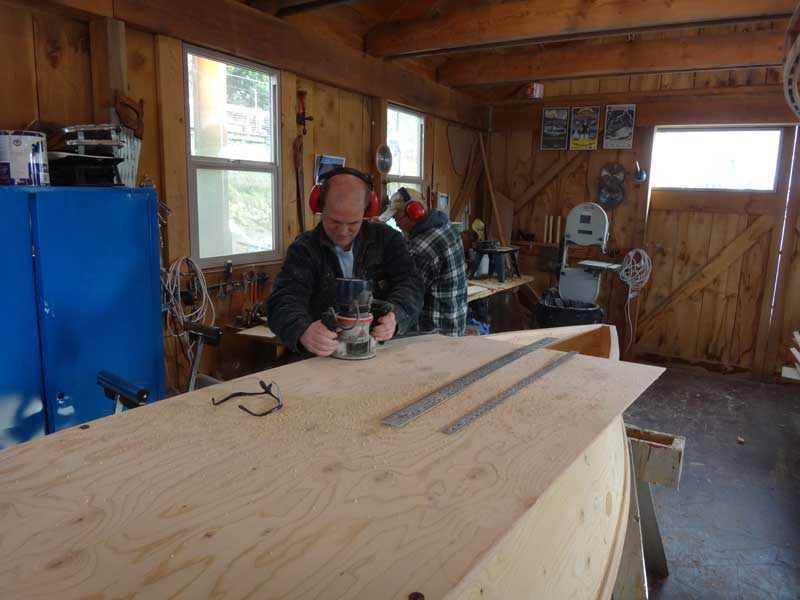
I was trying something new: Using a router to cut the bottom to shape. In theory, I should be able to tack the bottom piece down with a few screws, then shave off the excess with the router and an edging bit. In practice, the bottom shifted under the pressure and made a real mess of things - we almost lost the entire bottom piece. Fortunately, the screw-up wasn't that bad and we were able to recover.
After the router fiasco, I went back to the old fashioned way: Tack the bottom pieces down, trace around them, flip 'em over and use the saber saw to cut just outside the line.
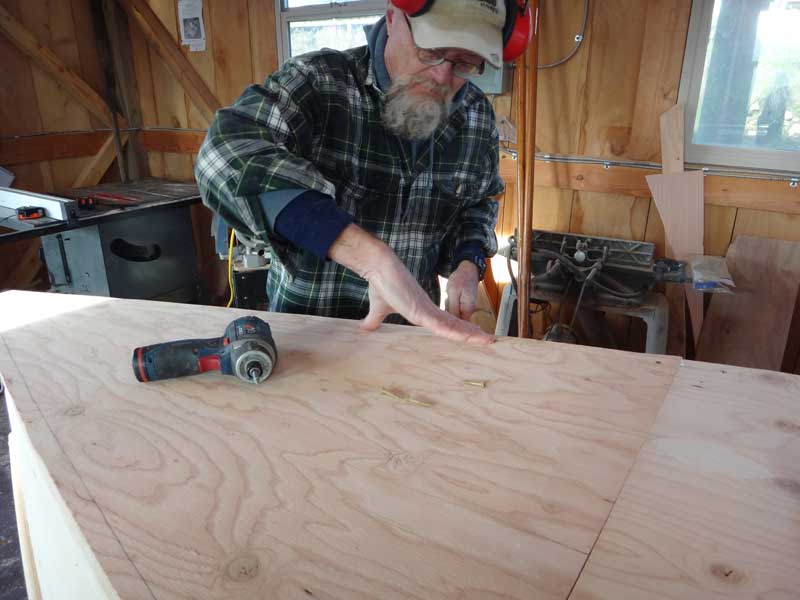
The trick when attaching the bottom is getting the screws far enough away from the edge you don't hit 'em with the belt sander, yet not so far as to poke through inside the boat - it gets harder when there is an overhang. I learned to make these guides when I built a 6-Hour Canoe. A careful observer will have noticed the Lazy Weekend design draws heavily on the concepts of the 6-Hour Canoe.
The bottom is in 3 pieces, each butt-jointed to the other. I learned this while building a Bolger Teal. I picked up on using external from building boats designed by Jim Michalak. All the mistakes in the design are mine.
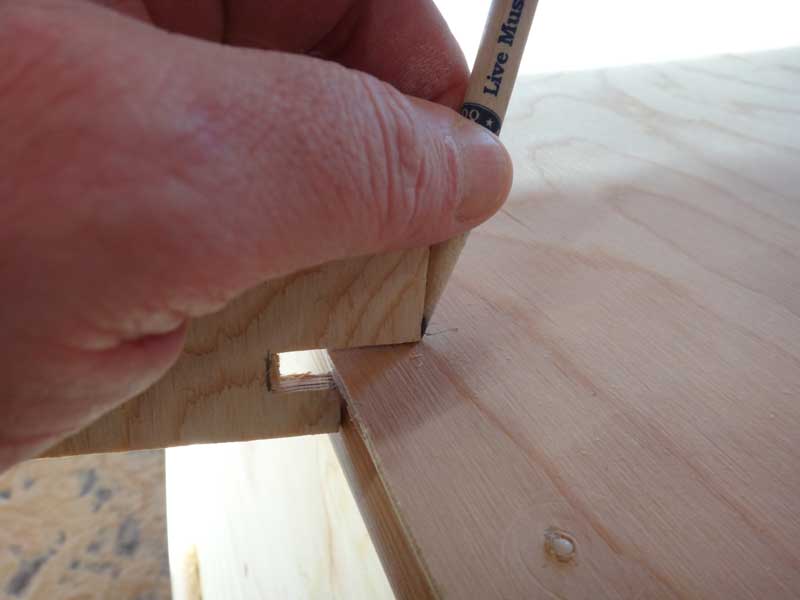
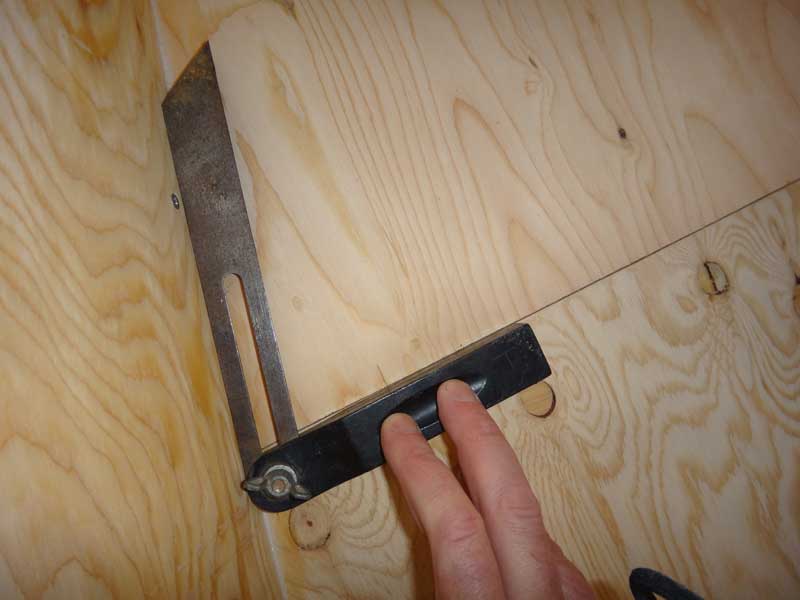
You cut the butt-plates after the bottom is attached. I like to use a bevel gage to get the angle of the side, but you can just as easily do measurements.
And then you glue and screw everything down. And that was enough for the evening. It was off to Pig Feathers for a beer,
Saturday started out very nicely - we had some visitors down from Estacada. They had read about us in Via Magazine and wanted to see the slough. They had a really nice Hobie sit-on-top powered by a Mirage drive. That's some cool technology right there.
Curt shaved off the toothpicks while I used the power planer to true up the edged of the bottom.
After the power planer, a couple minutes with the belt sander got things nice and smooth.
The final step was attaching the keel. Snap a line down the center on the outside, drill some pilot holes, get a partner to hold the keel in place and use some 3/4" stainless screws to hold it all together.
The seats were dead simple. We made 'em 12" wide just to accommodate a wide variety of people. It's all over but the painting for this one.
|

