|
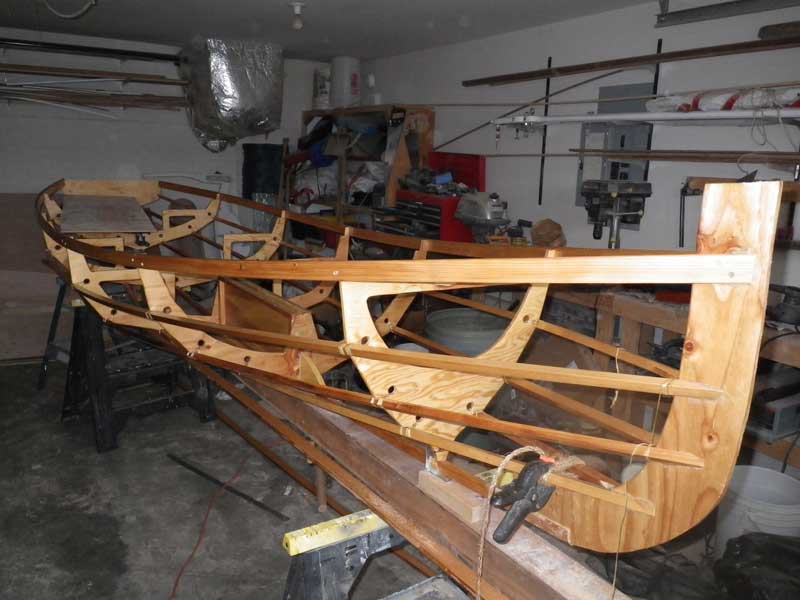
Various I got side tracked by a canoe design for the Toledo Community Boathouse, then sorta got more side tracked by just plain not going down and doing any work. These pictures show some of the progress I've been making. Like an idiot, I used cheapo construction plywood for the frames. $25 for a sheet of crap when for $85, I could have gotten Hydrotek and for $106, I could have gotten Okume. The plywood will end up being a minor cost, so using cheap ply is stupid.
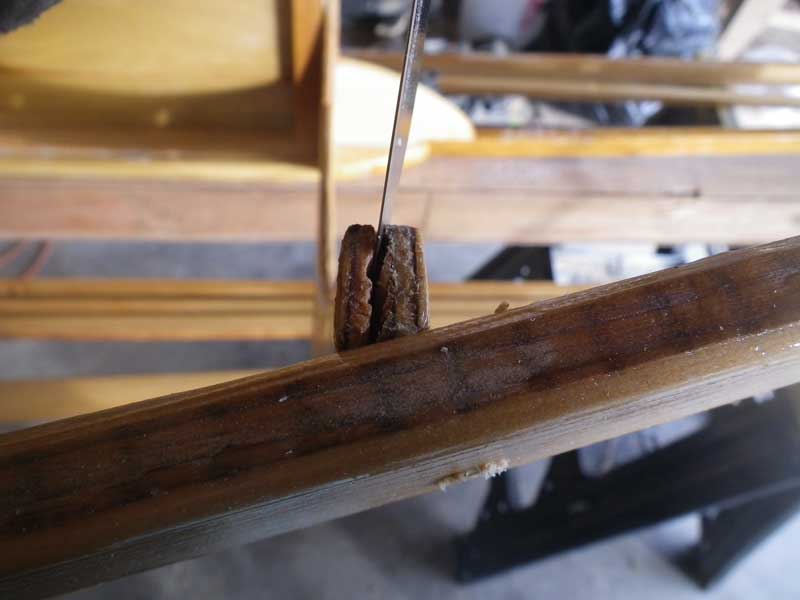
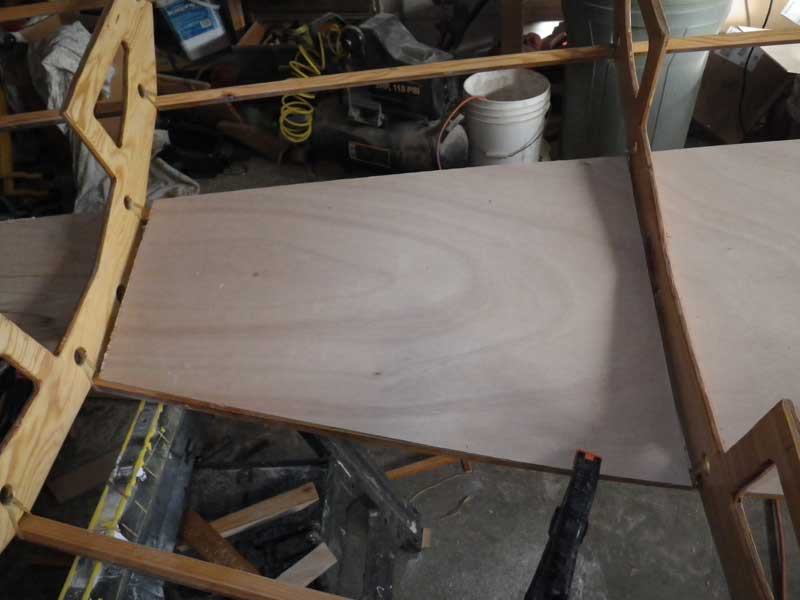
The first thing you notice with cheapo ply is that it is really flexible. Can you see how this frame has twisted? You don't get that with Hydrotek or Okume. I had to remove the screw and reposition the frame.
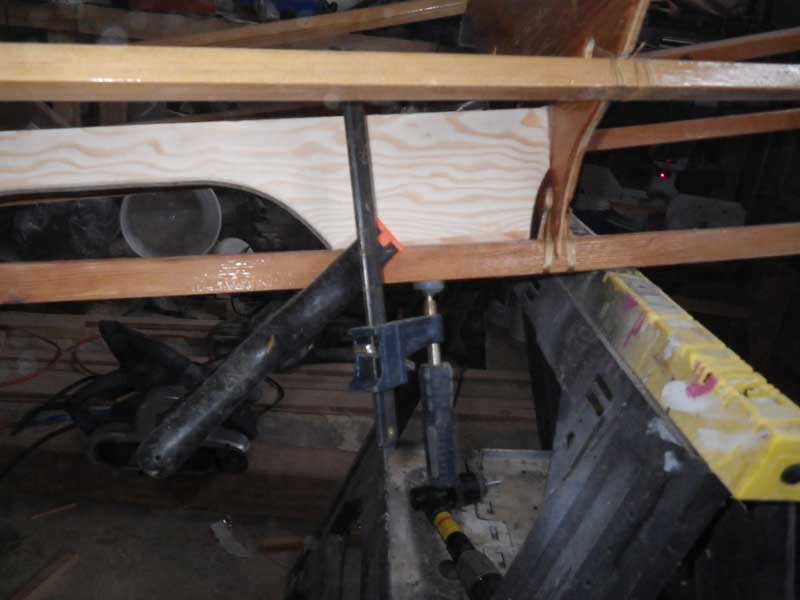
The next thing is the ply will crack when screwed on edge. And this is trying to be really careful. I use Rustoleum Grip-Rite screws, really good for this kind of work. They are easily available at big-box stores and smaller lumberyards.
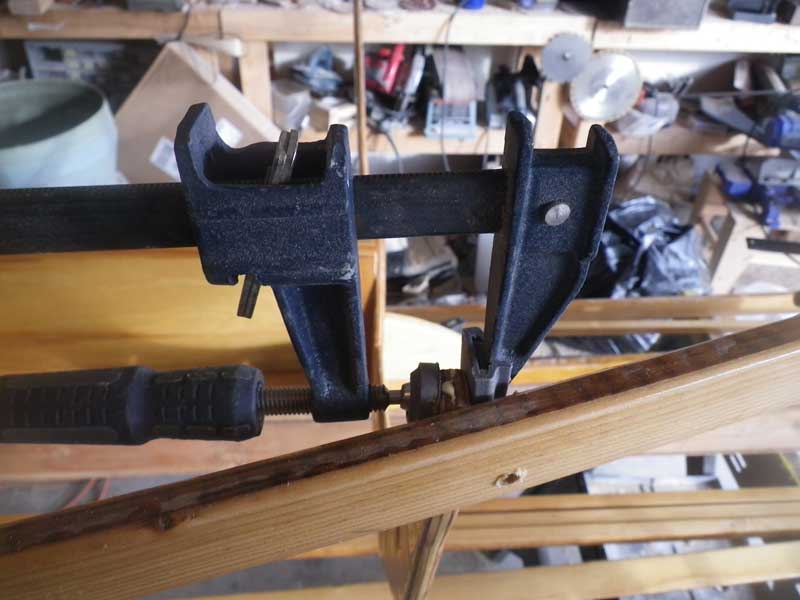
The fix is easy enough - just squirt some Tite-Bond II in there and clamp it down.
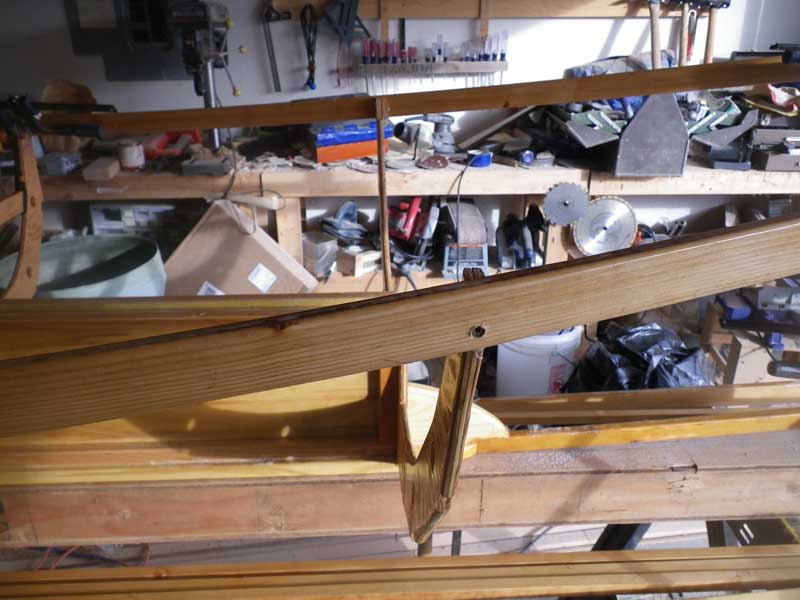
Man, I screwed something up. My transom is either too short or my Frame 5 is too high. Either way, too late now (I think that my be my epitaph.) Ever onward. I ended up raising the transom up a bit and pulling down the on the gunnels. It worked.
Here's the skeleton. Pay close attention to the sheerline between Frame 5 and the transom. It works but it's not perfect.
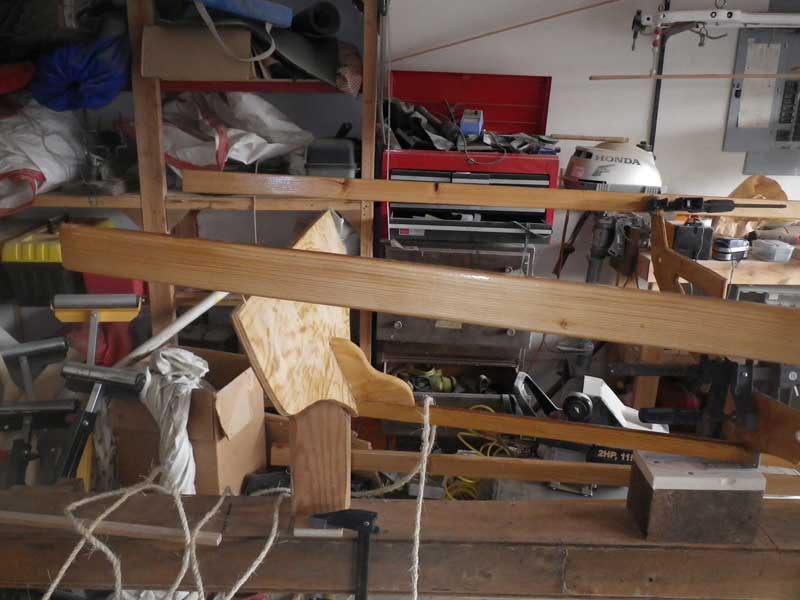
It was about here I realized I'd need to be able to walk around in my boat. Materials and weight are big considerations for me. I decided to go with 1/4" ply in-between the frames. The floor will rest on the lowest chines. 1/4' is a little thin for a fatty like me, so I needed to figure out a way to support the floor a little more.
This solution seemed easiest. Just insert a spacer between the keel and the floorboard.
The keel curves, so the spacer is not uniform. It's easy enough to trace a line and get the right curve. Up by Frame 1, I also needed a king post to transfer pressure from the mast down to the keel. You can see I was getting fancy with the spacer - chopping out scallops to keep the weight down. I have the spacers glued and screwed in place. I'm not entirely certain this is lighter than just using 1/2" ply, but I like playing with it. Next up: The seats. |