|
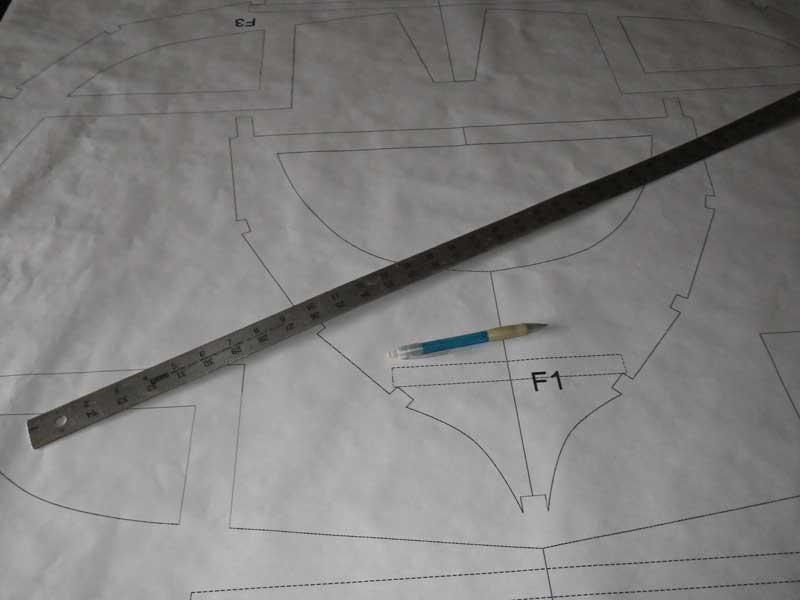
Cutting the frames I doodled out the frames as seen in the Oct 6 write up. Now I needed to get the drawing out of my computer and onto a sheet of plywood so I could cut the frames. I exported the drawing to a full-sized image and took it to the local printshop. They gave me a full-sized (3x7) sheet of paper.
A trip out to the lumberyard for plywood. I am trying 1/2" CCTPS. The 3/8 CCTPS looked great, the half inch, not so much. Oh well, ever onward.
I laid out the carbon paper ($3 at Office Depot)
and rolled out the template. My other tools are a straight edge and pencil.
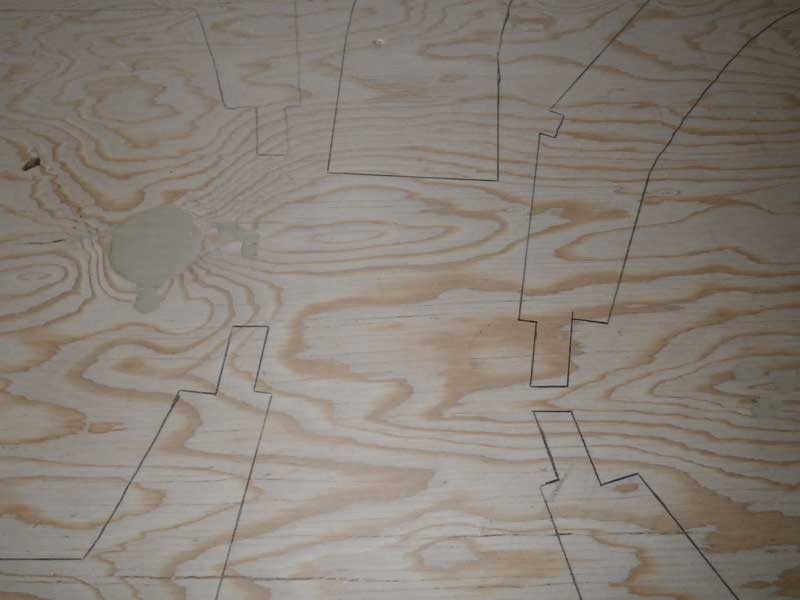
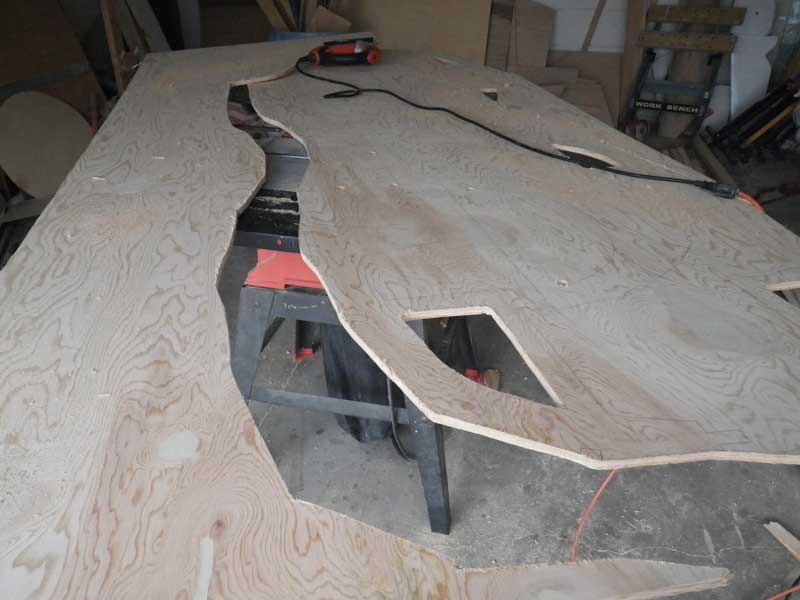
Trace the patterns and they come out like this. Now it's on to the cutting.
I went through and drilled 5/8 holes in all the corners so I wouldn't have to fight the jigsaw.
Cut, cut, cut and go.
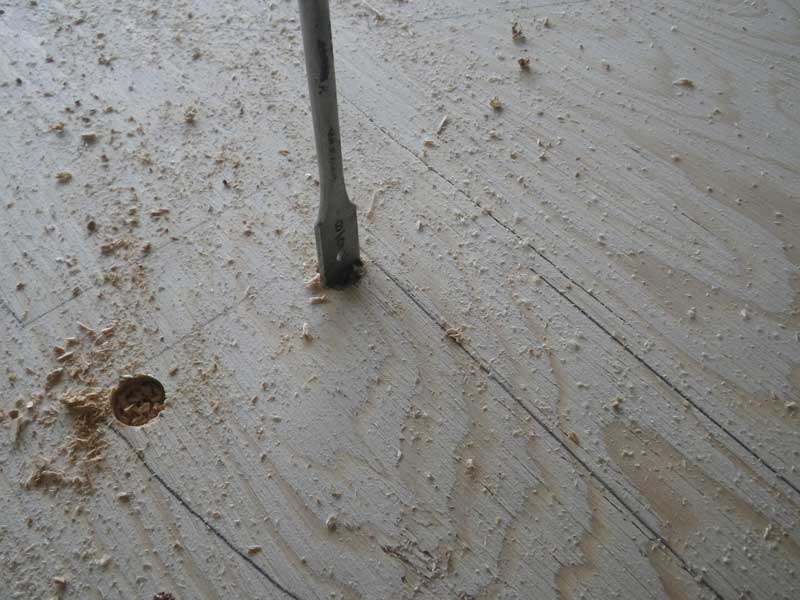
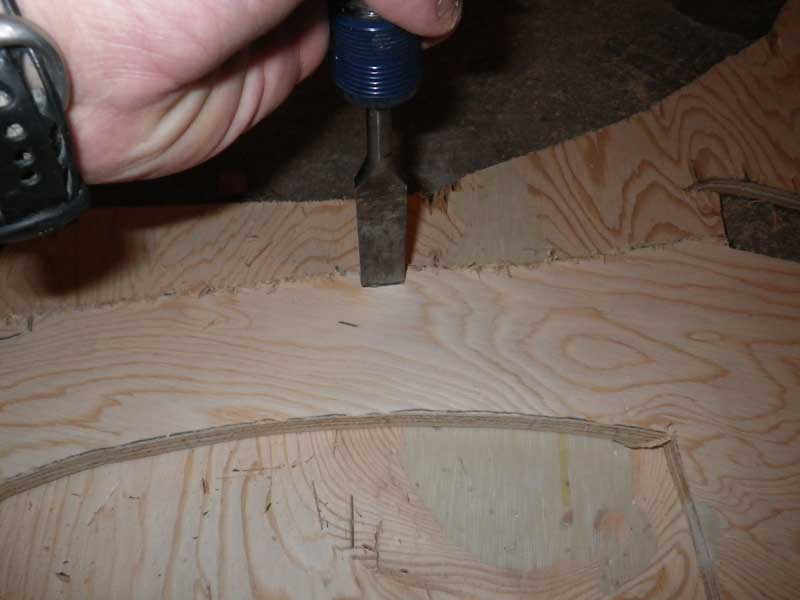
I have a nifty 3/4 chisel to cut the notches for the stringers - again, I didn't want to fight the jigsaw.
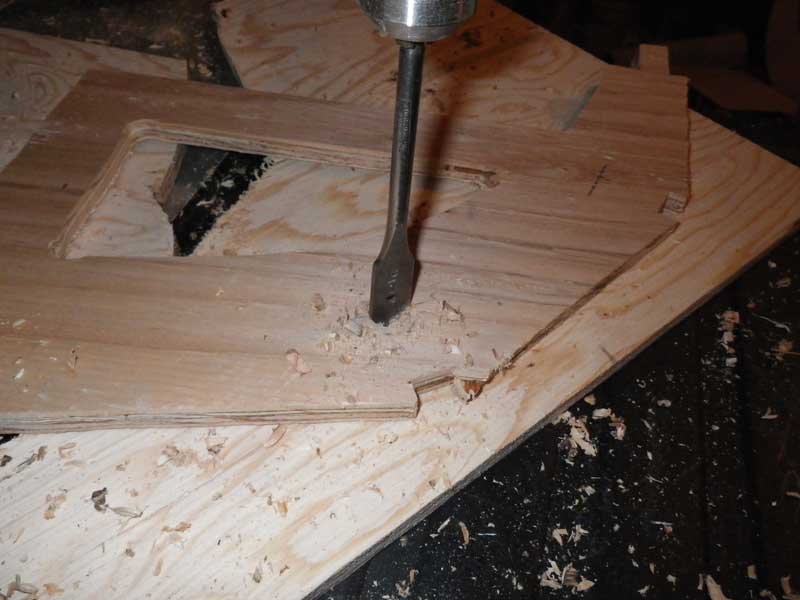
On my own, I decided to drill holes about an inch away from the notches. These holes are for the lashings - no need to waste the lashing wrapping it around and over the whole thickness of the frame. In retrospect, I should have done two smaller holes off the corners of the notches - more on that later.
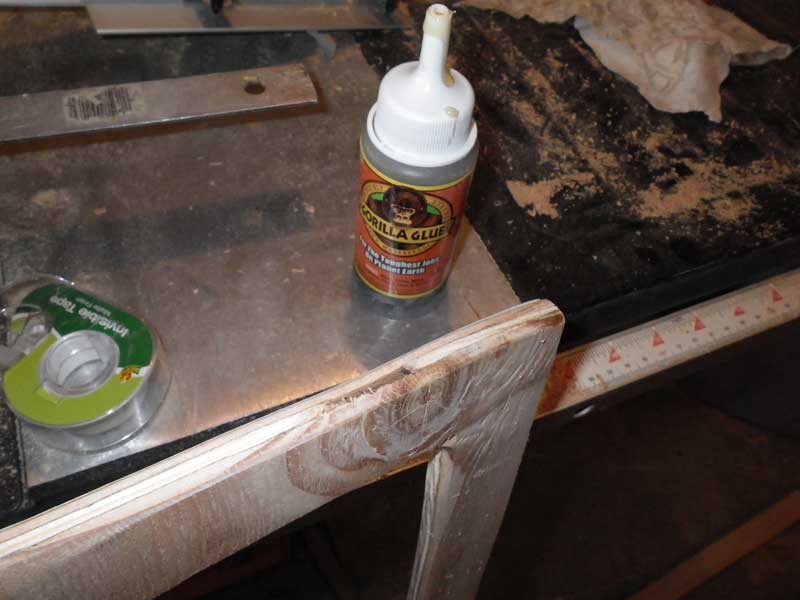
The CCTPS plywood had some smallish voids, and I came up with this brilliant idea - I'd fill the void with an expanding polyurethane glue and cover the opening with tape. As the glue cured, it'd expand, but be stopped by the tape - so it'd expand into the void, filling any holes.
It worked OK - the tape did NOT want to come off. I doubt I'll use Gorilla Glue again, but the holes were filled.
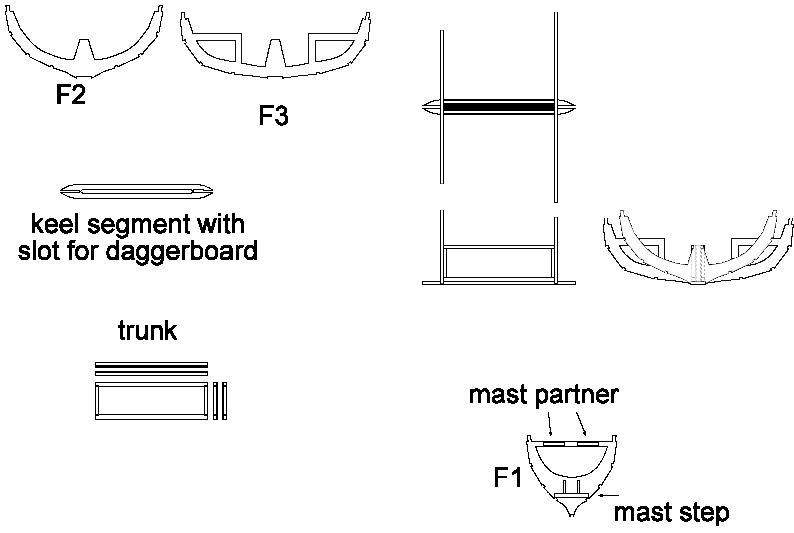
Next came the parts for the daggerboard trunk (I tossed the ideas for the mods to Frame 1 in just for the heck of it.) The sides of the trunk is just 1/4" ply with 1x1 stiffeners around the edge. The 'keel segment' is the big trick - I have to have a slot in the bottom of the boat - that slot has to go through something. Then it needs to reconnect to the keel stringer.
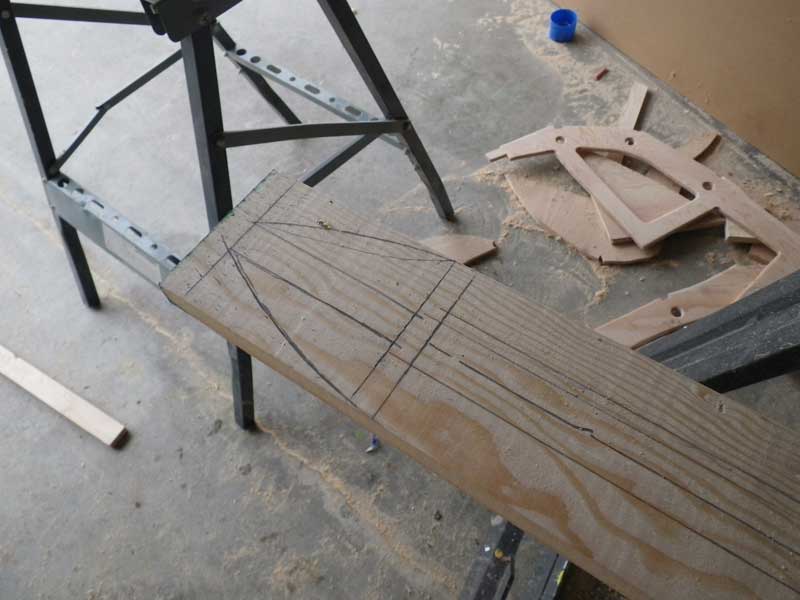
The keel segment is cut from a plain old 1x4.
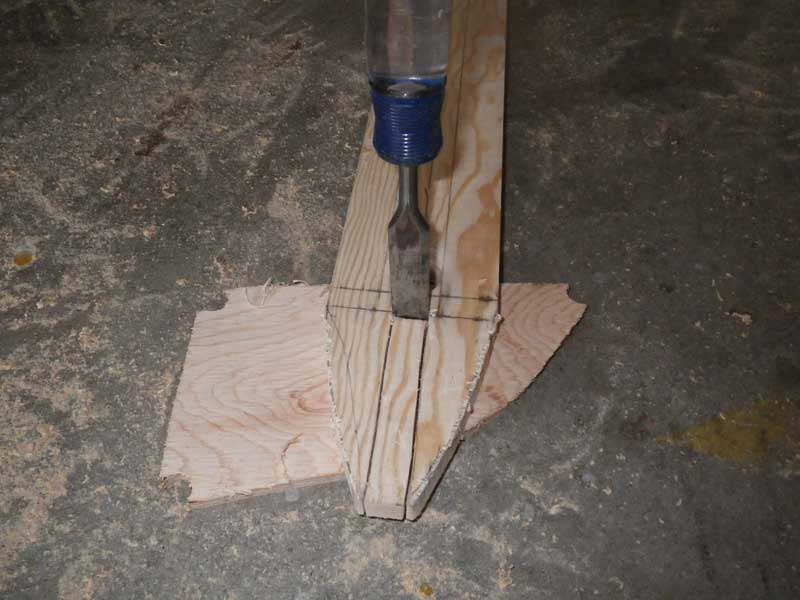
The chisel was put to use again.
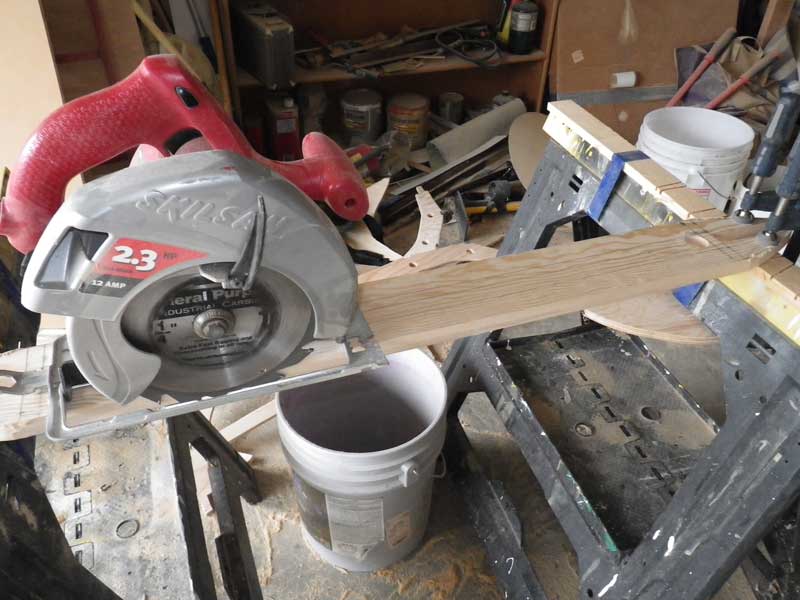
and finally, I used my circular saw to cut out the slot. After this was a lot of sanding and varnishing. That part's almost over - and then it's on to assembly.
|