|
Building a Chuckanu The Chuckanu is a modified version of a Chuckanut. The modification being the cockpit has been opened up to give more room for paddlers and gear. I don't have pictures of ripping the sticks or tracing and cutting the frames. Those are pretty straight forward. I rip the sticks on a tablesaw with and have roller stands for both the infeed and outfeed. 16' sticks can be hard to manage for one person, but it's easier for one person than 2. I cut the sticks so they are 1/2 the thickness of a piece of 2x material (slightly wider than 5/8, width depends on the saw blade's kerf.) For tracing the frames, I lay carbon paper down on the plywood, then the full-sized printout of the frames. I trace patterns, making sure to get every line and making sure to not move the paper. Then I cut them out with a sabersaw.
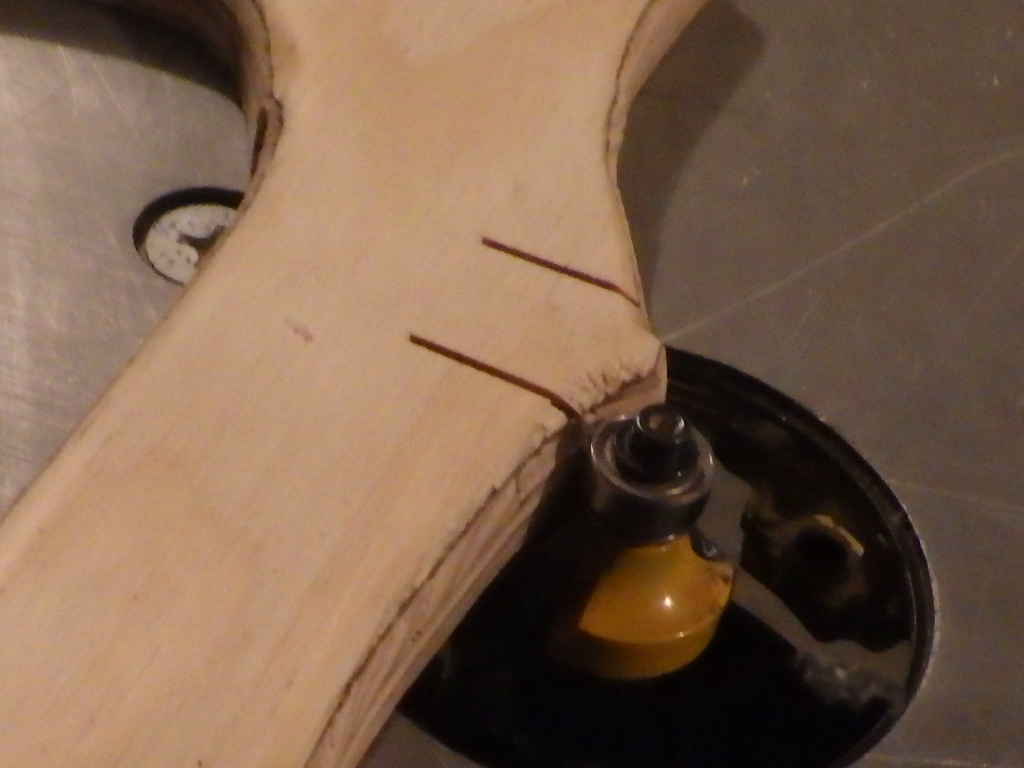
After I cut out the frame, I run them through a router with a roundover bit - just to make it fancy. See how I am doing the sockets? To get them nice and square, I cut the sides with a sabersaw, then do the routing, then cut out the socket. Routing first keeps my dull router bit from tearing out the delicate corners of the socket.
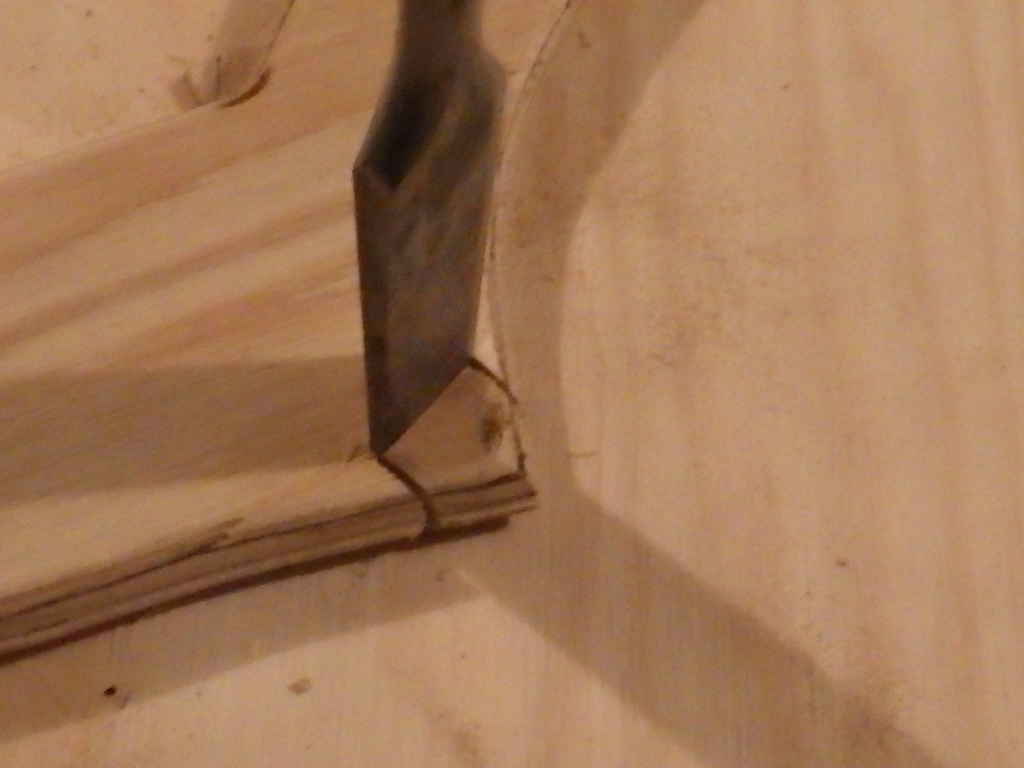
I finish the socket by chopping it out with a sharp chisel.
This blurry pic shows the finished socket.
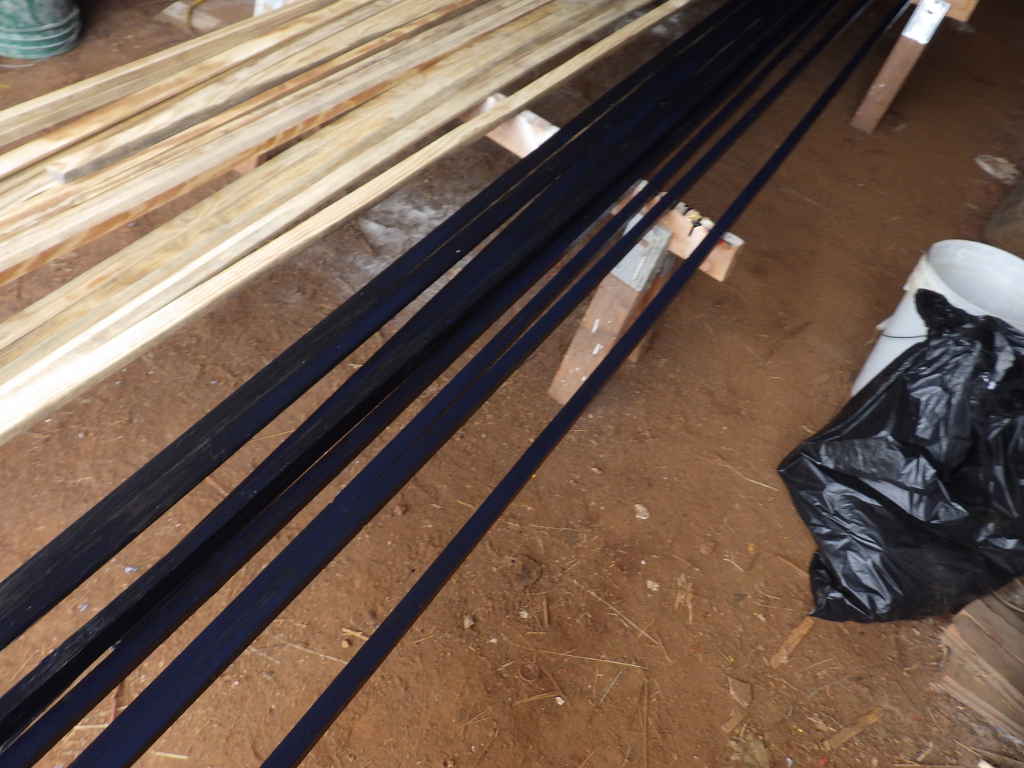
I've been painting the sticks flat black, lately. I'm going to stop doing that and start staining them, instead. Stain is cheaper and I think it looks better.
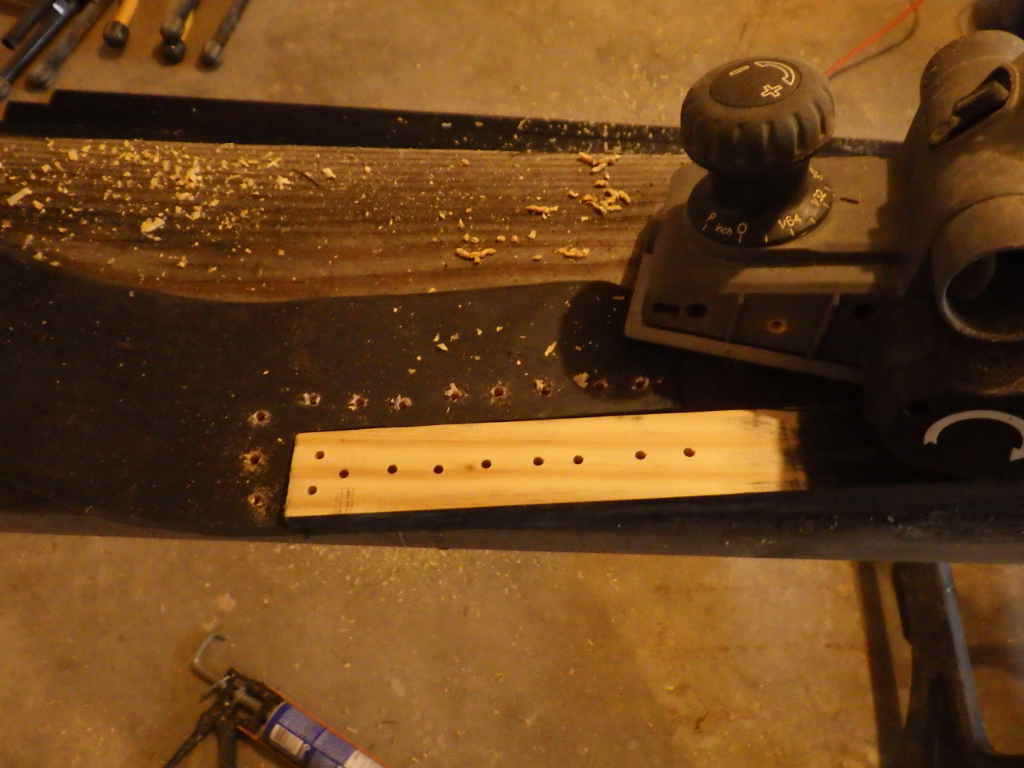
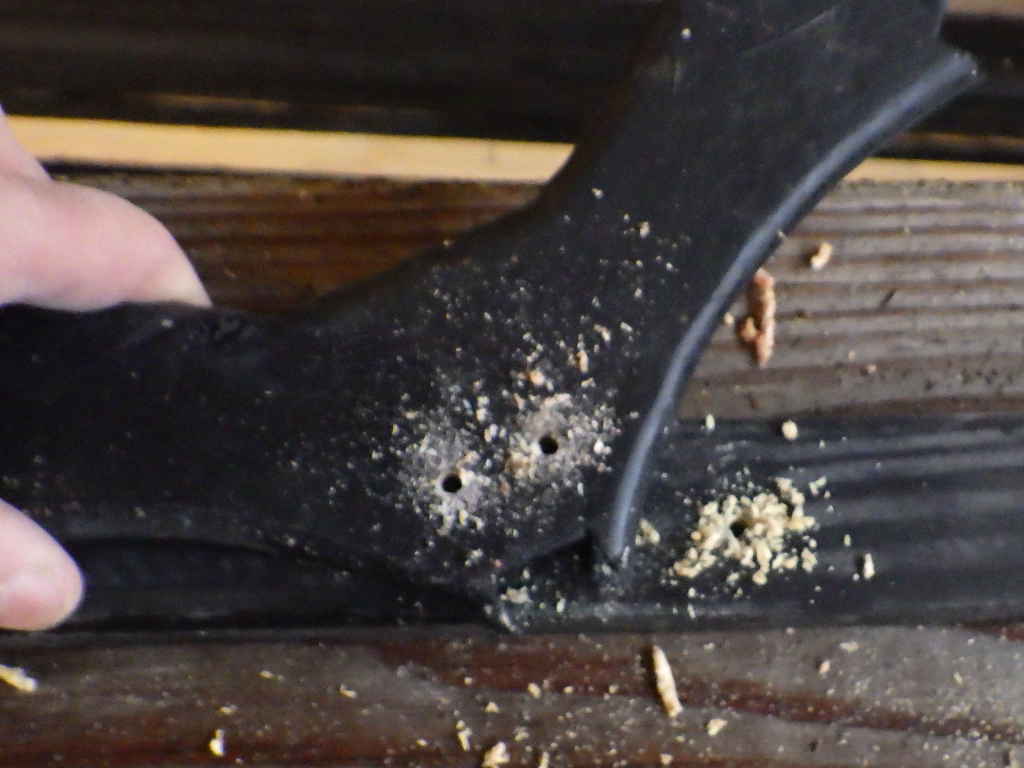
The keel is ~3/4" thick and we are attaching it to 1/2" thick stems, so we have to bevel the keel where it meets the ply. We also need to drill holes to lash the keel to the stems.
I also drill holes in the frames and keel so I can lash the frames to the keel without the lashing going around either the keel or the frame. This keeps the lashing from being exposed.. You might be thinking "Oh, what craftsmanship!" but really it's so I use less sinew.
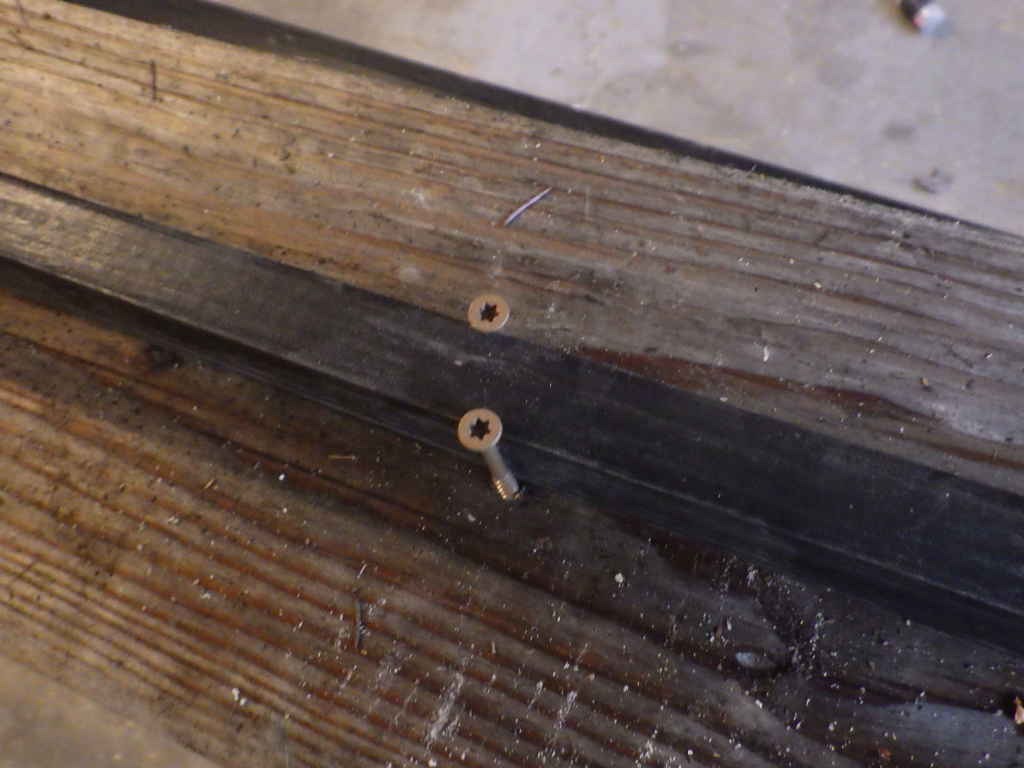
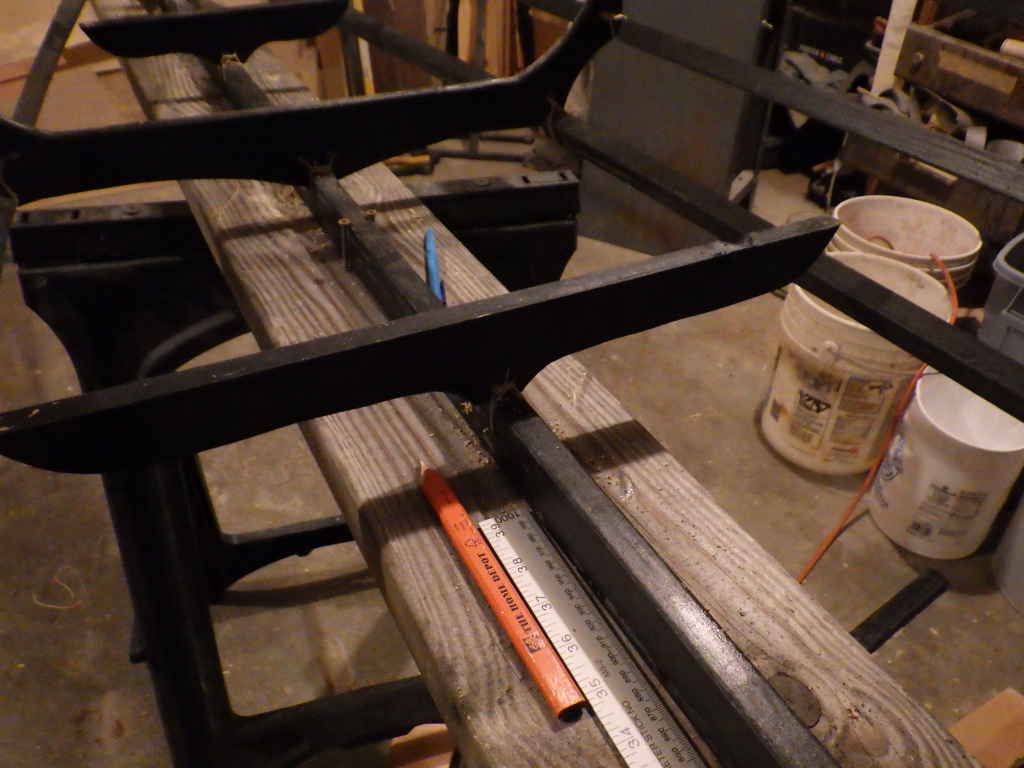
Snap a line down the center of your strongback and lay down your keel. I used to use L brackets to hold the keel in place, now I just use screws. I missed a couple of pics: Once the stems are lashed to the keel and the keel is held straight on the strongback, put a dab of glue on the inside of the keel socket on a frame and lash that frame to the keel. Brace the frames so they are square to the keel.
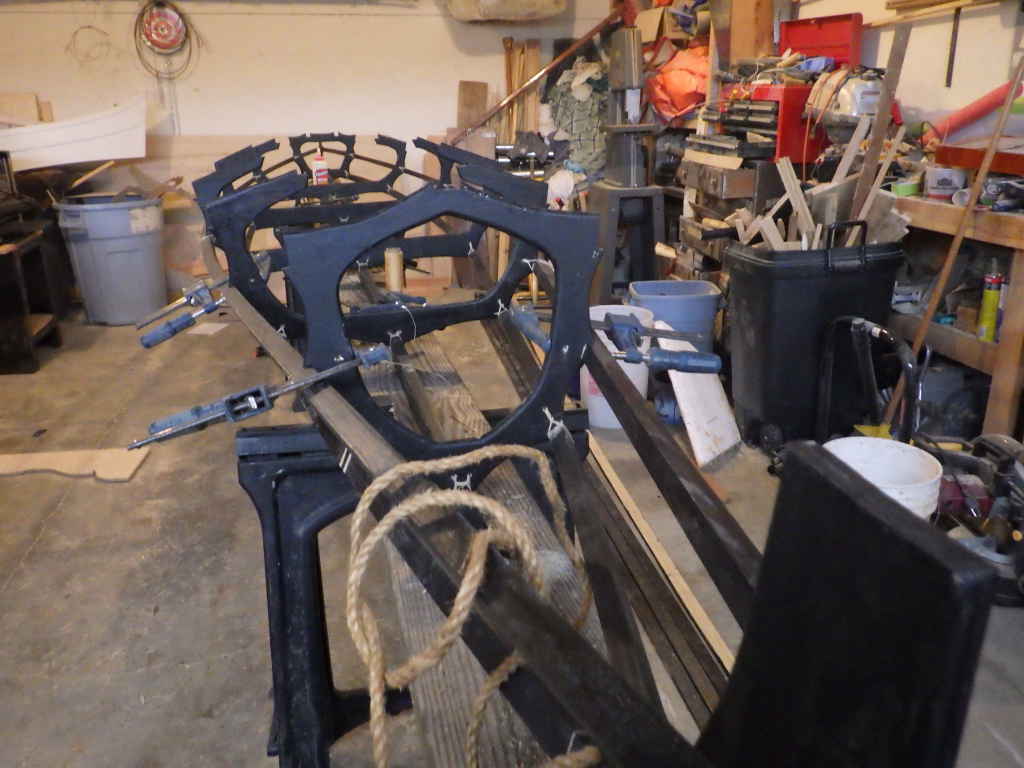
I like to put a dab of glue on the socket of the frame, then clamp the stringers in place. I make sure the frames are straight and square, then go to bed. After the glue cures, I remove the clamps and lash the stringer to the frame.
Attaching the stringers to the stem is tricky business. The bottom stringers are the worst, the bevel is really long. This is where your Japanese Pull Saw really earns it's keep. This diagram gives a pretty good idea of how I do it.
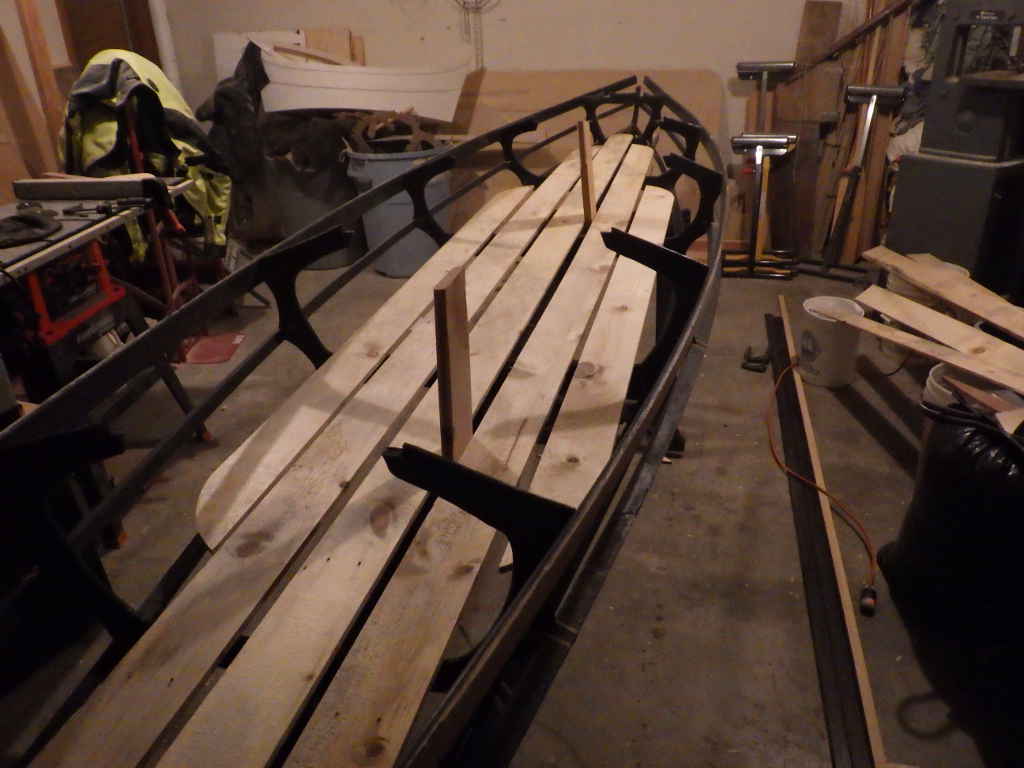
Once the stringers are lashed in place, It's time to work on the floors. As this boat has a defined bow and stern, I want the paddlers to be able to sit where needed to balance the boat. It'll have floorboards instead of seats. These supports will hold up the floorboards between frames.
The boards are from a 12' pallet we get at the lumber store. They ship Hardi-plank siding on it, and we just stack 'em up in the corner until someone carts 'em off. On the pallet, the boards are 3.5" wide and a little over 3/4" thick. That's WAY too heavy. so I decided to thin 'em up a bit on my new (used) thicknesser. Yeah, that was a stupid idea. I ended up with 2 garbage bags of wood shavings.
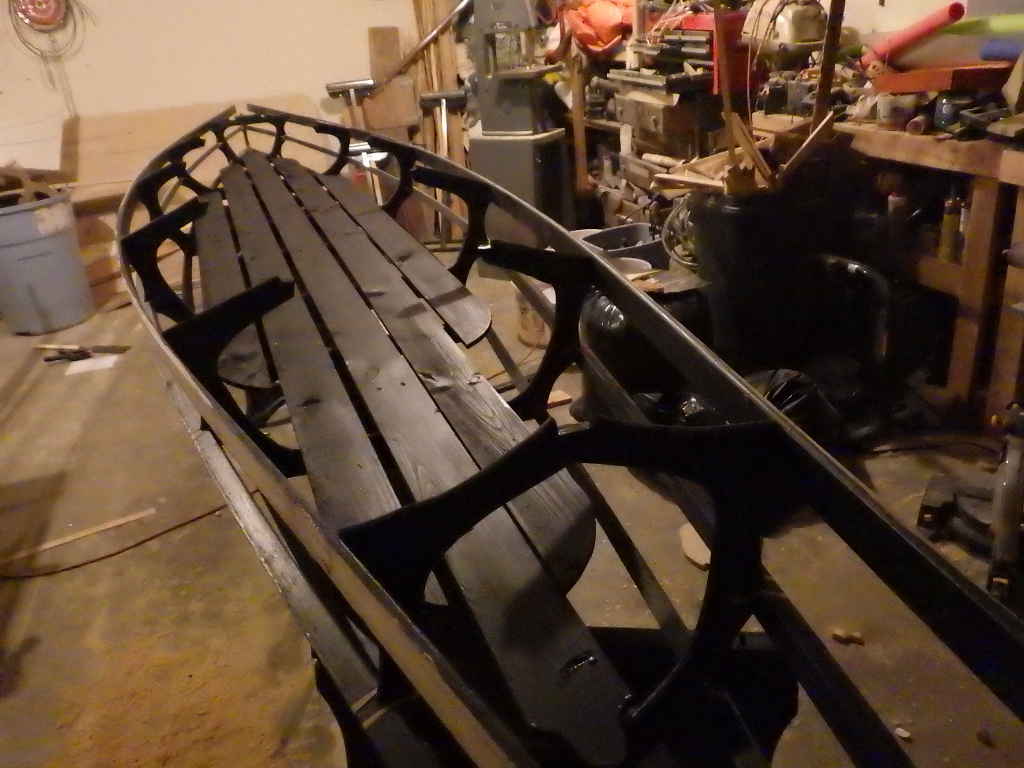
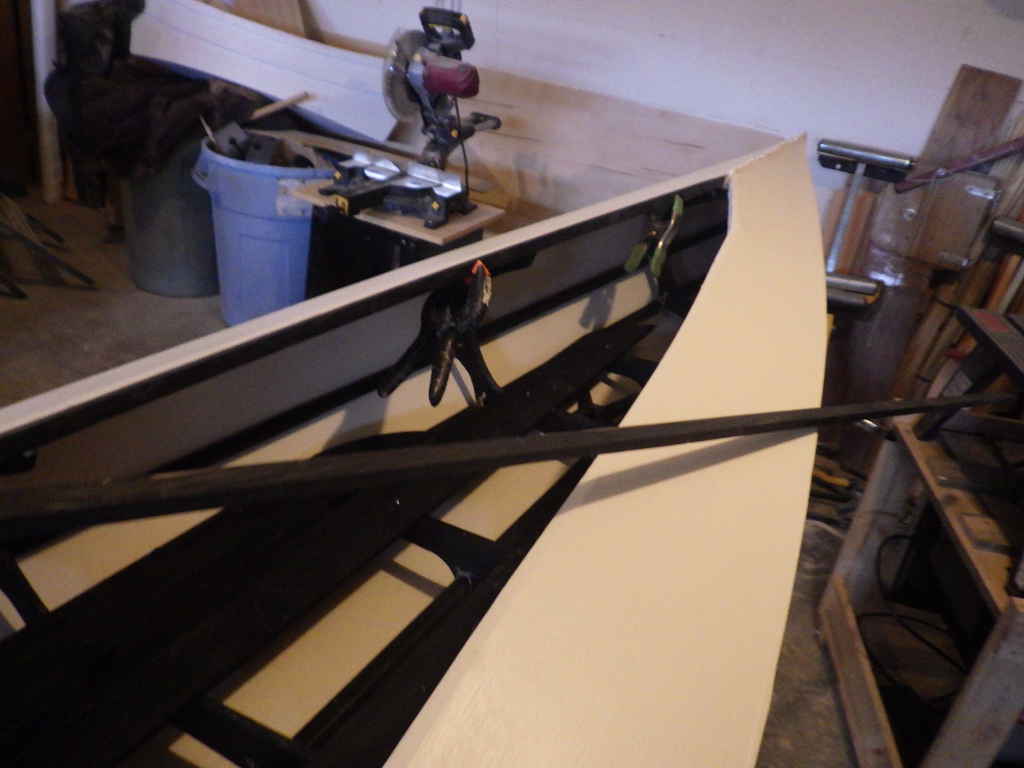
There they are. You can see the gunnels are attached, too. I use 1 1/4" deck screws to attach them to the frames. Pre-drilling is necessary. The final step for the frame was to install the stringers that go around the top of the cockpit.
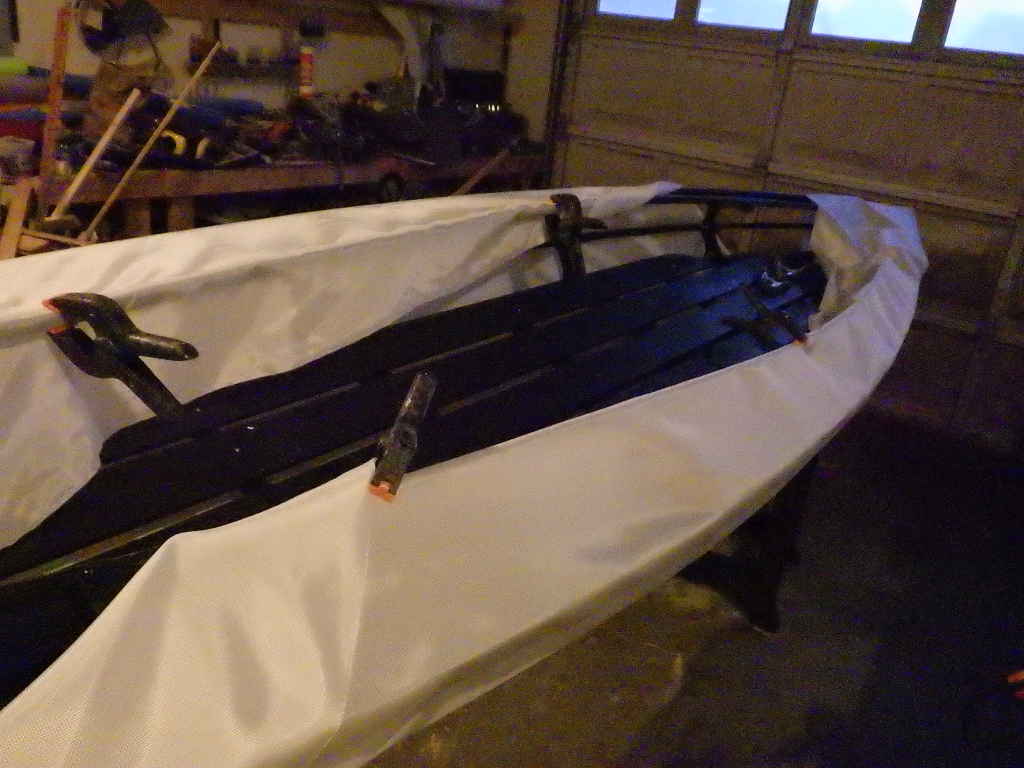
With the frame done, it's time for skinning. The smart way to do this boat, the recommended way, is to skin it in two steps: One piece for the top, one piece for the bottom. You can also do it the stupid way, the not-recommended way, the way I did it. One piece, wrapped around the way around. It ain't easy, but it works.
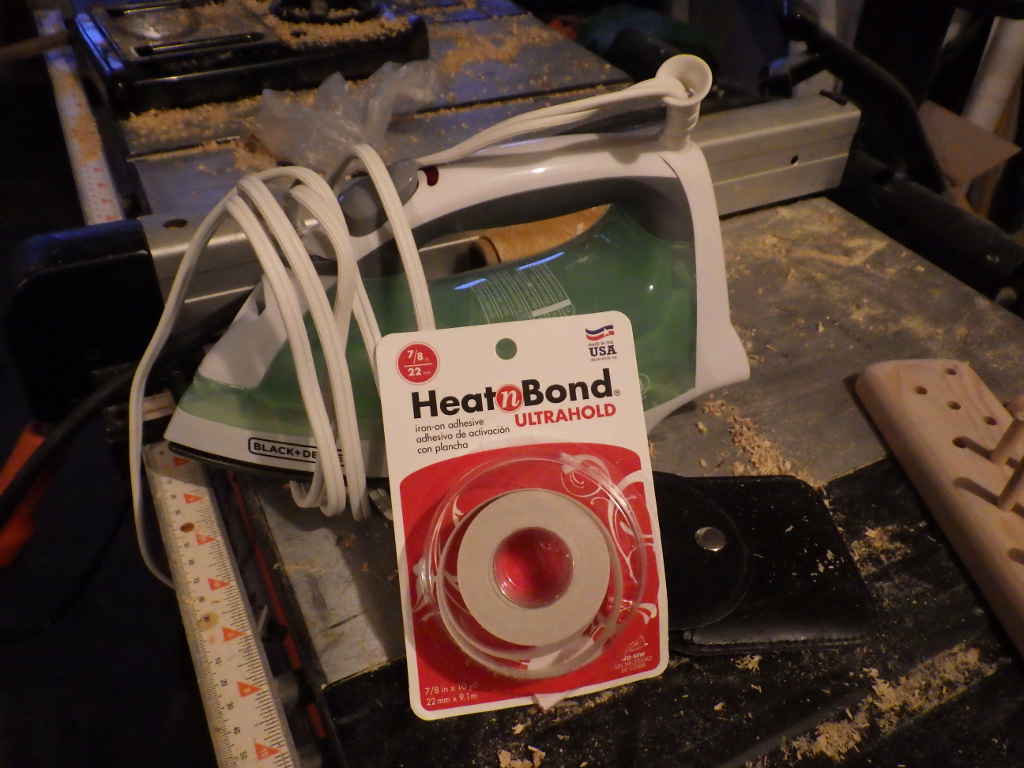
This is my first time using Heat-n-Bond. The staples had a hard time seating on the last project, so I figured I try this. It worked VERY well.
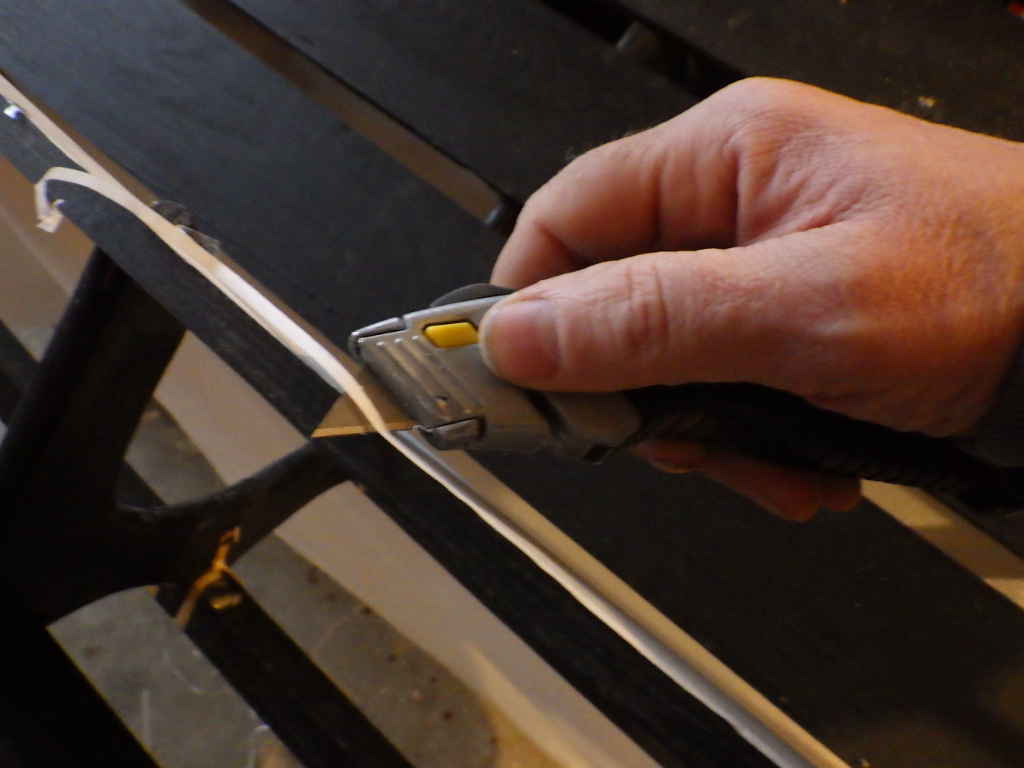
The Heat-n-Bond was wider than the sticks, so I had to trim it. Just another step.
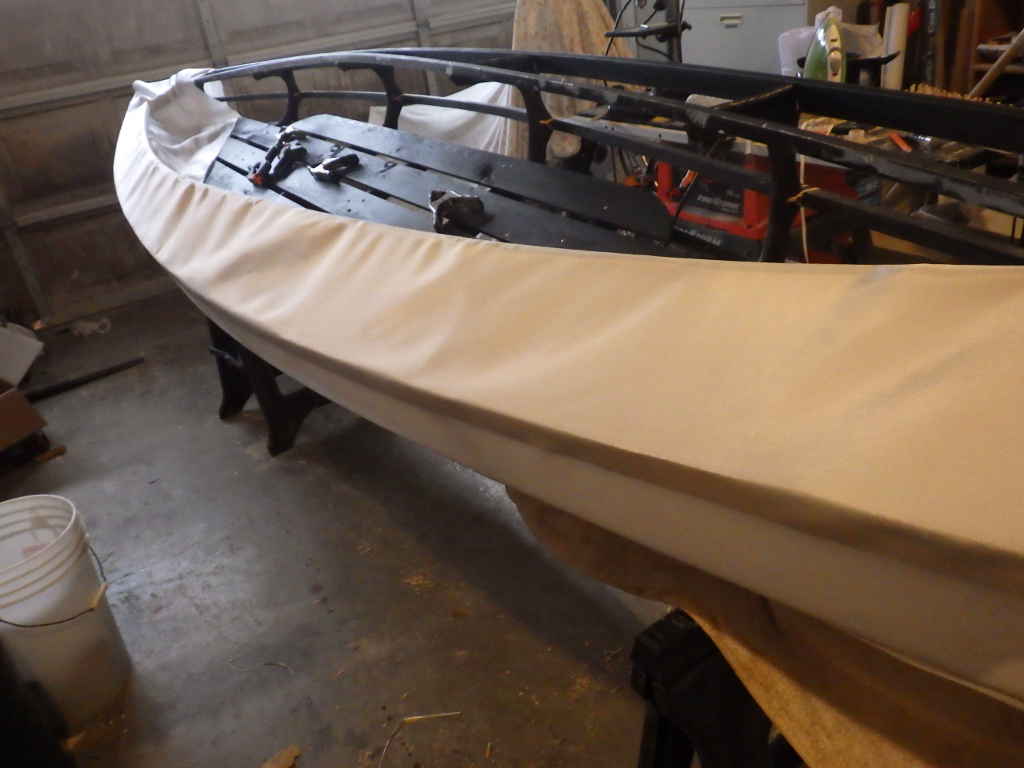
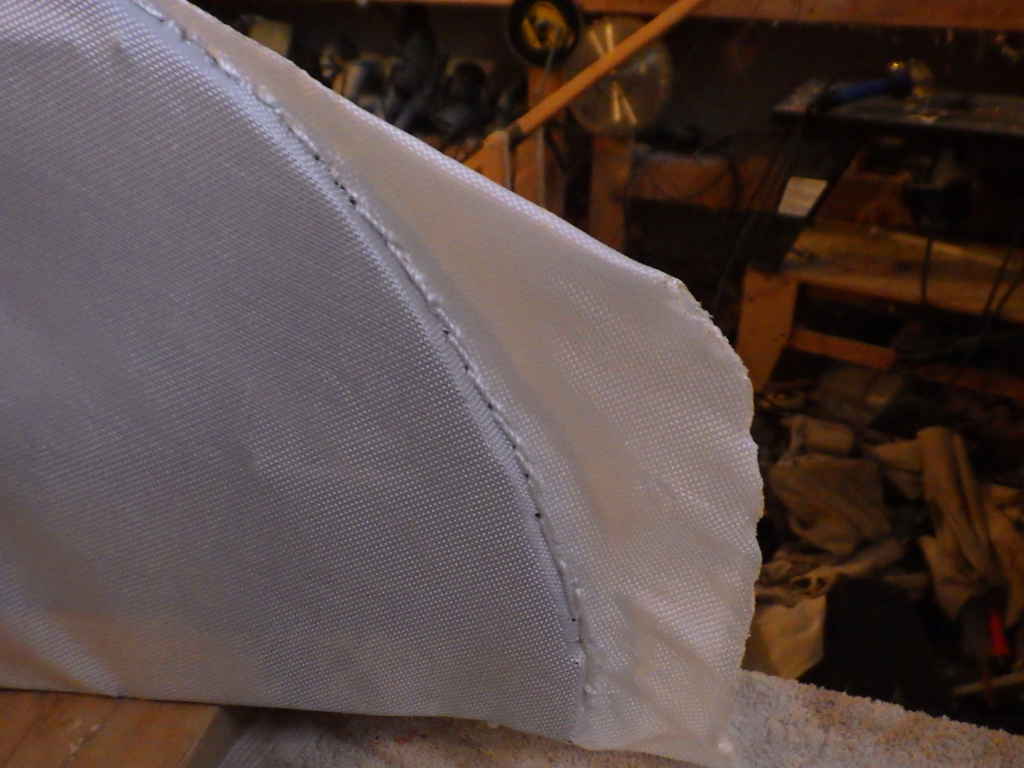
One side on.,
Other side on. That's as tight as I could pull it.
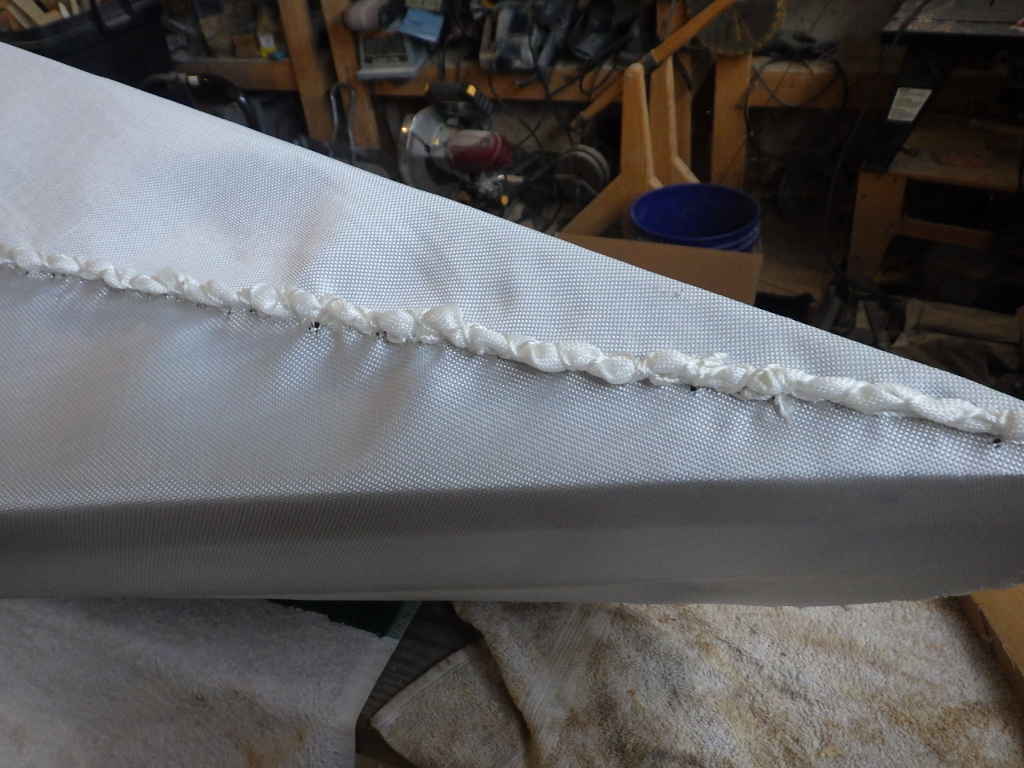
Stitching. I'm not the best at it.
Now done with the whip stitch. Wrinkles wrinkles wrinkles.
I use a Harbor Freight hot knife to cut the fabric. It works, if you have patience.
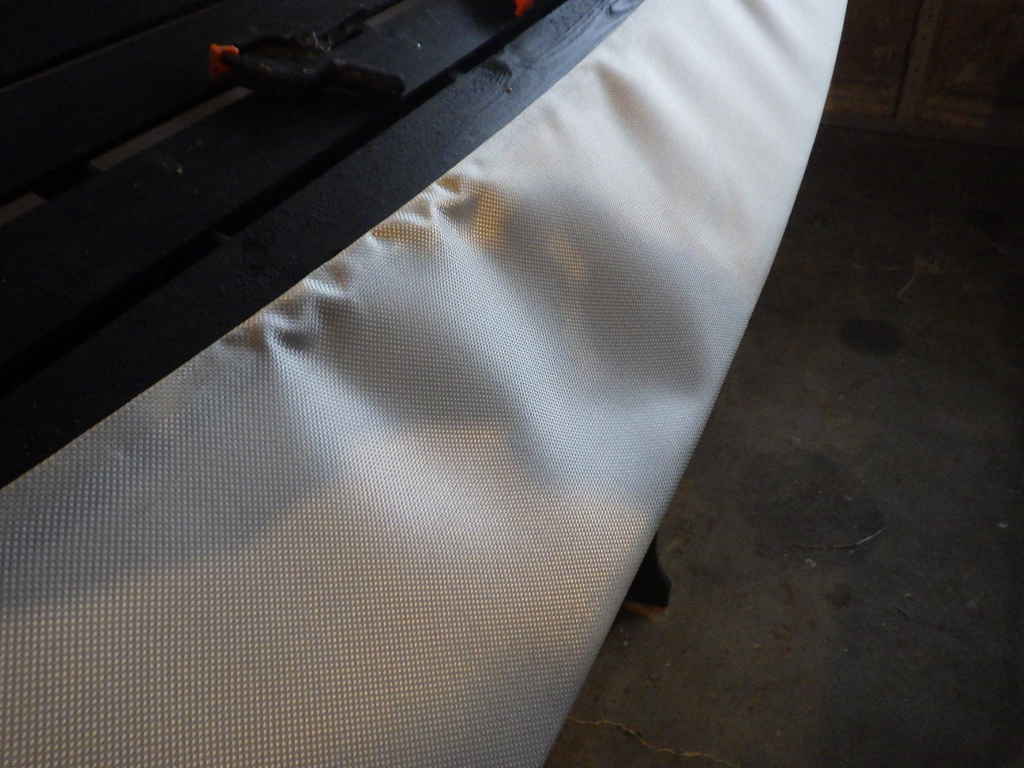
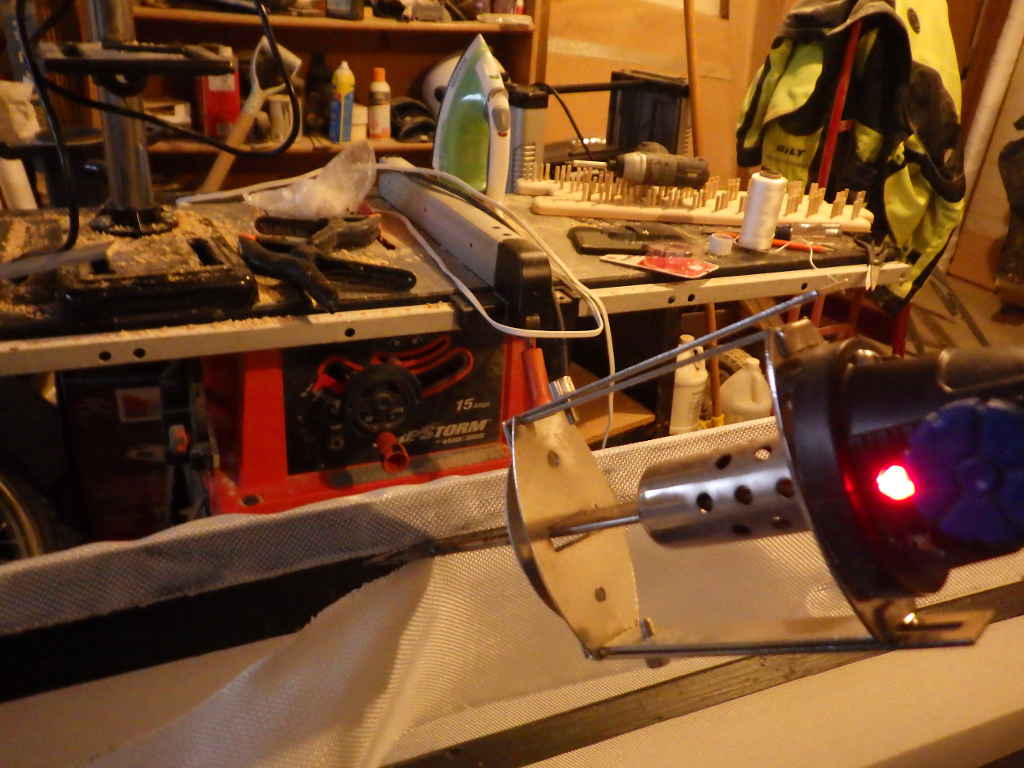
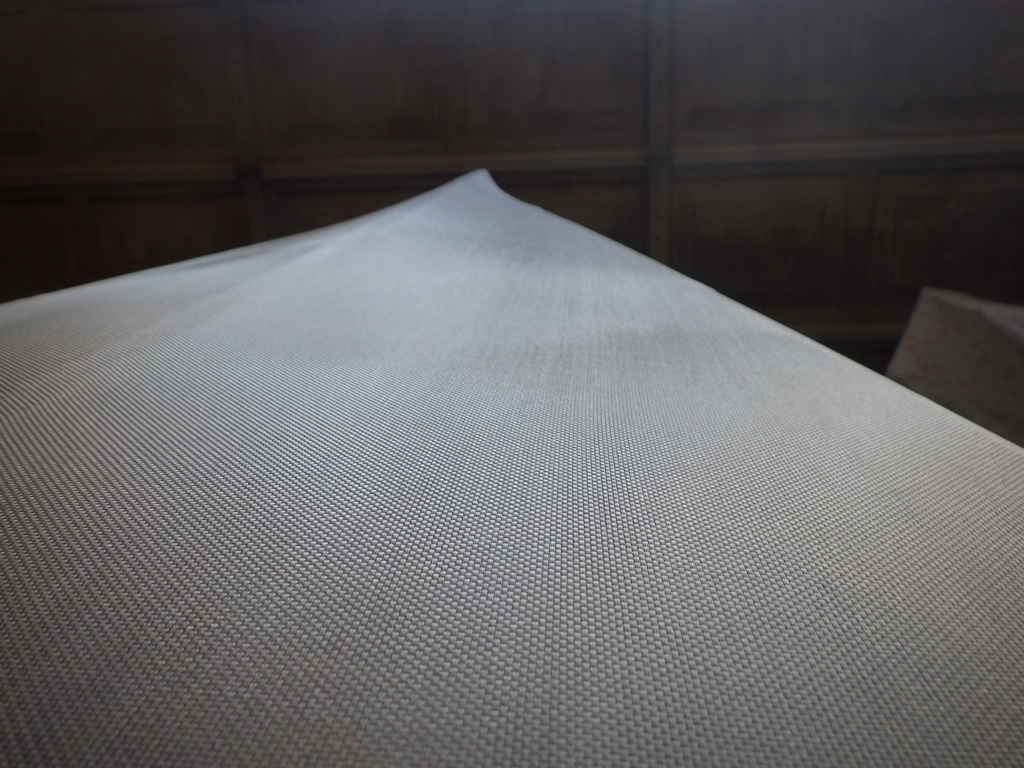
Every time I do this, I think "Man, there is no way this skin is going to shrink up.
And then it does. Beautiful. I use a Harbor Freight heat gun for this, too.
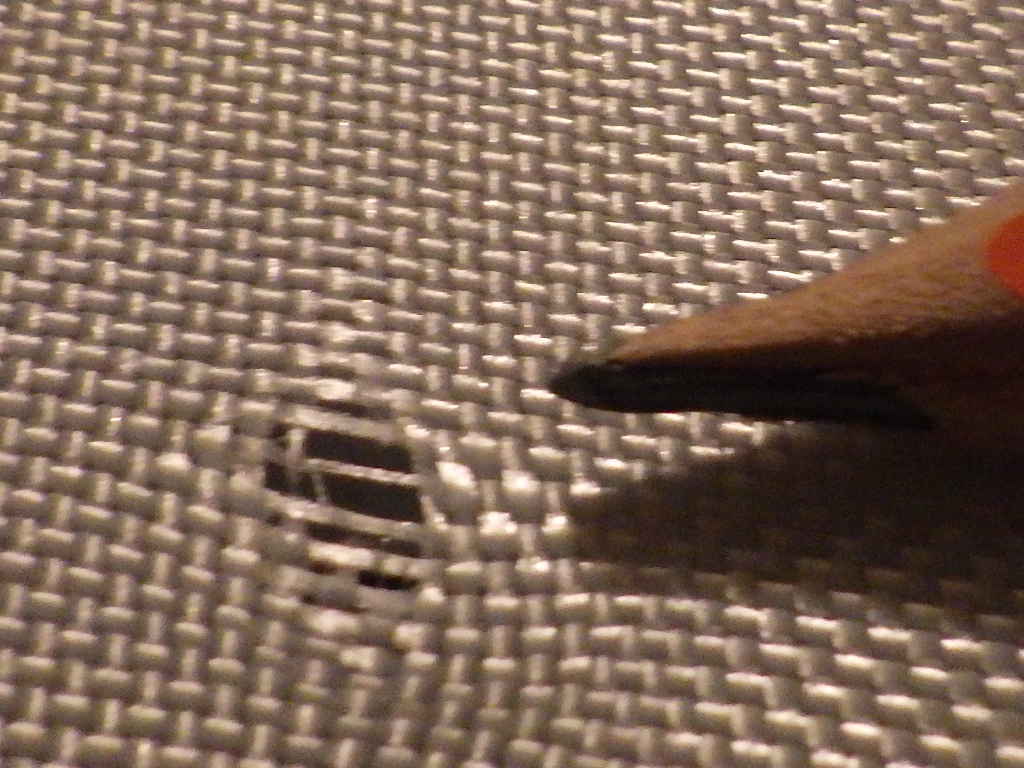
This is a new one for me. Some flaw in the fabric. I passed over the area with the heat gun and, in the blink of an eye, a hole. It's tiny, on the topsides. I think I'll just paint over it.
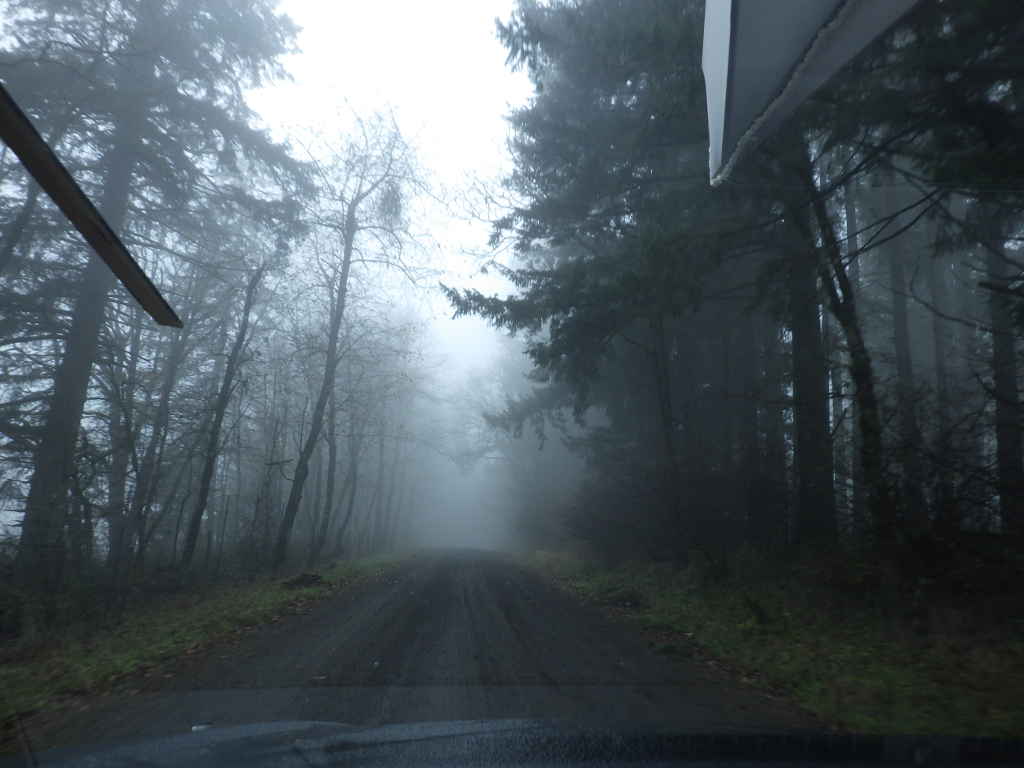
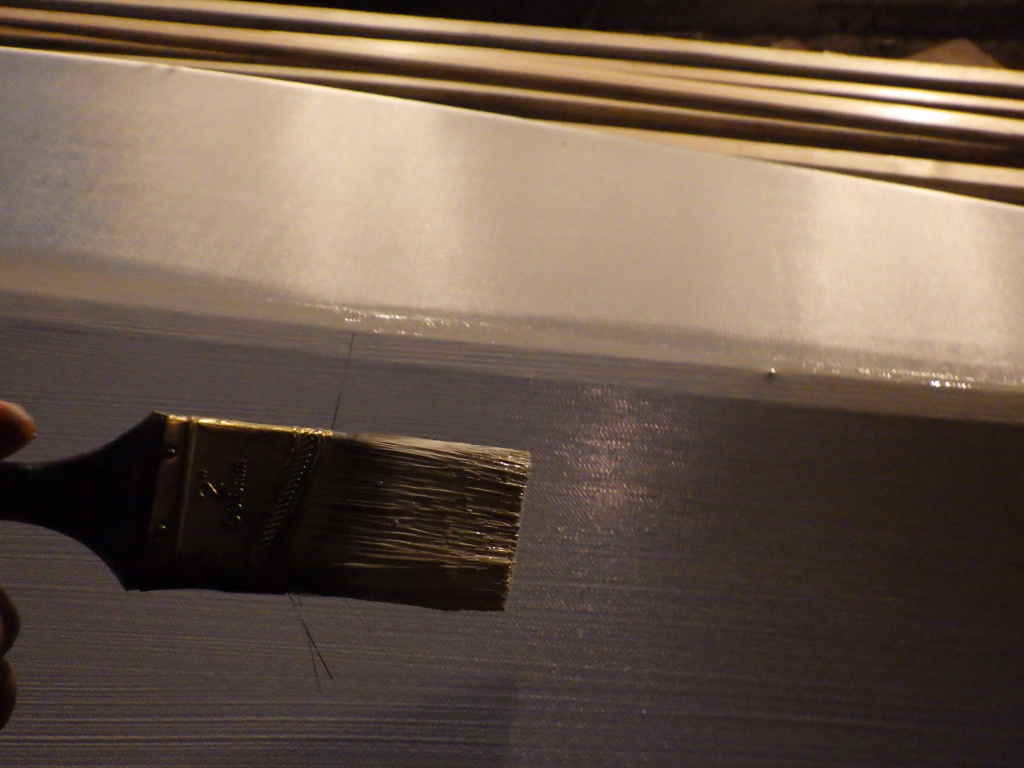
Late December in Oregon. What a great time to be painting.
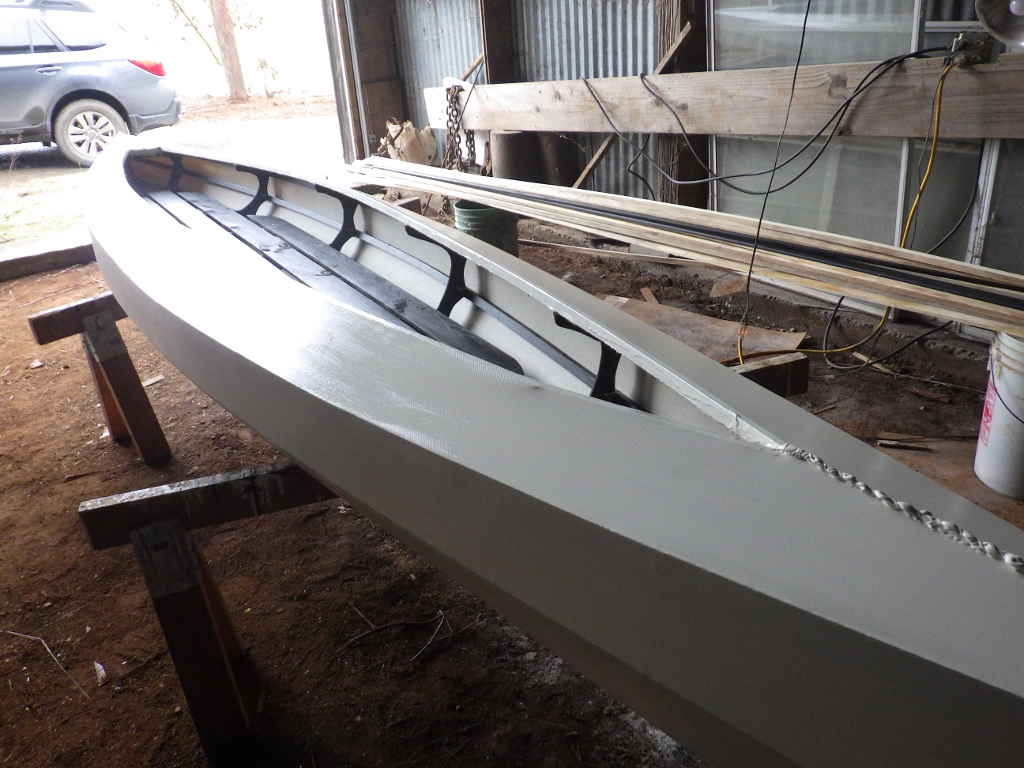
That's a purty boat
3 coats of house paint on the bottom, 2 on top.
Remember the hole? So small (and blurry) the paint filled it.
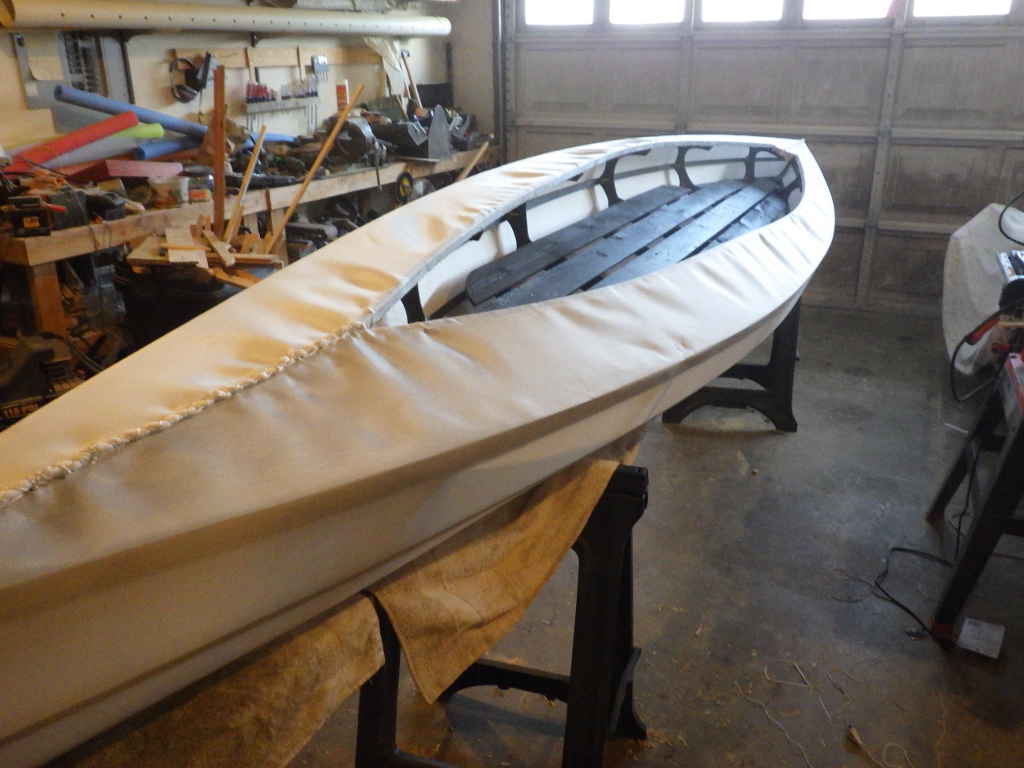
There she is.
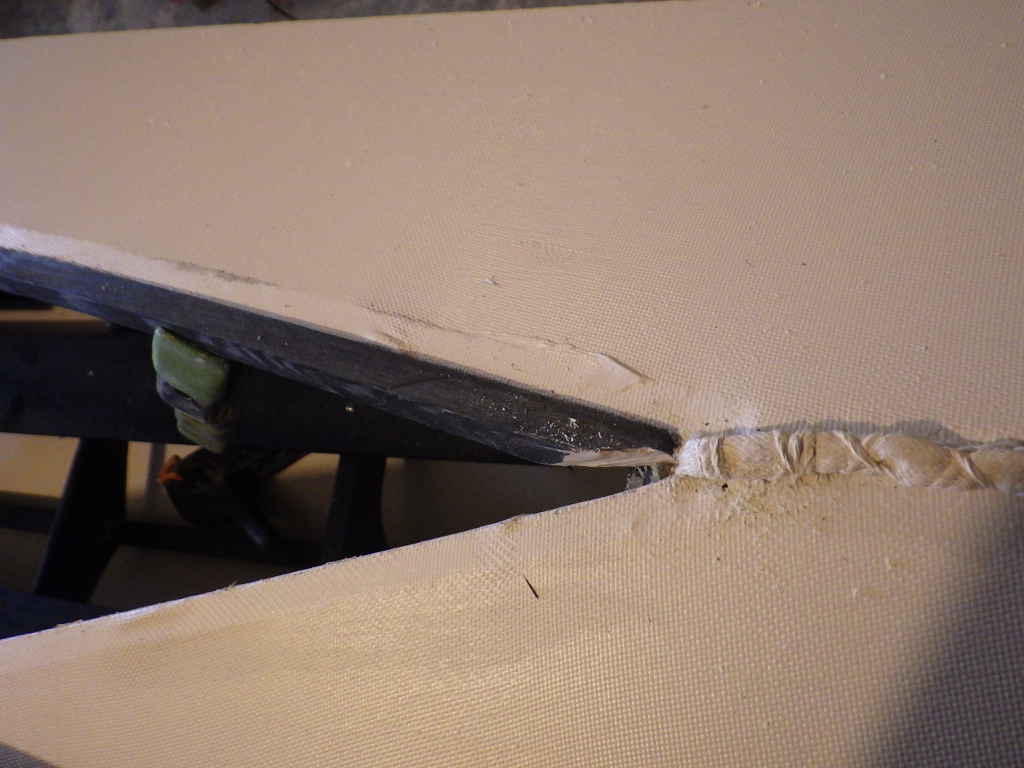
Next, I needed to finish her up. Rubrails on the outside, and these . . . carlins? The things that go on the inside of the cockpit edge.
It's tricky getting the carlin thingys to meet correctly. My favorite finishing tool is a Japanese Pull Saw.
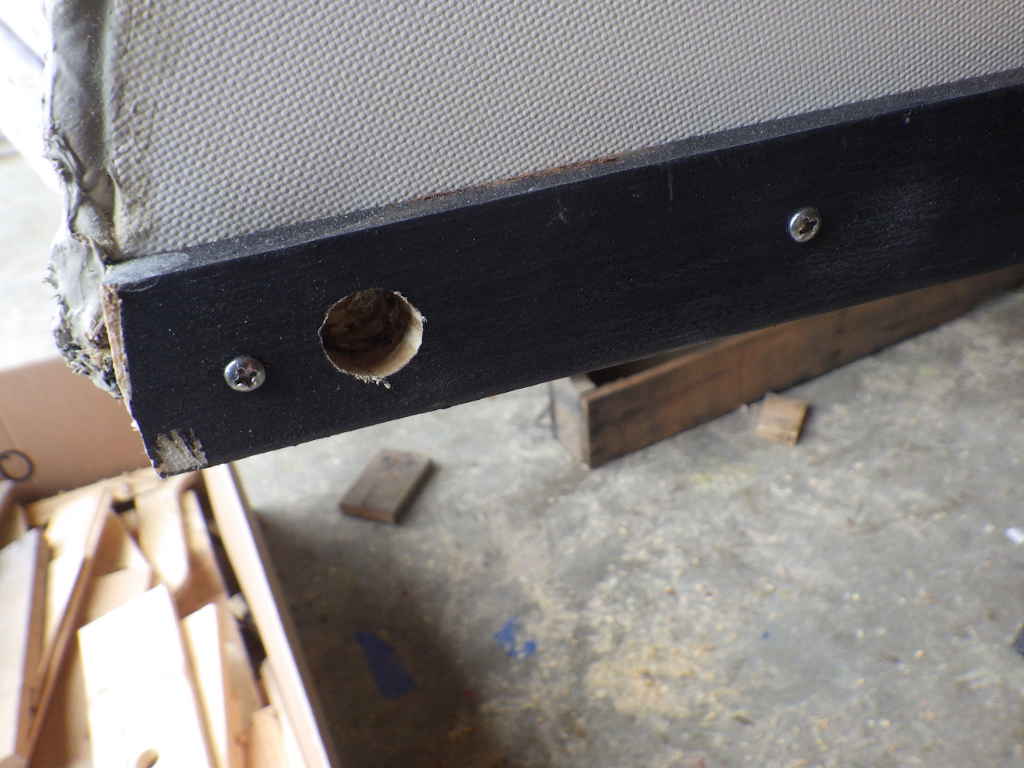
If I were a marketing director, I'd call this an "integrated hawse hole," but I'm not. It's just a 3/4" hole through both the bow and stern so I can tie a painter without paying for a stainless steel eyebolt.
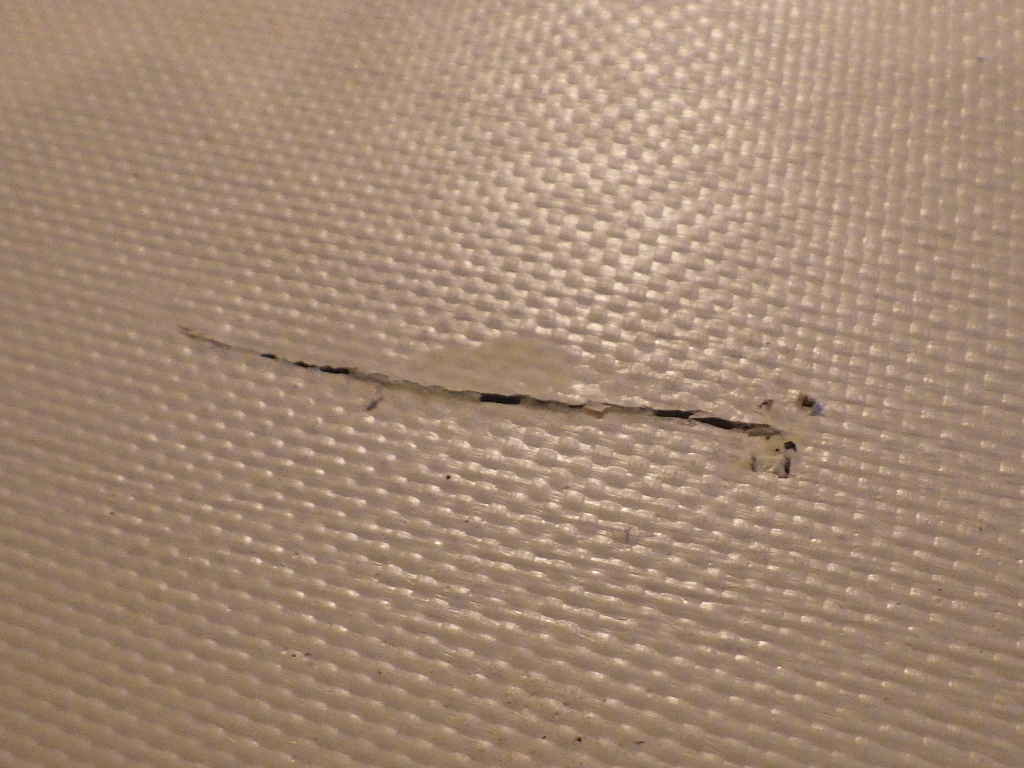
Oh CRAP! I was using my razor knife to trim some glue drips inside the cockpit and the knife slipped. a nice 2" slice, on the topsides. Made me say a bad word.
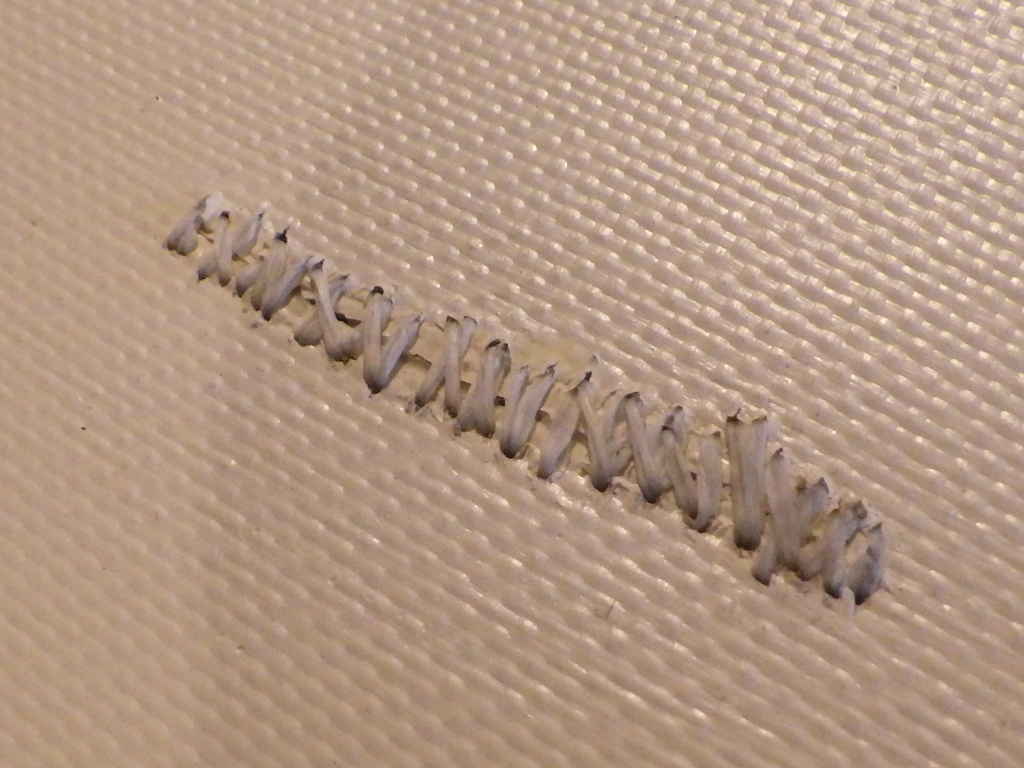
This is the beauty of Skin on Frame boats. 10 minutes after I quit crying, I had it stitched up with dental floss. I covered this inside and out with the roofing caulk. It'll never leak, but still, it's a flaw.
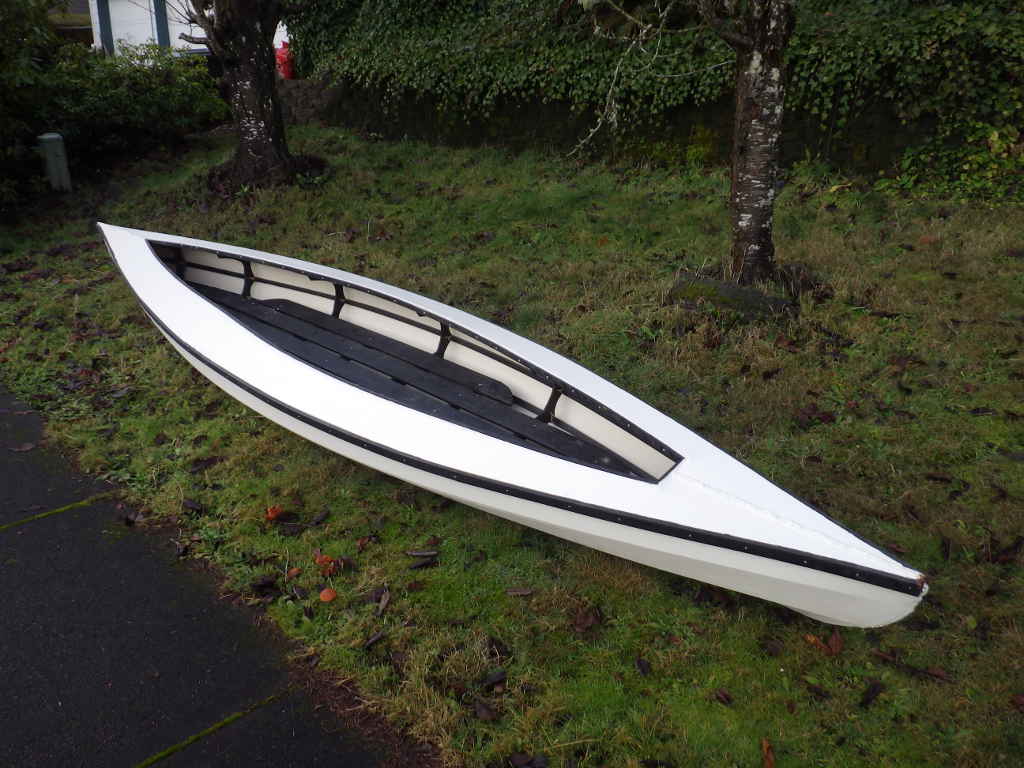
There it is.
Another angle.
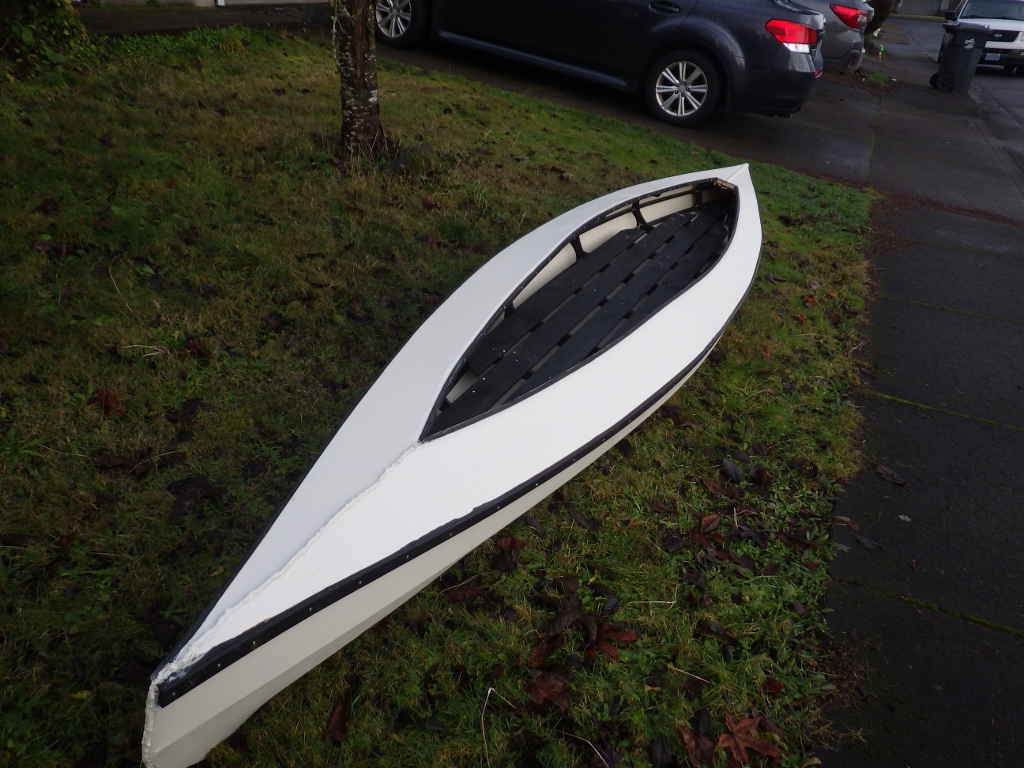
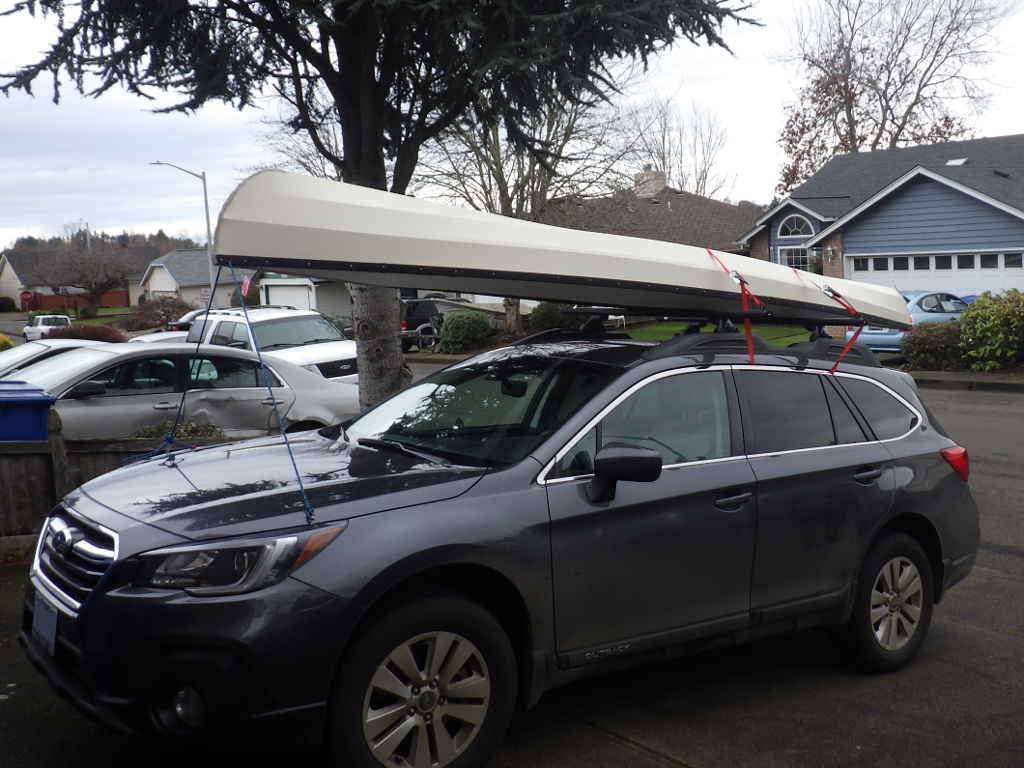
And now ready to roll. That is a damn fine boat.
|