|
How to make a Fringe Blanket People have been giving each other blankets since Oog the Caveman killed his first deer ("Here, Honey, clean this, cure it in urine and feces, make a hoop so you can stretch it out to dry, rub brains all over it, and chew it to make it soft. I got you a blanket!") Fringe blankets are easier than that, plus they are dirt cheap, and require no skill or tools (beyond pins and scissors.)
Overview of the process. Six simple steps, takes about 2 hours to complete. This is a project suitable for children, for a group, or solo. You can even do it while watching TV and sipping wine. You've probably noticed I specify 2.5 yards of fabric where most craft websites say 2. That's because craft websites are craft websites and I try to impart practical knowledge. A blanket needs to wrap the whole body, especially the feet. The fringe takes away 8" of length, plus the edge, which makes the "standard" fringe blanket have a usable surface area of about 5 feet. That might be fine for a little old lady, but when your favorite berserk needs his binky, it needs to cover head to toe, and have room for a dog. To get started, go to your local fabric store (sadly, now that's usually WalMart) and get some fleece fabric. Fleece isn't woven so it won't unravel when you cut it. As fabrics go, fleece is dirt cheap and comes in a dizzying array of colors and patterns. Be bold! Find colors you like and patterns that reflect your interests. I highly recommend getting 2.5 yards (that's 7.5 feet in freedom units. I don't know how they sell fabric in foreign lands so you outlanders will have to do the conversion into your local gibberish.) NOTE: ALWAYS check for sales. Fabric stores are constantly having sales. This is a good time to use coupons. Always ask if there are discounts.
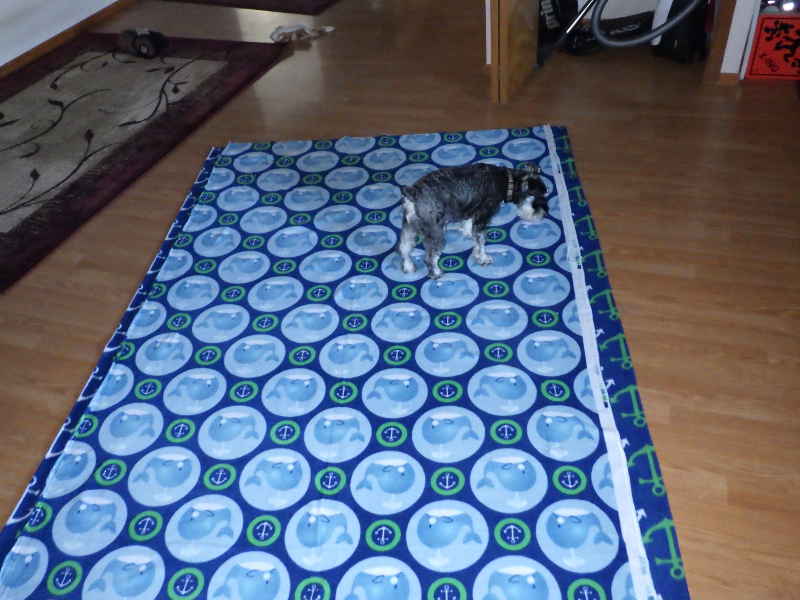
Start by laying one piece of fabric on top of the other. Did you know fabric comes in different widths? I didn't, and that witch at Joanne's didn't tell me. As a side note: Have you ever seen a Schnauzer as a service animal? No, no you haven't. That's because, despite their best intentions, they just aren't helpful.
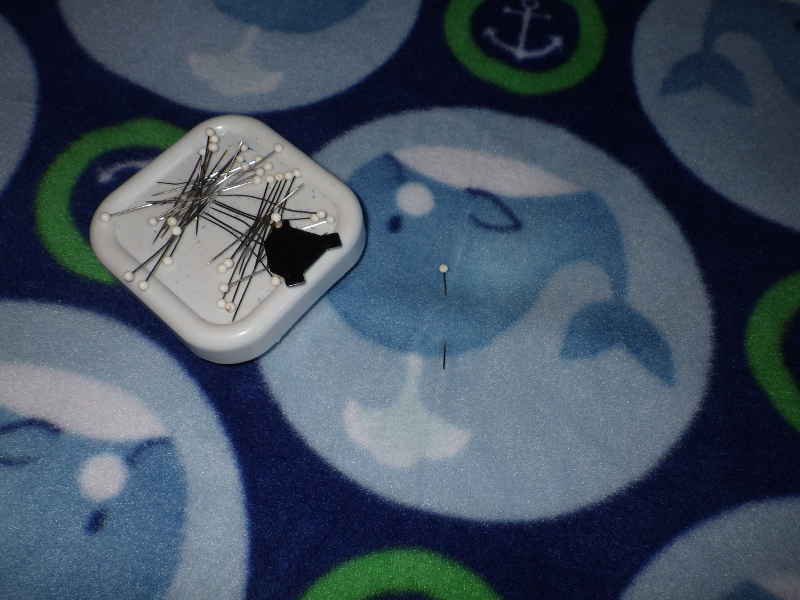
Pin the pieces together so they don't slide around. You don't need that many pins, but be generous. And remember to remove them when done (this is a very important, oft overlooked, step.)
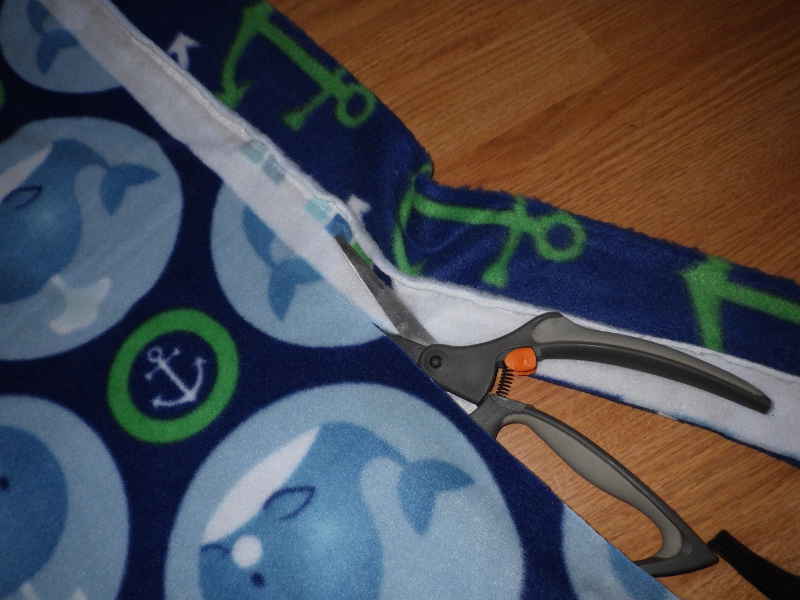
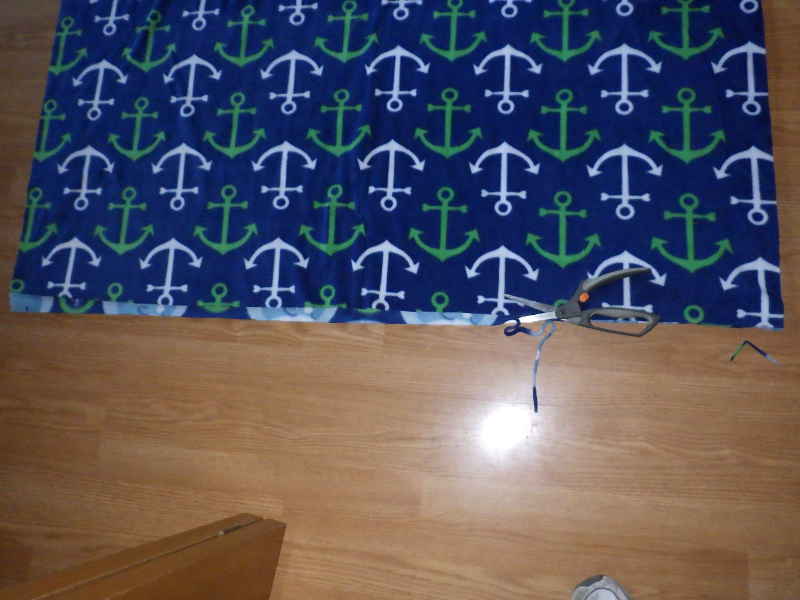
Some fabrics have an off-print edge to them, called a selvage Selvage is from Old English for "Making people buy stuff they can't use." Cut that crap off and throw it away. Plus, this step evens up your edges, which is less important than you might think.
OK, fine, I'll even up the top and bottom, too. It took me about 20 minutes to get to this point.
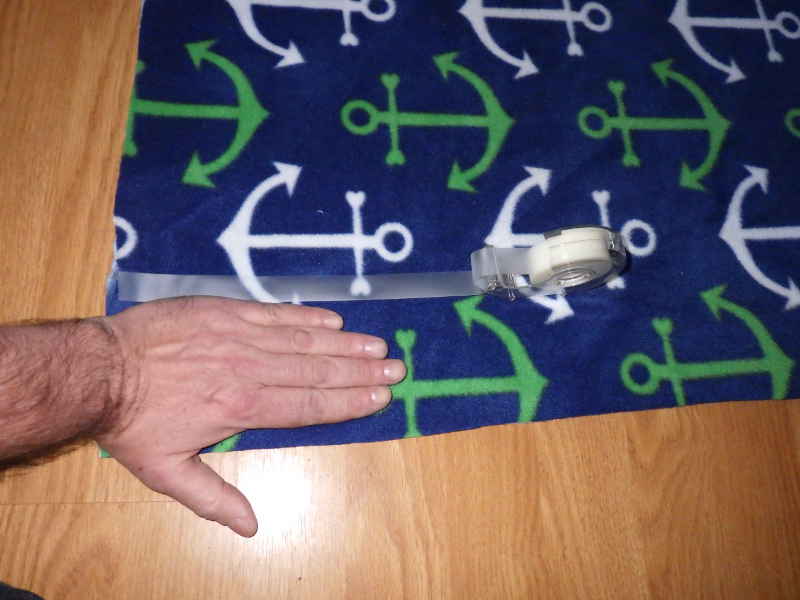
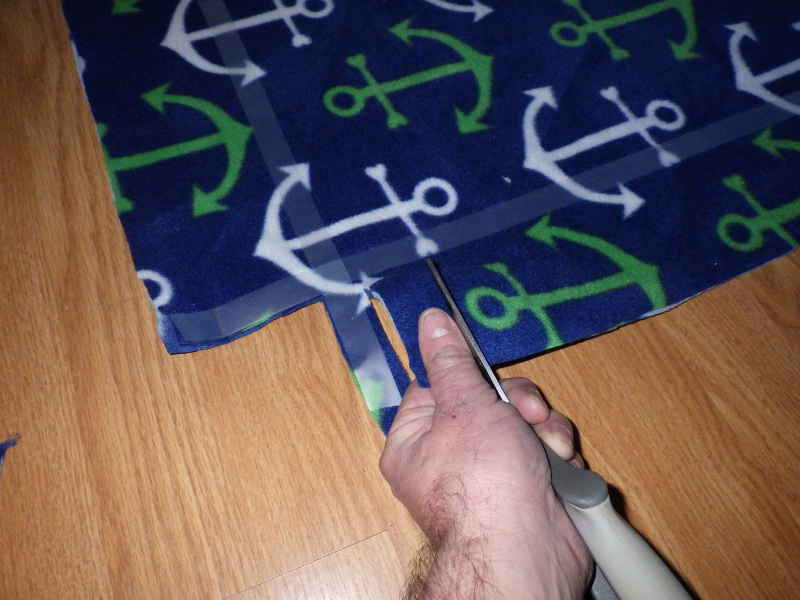
The fringe needs to be long enough to tie but not so long as it ruins the functionality of the blanket. 4" works for me. You could measure 4", but the width of your hand is close enough. What's that? You have large or small hands? Too bad, you genetic freak. Make do. Run a line of tape along the edge - it serves as the stopper for your cutting. I prefer to use masking tape, but I was out. As it was the holiday season, we had an excess of Scotch Tape from present wrapping. It worked great.
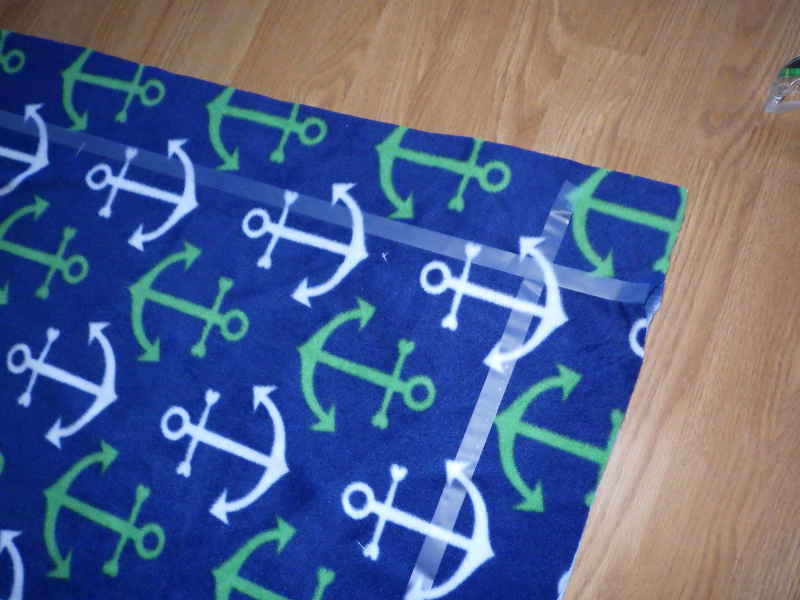
Run the tape all the way around the perimeter, 4" in. There's lots of ways to do corners - I keep things simple.
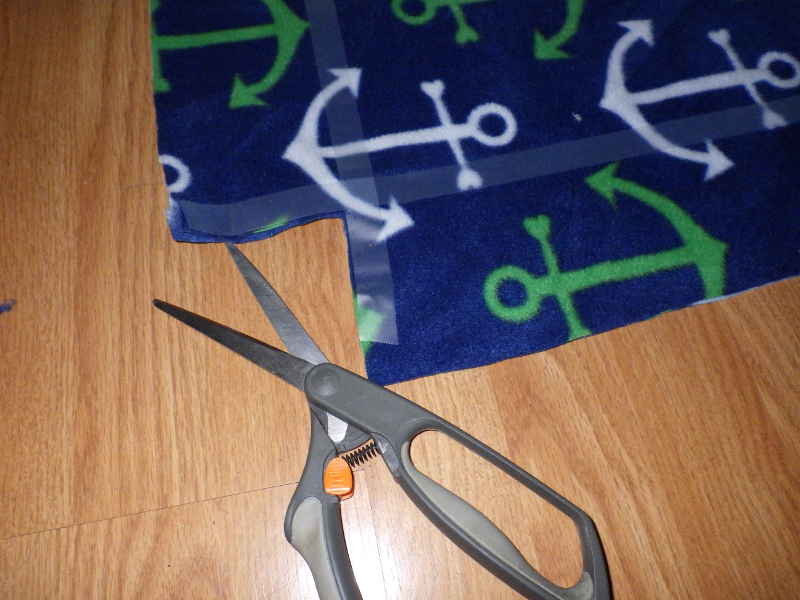
Once you've gotten your tape line around the blanket, use sharp scissors (not pictured here) to cut out the corners. Throw the cut offs away - you always think you'll use them in some future project, but you know you never will.
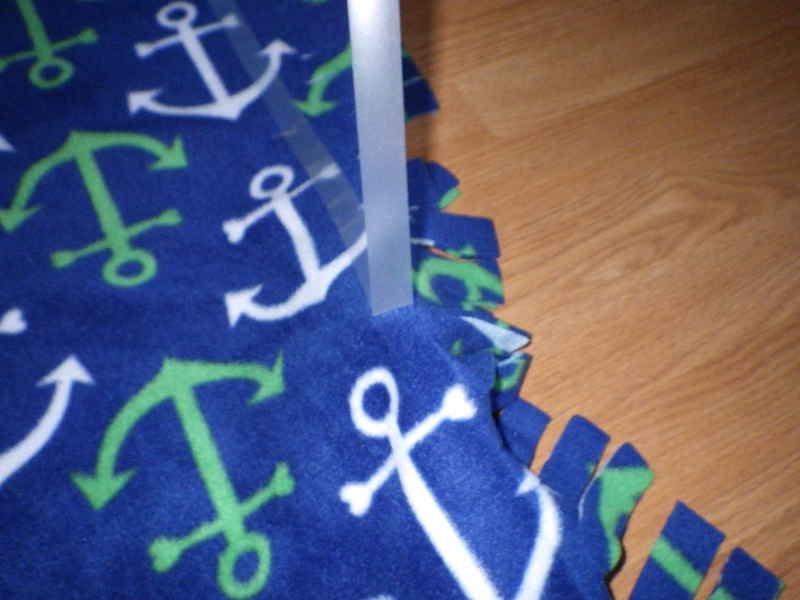
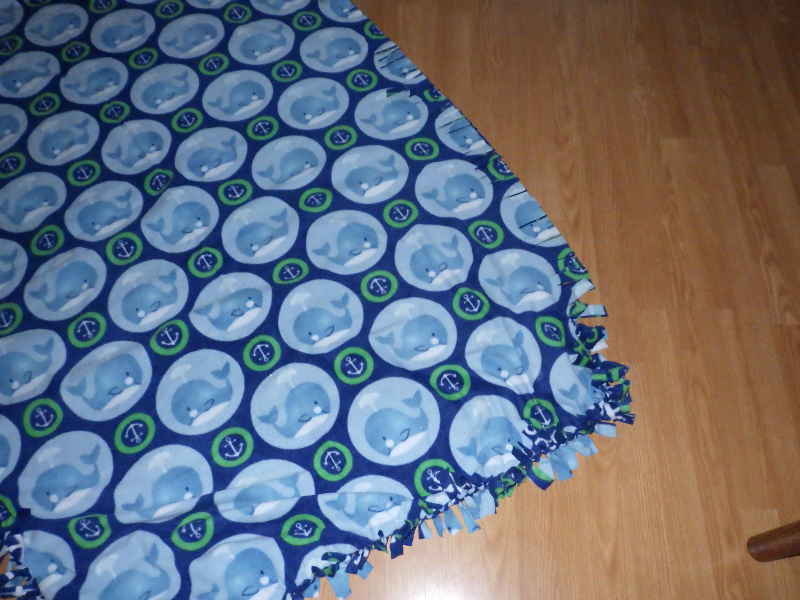
Get to cutting strips. 1" wide (about the width of your thumb) works well, wider than 1.5" makes for ugly knots. Stop cutting at the tape line. Cut too far? Oh Nos! The Project is Ruined! No it ain't. Just improve your technique and continue. Trust me: No one will notice. It's some time during this process you realize why your mother used to freak out when you used her "good sewing scissors" for cutting sandpaper and thin sheet metal.
Once you've made your 256 (or so) cuts, remove the tape. It took me roughly 40 minutes to make the cuts. I have an hour invested in this so far.
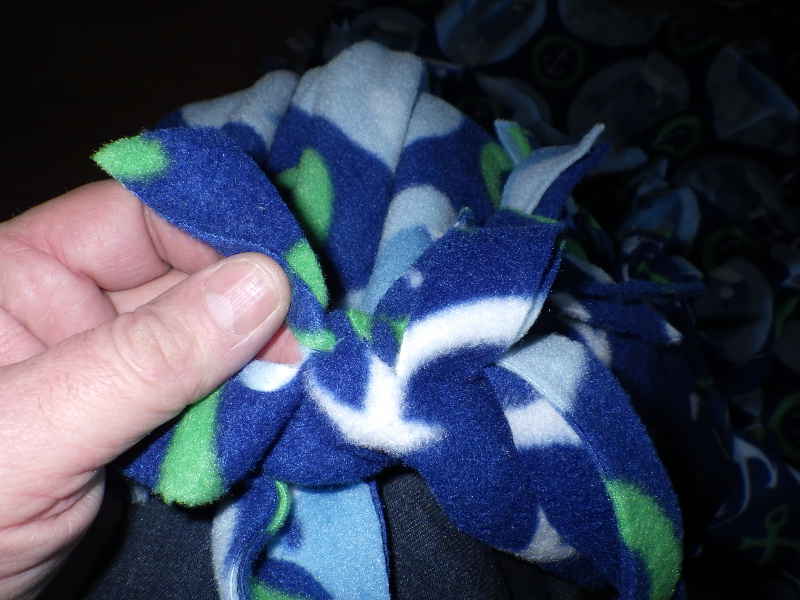
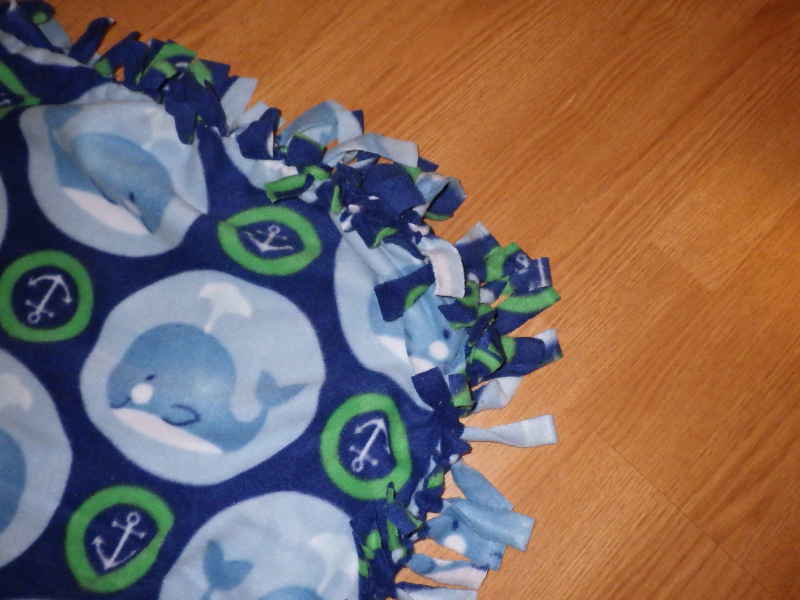
Start knotting. Tie the two pieces of fabric together using as square knot. You remember square knots, don't you? Right over left, then left over right, except you always did right over left then right over left again so it made a double granny and would come undone? That's OK - this project will give you PLENTY of time to practice your square knots (also, it's not mission critical to have every knot a square knot. Still, it's a good time to practice doing it right.) I like to start in the middle of a long side so any errors are propagated through the whole project and it ends up looking intentional.
About halfway through the first side, you start wondering why you started this stupid project in the first place. Remember to pull the knots snug, but not too tight - fleece will pull apart under too much stress.
Just a little past the halfway point, you might start wondering if you could just buy a damn blanket.
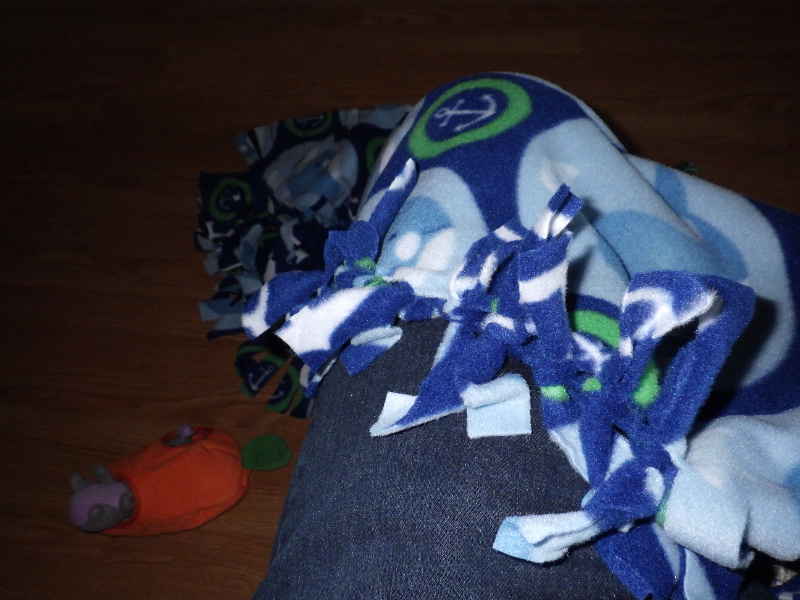
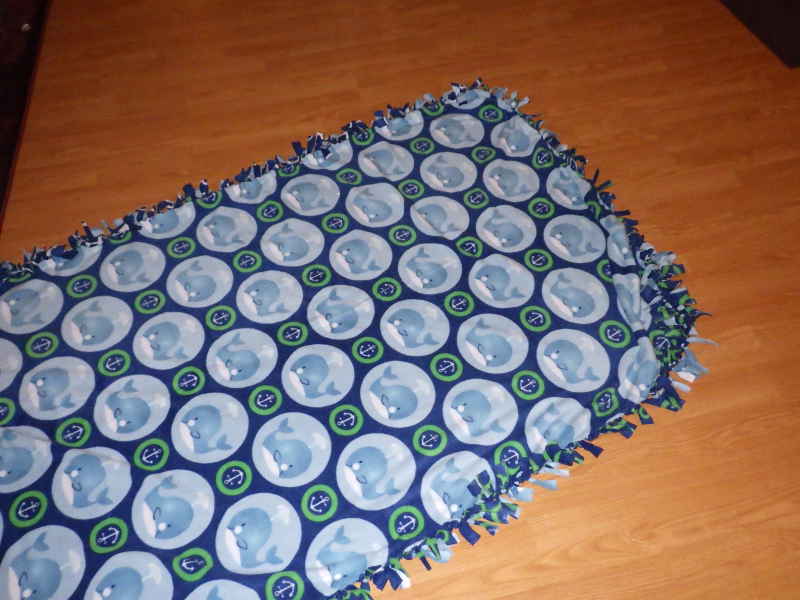
Remember when I told you not to be too worried about cut depth? That's because this is what your final product looks like. No one is going to know if some fringe is 4.25" long and others are 3.75". And your corners don't really matter, either.
There it is, a double-thick, fluffy-soft, snuggly-warm, blanket, custom made with inexpensive materials and using tools you probably have laying around the house already - and all in about two hours of effort.
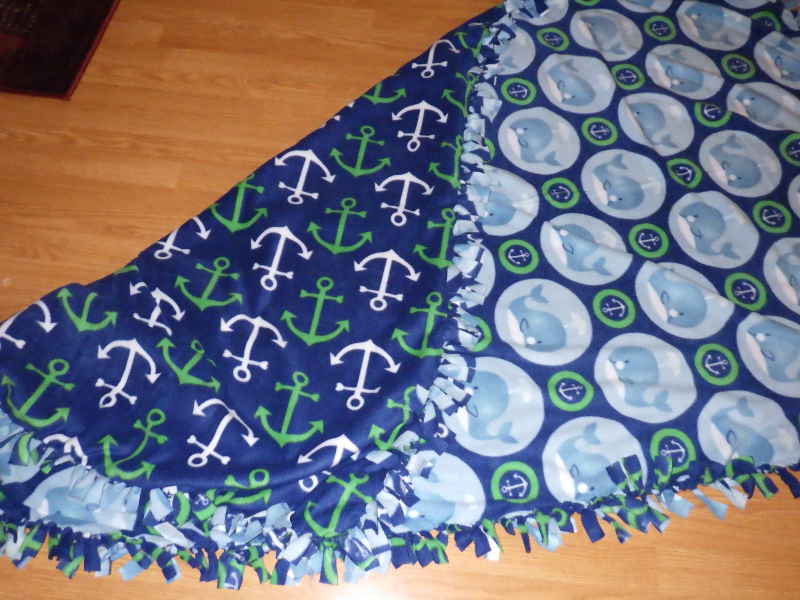
The two pieces of fabric really allow for creativity Like I said earlier: Go nuts. |