|
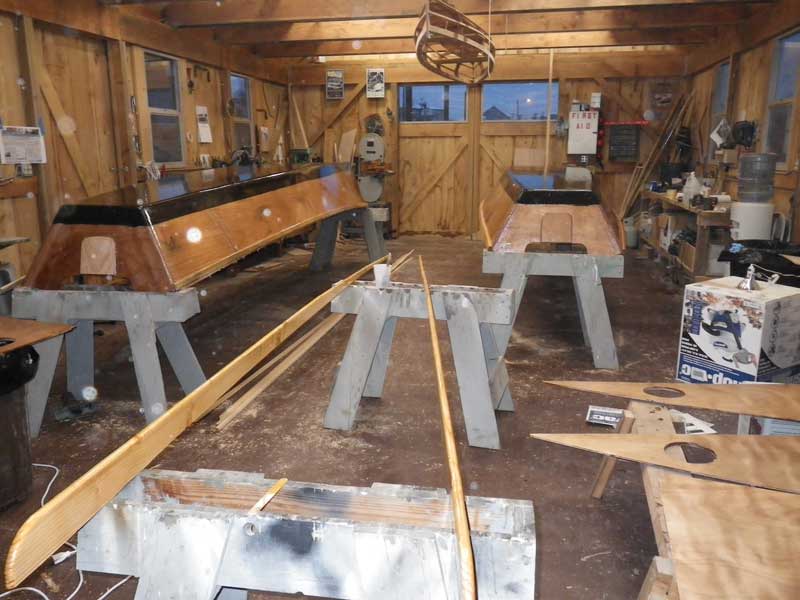
Mollyhawks, Week 9 No report for Week 8 - I forgot my camera. We have just this weekend and one more before the Depoe Bay Wooden Boat Show, where we hope to début the Mollyhawks. I won't be able to work next week, so it'll be up to the other volunteers to get the boats sea worthy. There's a lot of work still to be done - we might just be showing them instead of floating them.
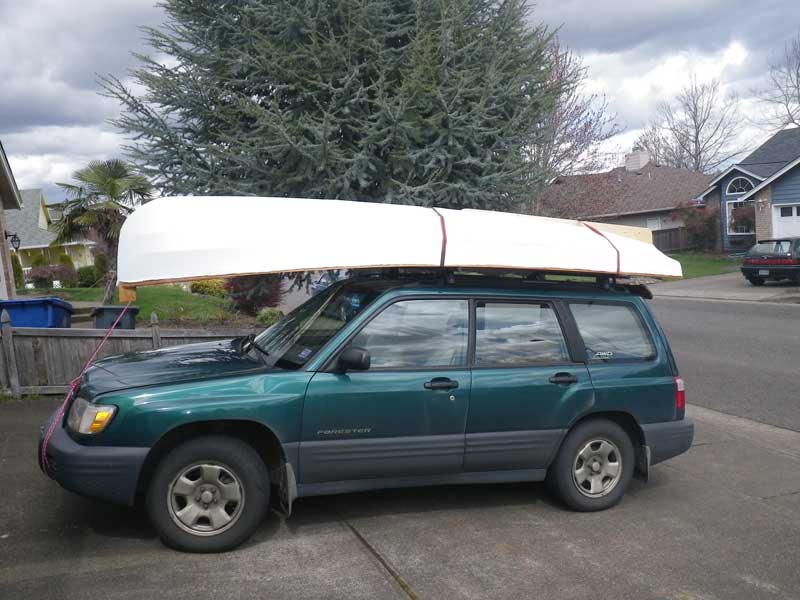
I had high hopes of being able to splash my Whitehall this weekend, so I took it with me. It never left the roof of the car.
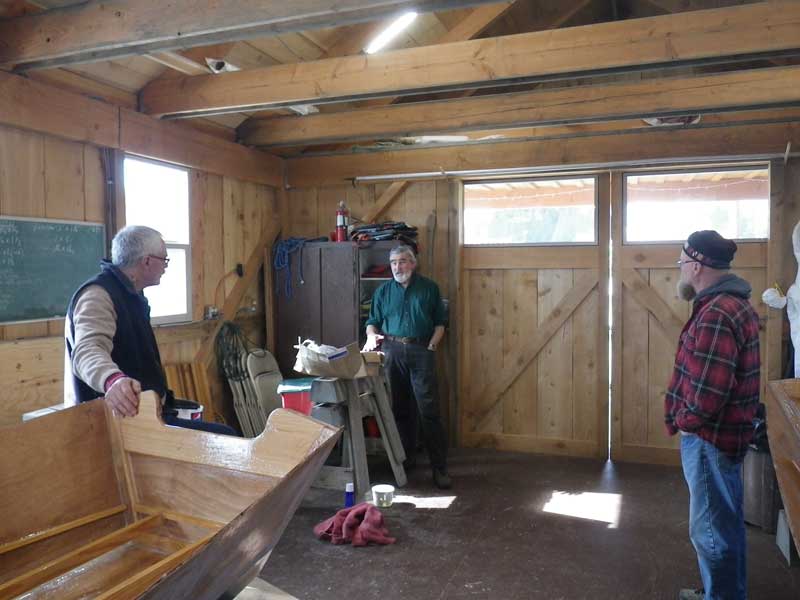
Friday started with a Boathouse meeting where we made a few decisions about boathouse operations and the Teak Lady Society. From left to right: Bud, the Port Manager for Toledo, Jim R. Boathouse volunteer and the head of the Teak Lady Society, and Curt W, general all-around volunteer.
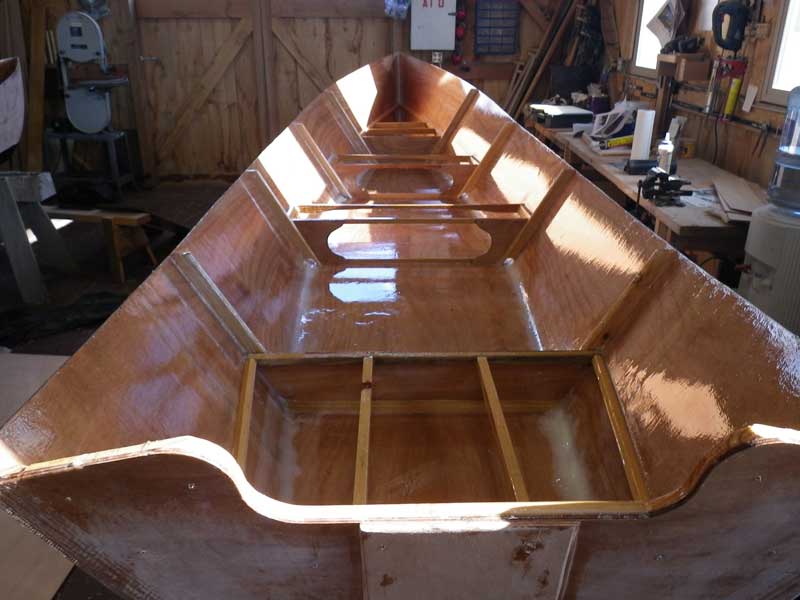
During the week, Bud and Rick J. gave the interiors a nice double coat of epoxy - no more work needed there. What we needed to do today was get the forward and aft seat tops cut.
This was shockingly easy - we just took some measurements, transferred them to cardboard, cut, and tested.
Here is the aft seat template, nicely fitted. The real joy of building two identical boats is the template fit both!
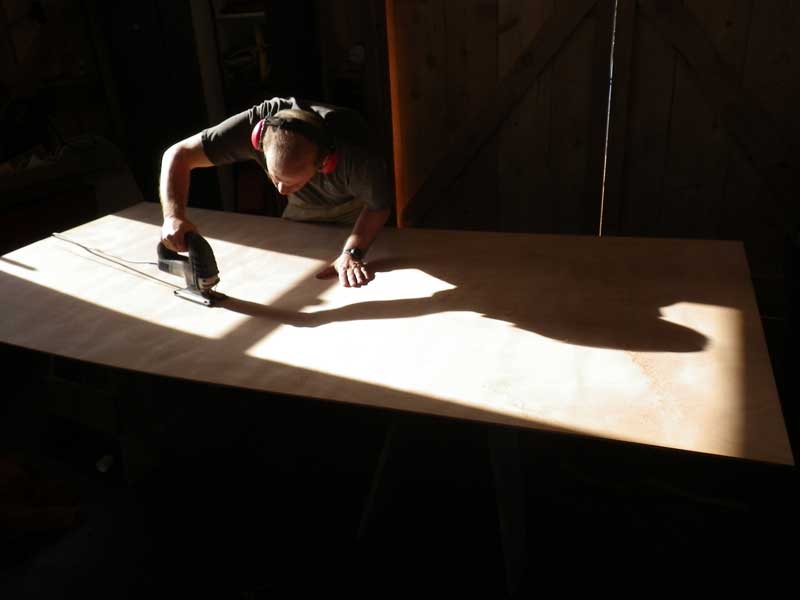
Once we were happy with the shape of the templates, we cut 'em out of real plywood. (this is almost an art shot, innut?)
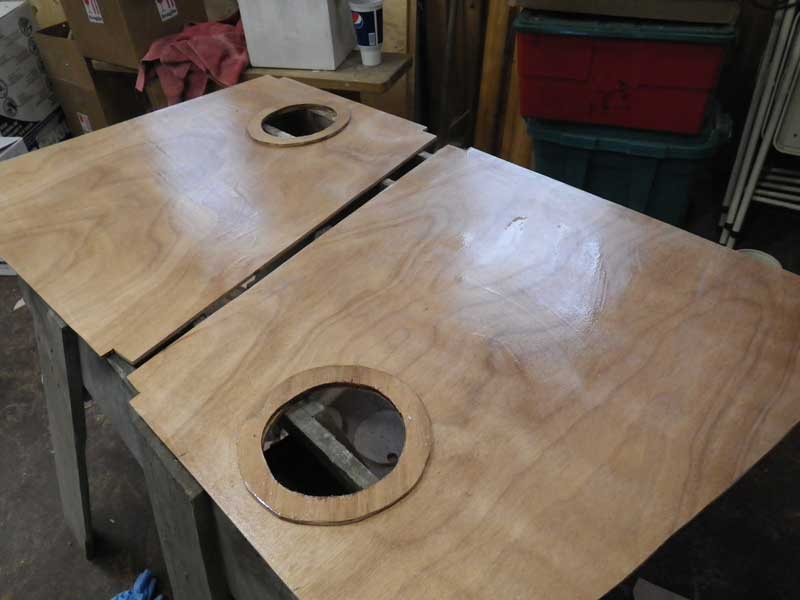
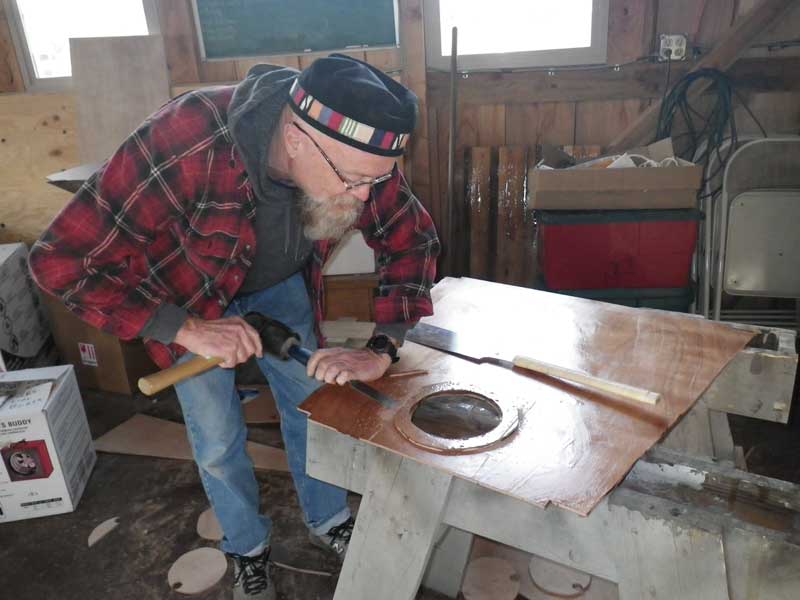
The forward and aft seats are airboxes - hermetically sealed. I am a firm believer in the concept that water gets everywhere, so every enclosed space must have an inspection port. We are using 1/4 turn hatches from Duckworks.
Because we use 1/4" plywood, there isn't much for the screws to bite into when you attach the hatches, so we made backing plates. There are lots of ways to do backing plates, but we are making racing rowboats, so we went with a minimalist approach. Installing hatches can be tricky - you can easily warp the hatch making it so the lid won't come out. Bed the plate in caulk (paintable caulk) and - with the lid installed - screw it down just tight enough to hold. Don't over tighten or you'll warp the plate.
Curt performed some fine-fitting on the plate-backer.
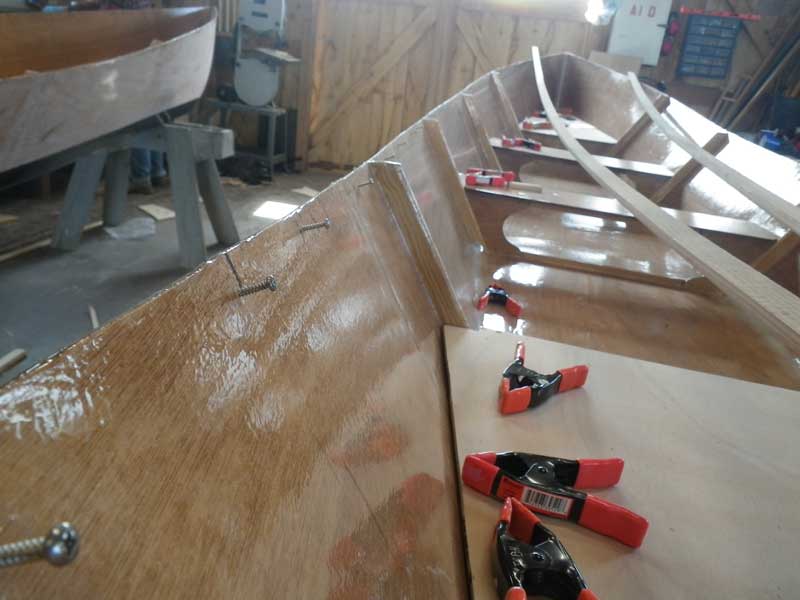
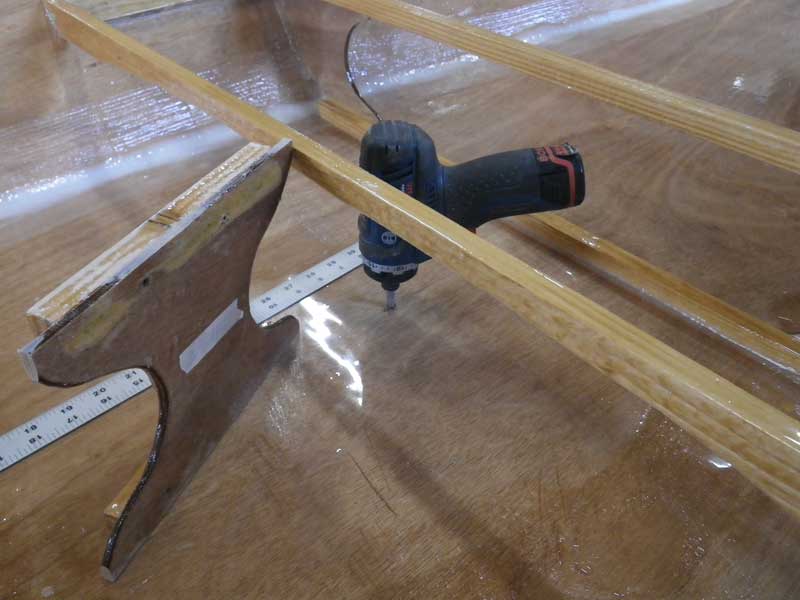
Next was the gunnels: 18' long 1x2s are damn wobbly - this is at least a 2 man job. Also, prepare as much as possible - like drilling pilot holes, setting your screws, and having your clamps ready. We were going with thickened epoxy on this - trying to fill any potential gaps.
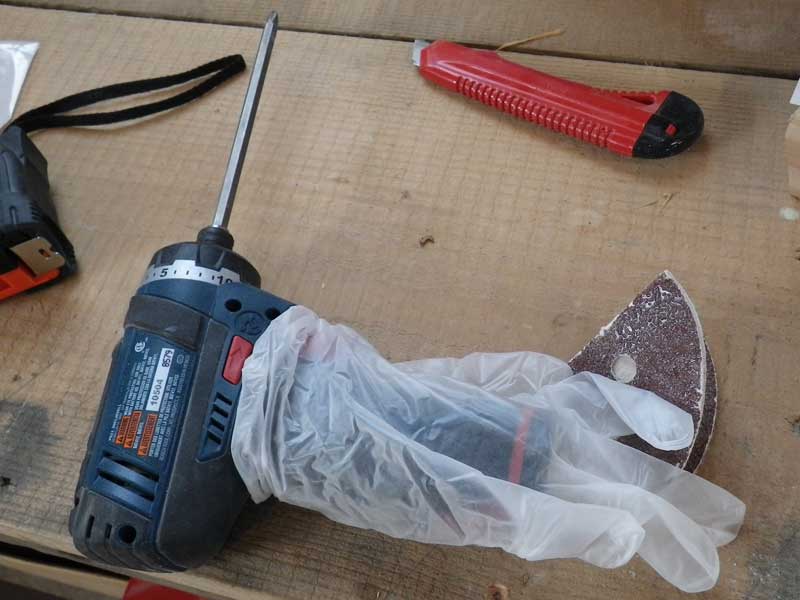
My attempt at trying to protect the drill from epoxy. The "right" way to do this is to have one person dedicated to just driving the screws. He doesn't touch anything but the driver or bare wood. HA! Like that's ever gonna happen.
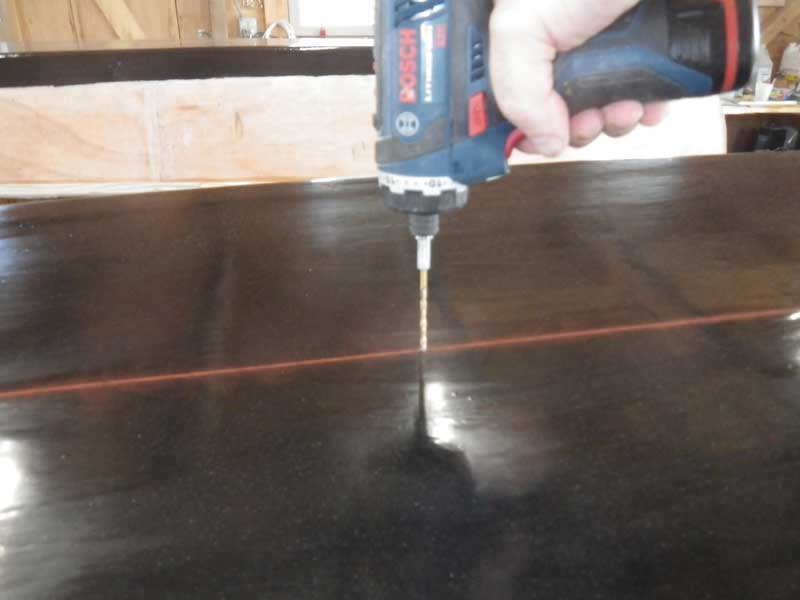
Once the gunnels were on, it was time to start figuring out the keels. We flipped the boats, snapped a line down the center of the hull and started drilling pilot holes.
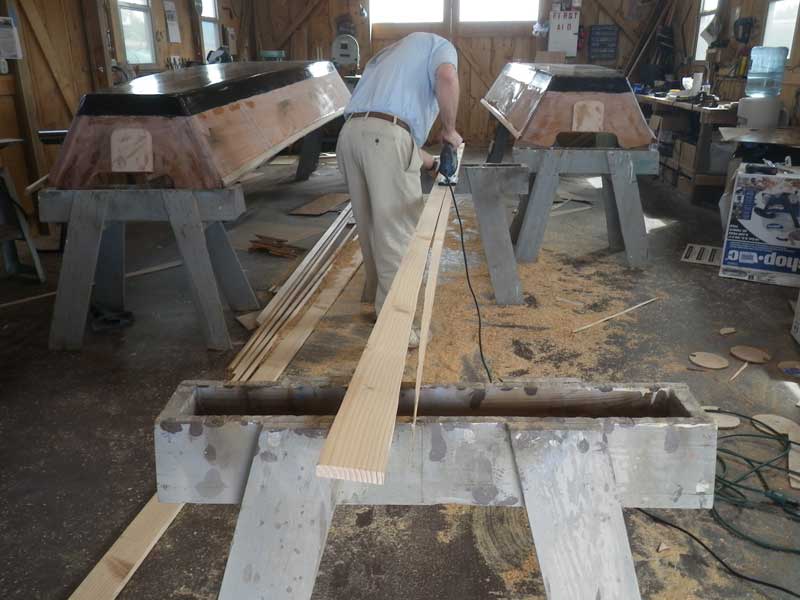
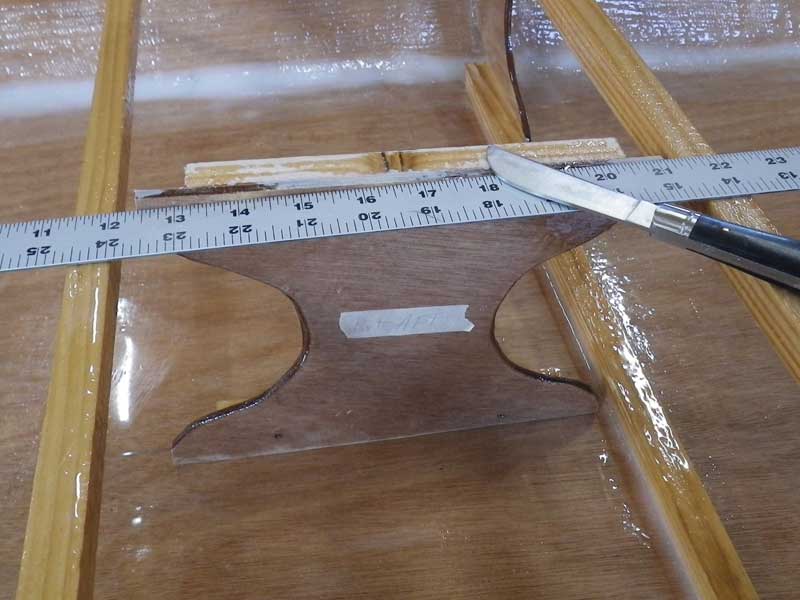
I dunno about keels. I looked at the plans and made my best guess. We are using a piece of rough lumber, 12' long, planed to 3/4" thick and slightly under 8" wide. I ripped it into two pieces slightly less than 3 7/8" wide to get the keels for both boats. We placed the blank on the hull and leveled it out, then more or less secured it.
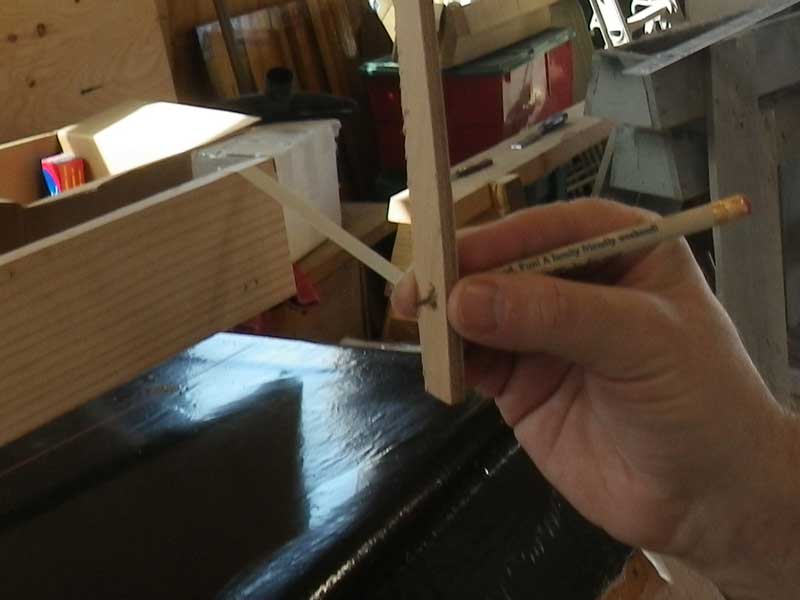
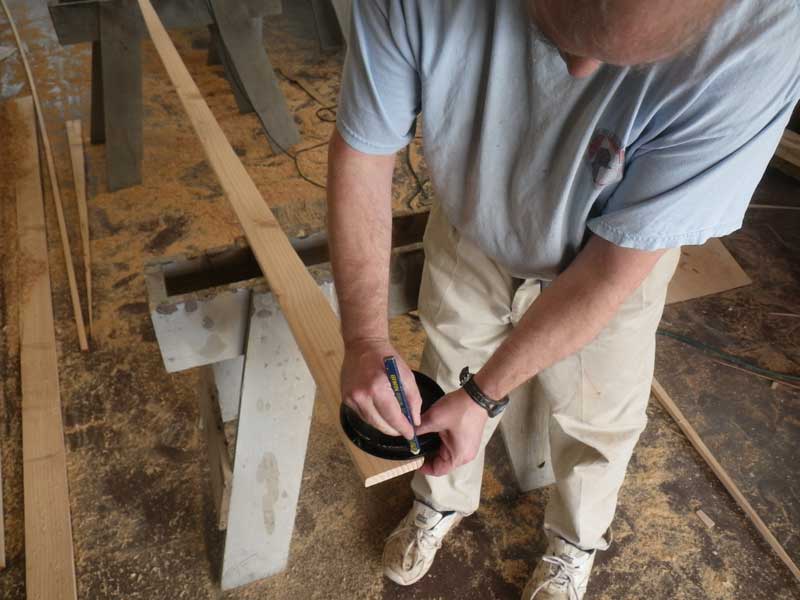
I made a gauge to keep my line constant. Starting at the aft end, I ran the gauge along the hull and traced it's shape against the blank.
It looked OK, so the next step was to cut it.
It fit pretty well, so we figured out a shape for what will be the bottom edge and made a nice, round back end to it. I'm using one of the hatch covers as a template.
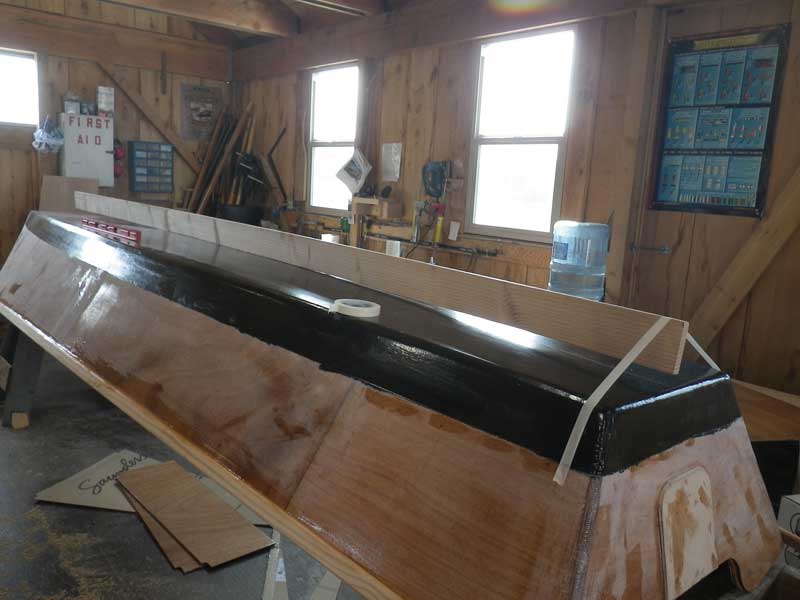
The last step of the day was to give everything - hull exteriors, seat tops, and keels - two coats of epoxy.
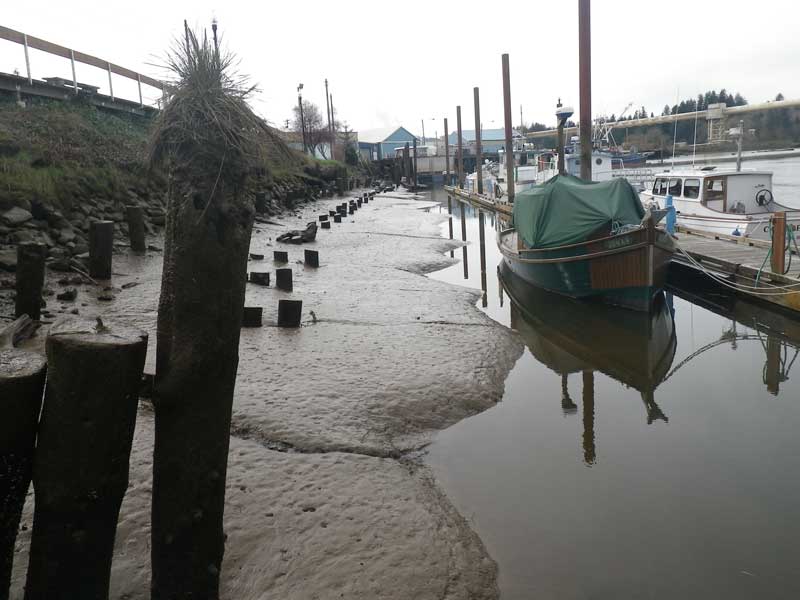
Low tide on Sunday morning. They dredge it out to 10' deep at max low tide next to the dock, but that's a pretty narrow piece of real estate.
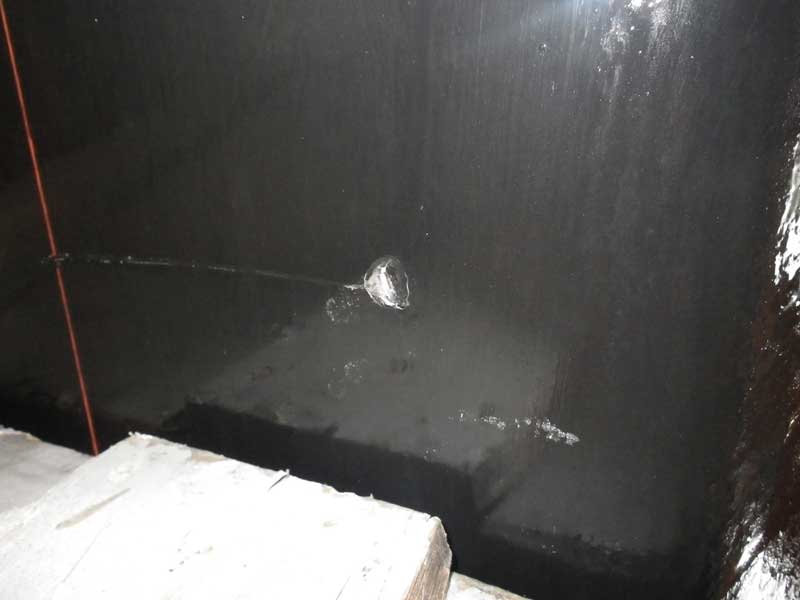
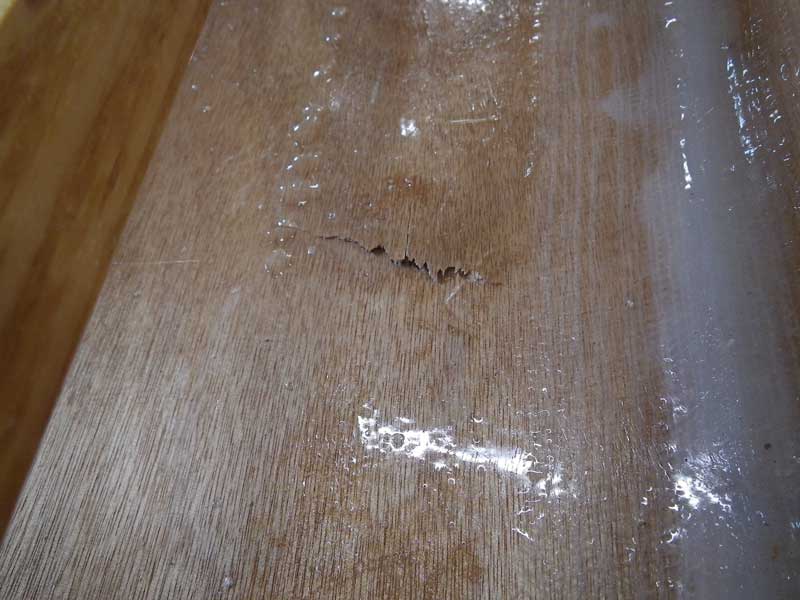
There is a strange phenomena in boat building: Boats gain a LOT of weight in the last few stages. I was alone and tried to turn one of the boats over - it got away from me and fell into a rod that projects from a piece of equipment, making a 1/2" hole in the bottom of the boat.
This is what it looked like on the inside. Rather and sit down and cry, like I wanted to do, I followed the advice of a wise man who said . . .
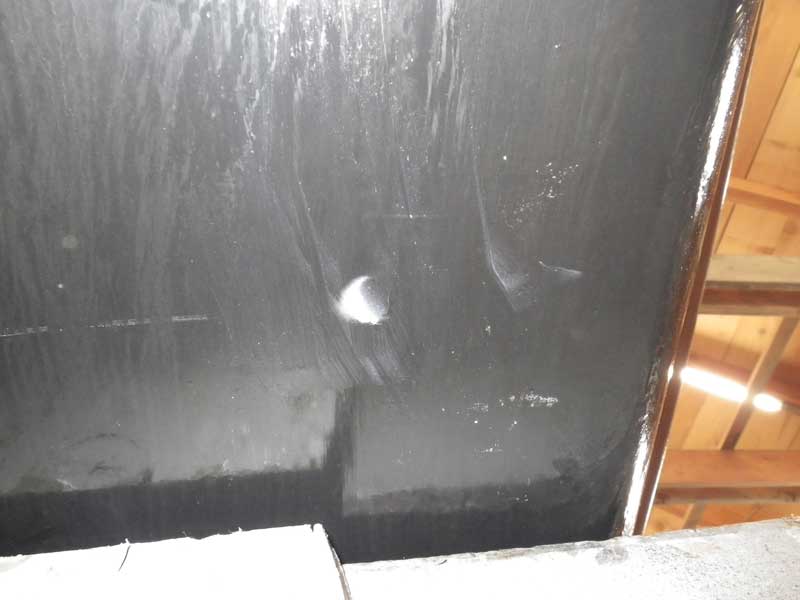
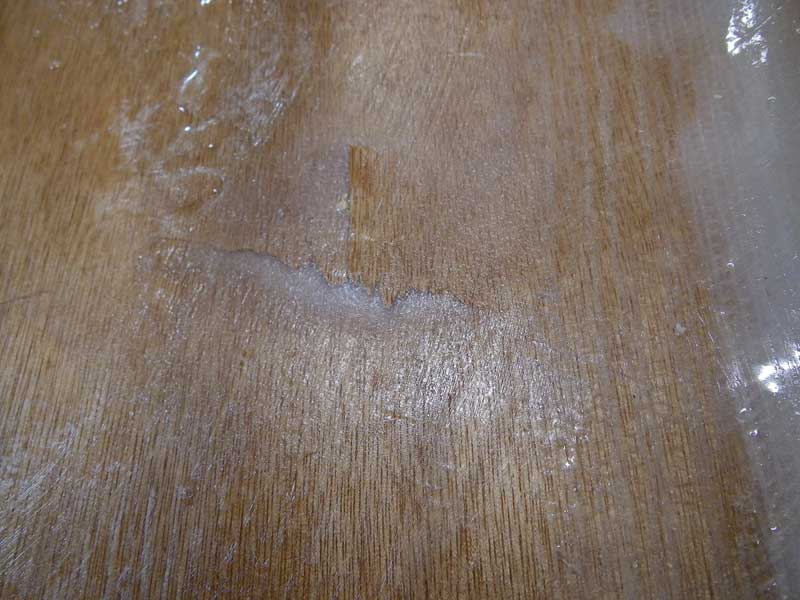
"There is no error in boat building that cannot be fixed by epoxy, filler, and fiberglass." So fill I did.
That's the inside view. The trick here is to really press the 'pox/filler mix into the hole to force it into the surrounding fibers. Some people also cover the hole with a layer of fiberglass.
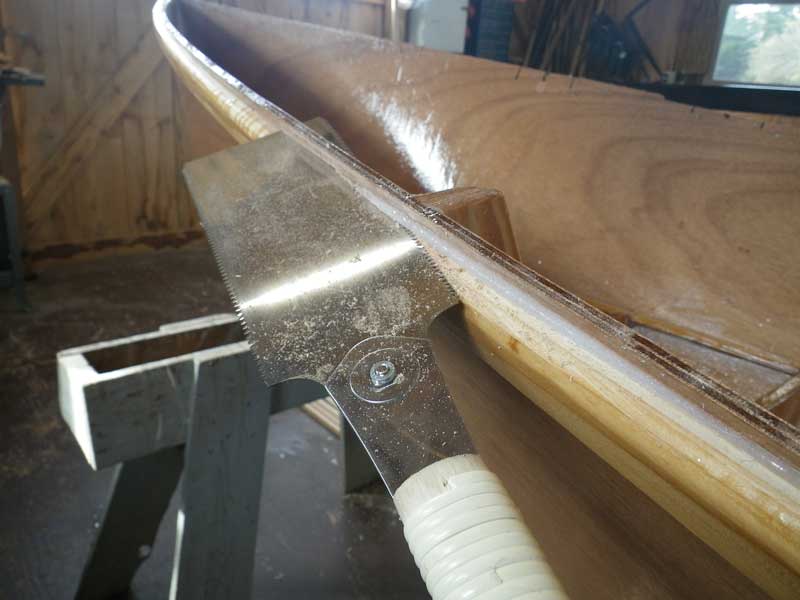
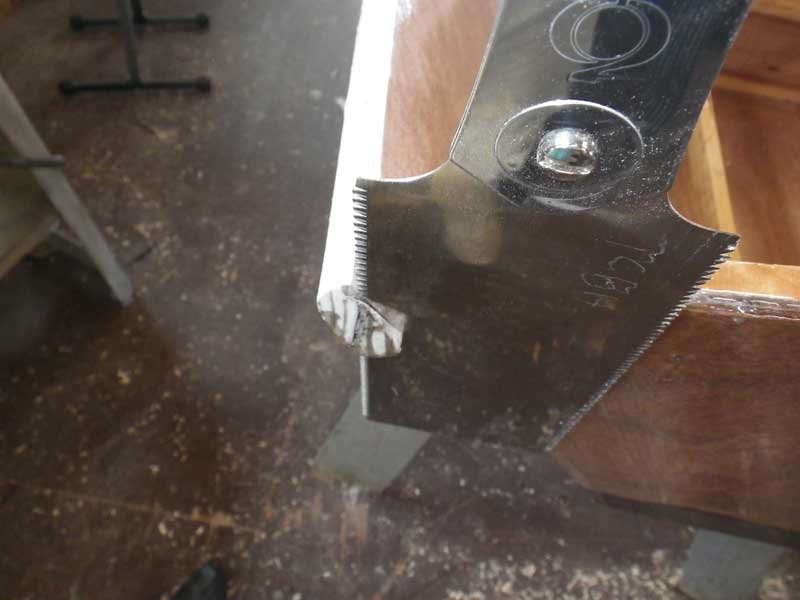
We couldn't get the gunnel to follow the sheer of the ply, so I used a pull saw to trim the excess. I could have used the power planer, but that can cause nasty tear-outs when it hits the frame tops. Pull saw was a little slower, but much neater. I finished off by taking the belt sander with a 40grit belt and sanding the top edge flat.
More holes in the bottom of the boat - this time for the seat posts.
Try as you might, things don't always come out flat and level. Straight edge across the seat cleats and scribe it with a sharp knife, then trim off the excess. I did not install the seat posts - it's a two-man job: One guy has to hold the post in place while the other drives the screw.
I trimmed off the excess gunnel. It is very important to leave yourself enough to cut when you are placing the gunnel, otherwise to have to go through a whole bunch of creative gyrations to make it look correct.
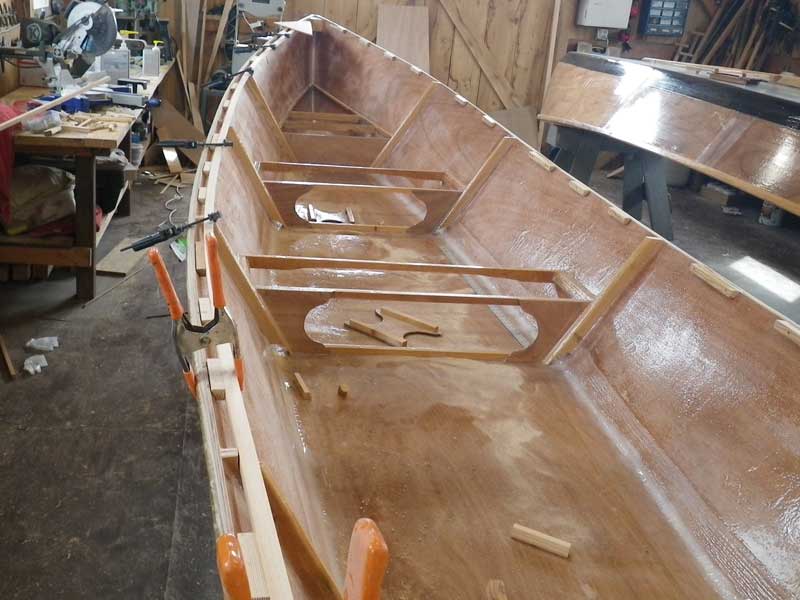
Gunnels on, now it's time for the inwales. Curt and I had figured out the size and placement of the spacers the day before. I cut a bunch, beveled them so they'd be flat across the top of the sheer, and glued/screwed 'em into place.
Man, there is a lot to doing the inwales. In the foreground, you can see how I notched the frames, and in the background, you can see the breasthook. The breasthook will fit inside the hull, flush with the sheer and into notches in the inwale. There are breasthooks on the transom as well. Look closely at the spacers just this side of the frame. See how they are longer than the others? That's where we'll put the sockets for the oarlocks.
Convention is to have the oarlocks anywhere from 9" to 12" aft of the rower's . . . um . . . crotch. (don't blame me - that's what they say.) As these are racing rowboats, we will have a socket for an oarlock at each place: 9", 10" 11" and 12". That should satisfy everyone, right (HA!) |