|
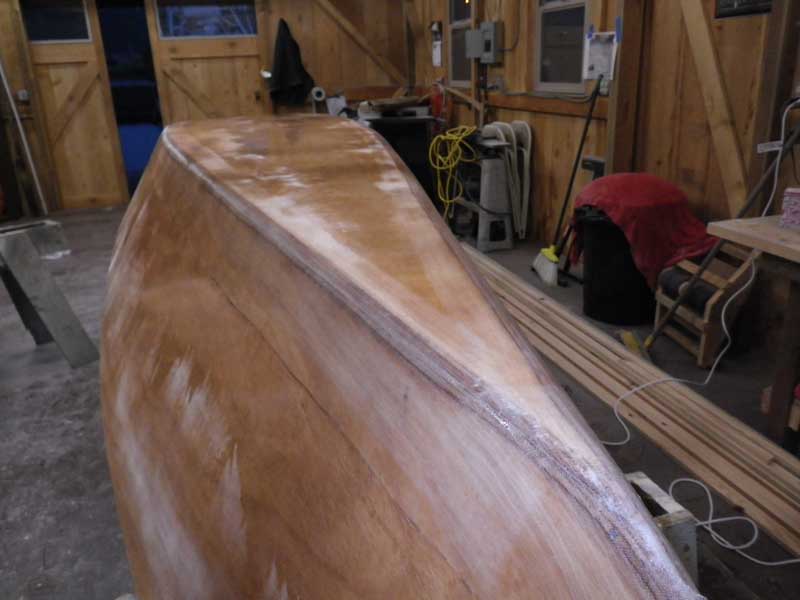
Mollyhawks, Week 6 When we last saw the Mollyhawks, the bottoms had been 'glassed and they'd received their second coat of epoxy.
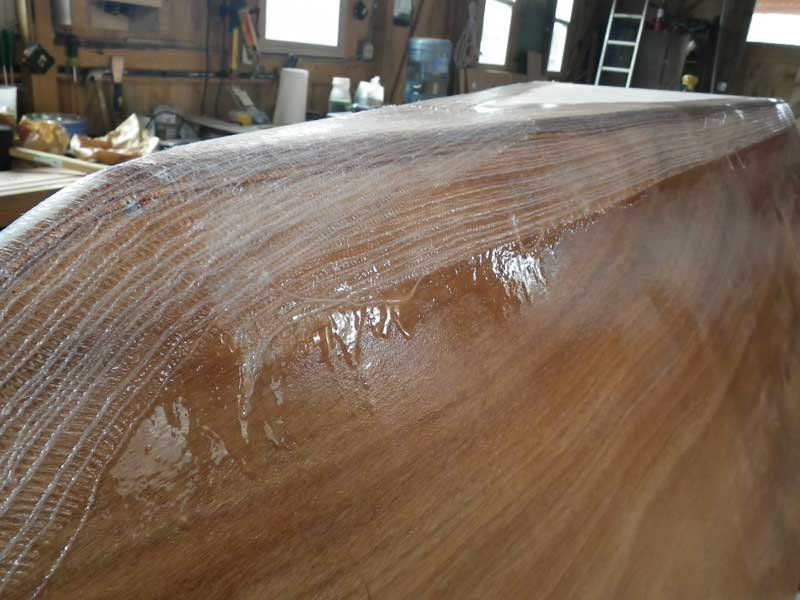
I like that 6" wide, 12 ounce biaxial tape from Duckworks. It lays down very nicely. As you can see, we had a few runs - no problem . . .
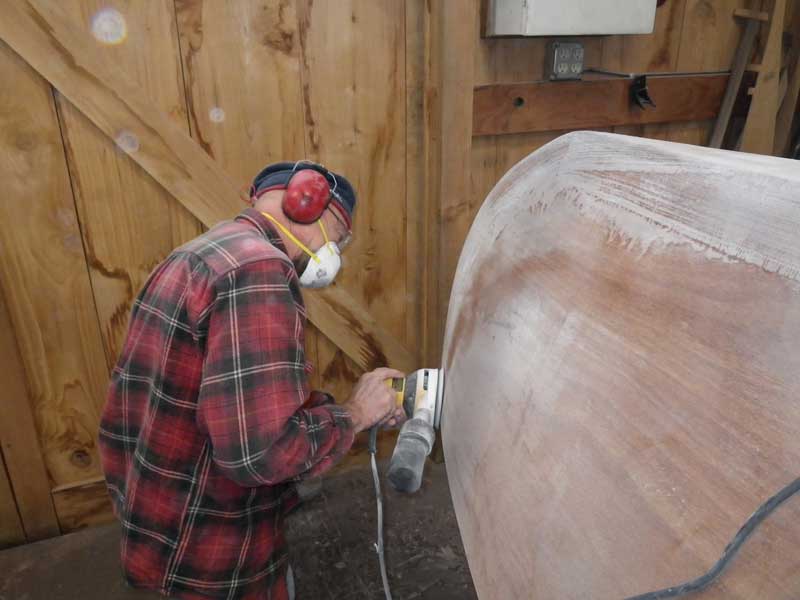
. . . that's what 40 grit sandpaper is for.
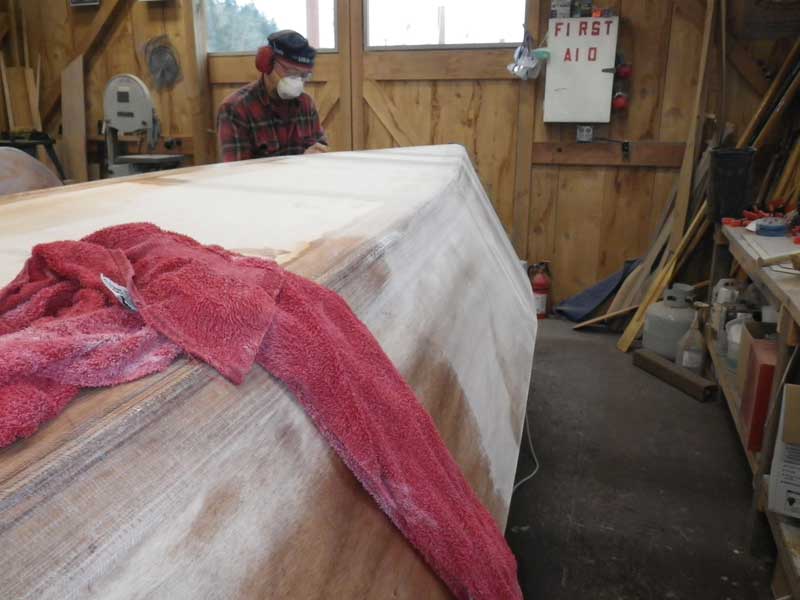
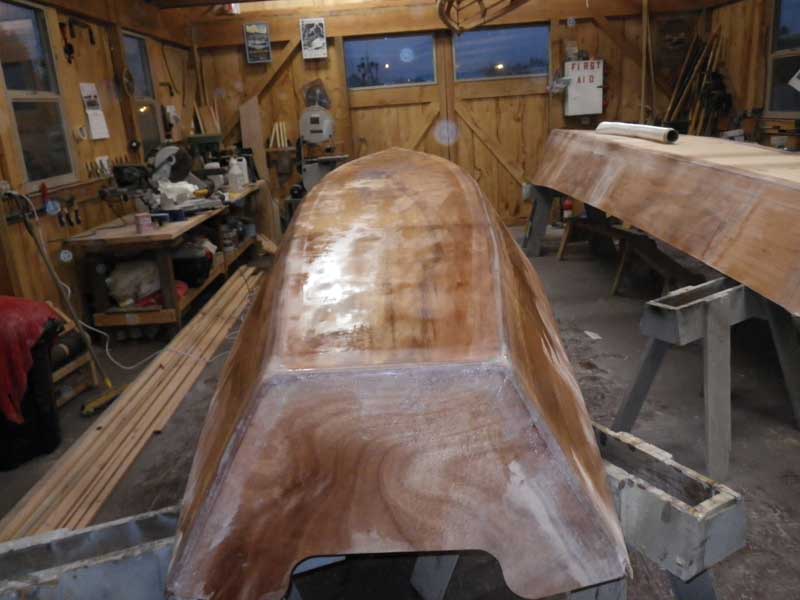
Once Curts and I finished the sanding, we gave the boats a quick wipe down with a damp rag, . . .
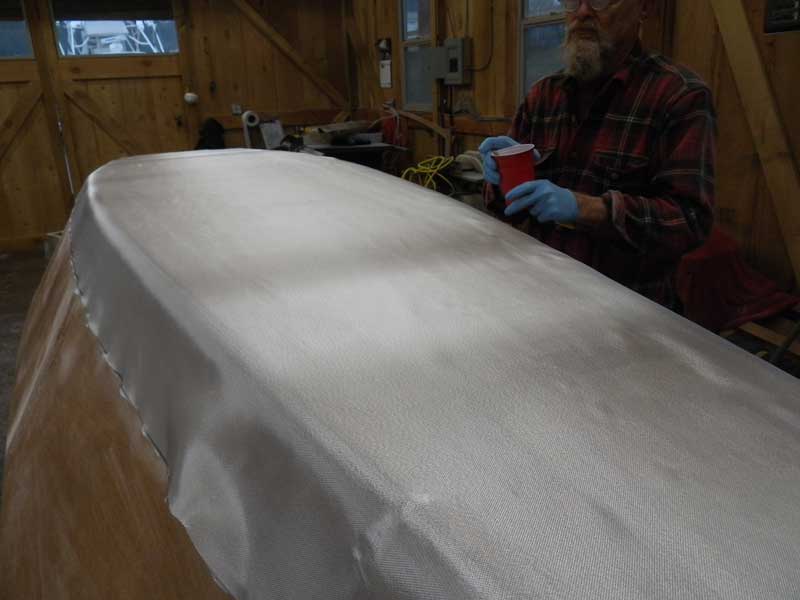
. . . and laid down some of Duckwork's 3.25 ounce fiberglass cloth over the bottom. This stuff is REALLY nice and I can't recommend it enough. We cut the cloth so it would end about an inch past the edge of the tape.
We spent the remainder of the evening gluing down the 'glass with Duckwork's Marinepoxy.Here's where I really fell in love with that 3.5oz cloth: it took the 'pox very well and laid flat against the hull. We didn't have to cut darts anywhere - it was very flexible. I can't sing the praises of Duckwork's 3.25 ounce fiberglass cloth loudly enough.
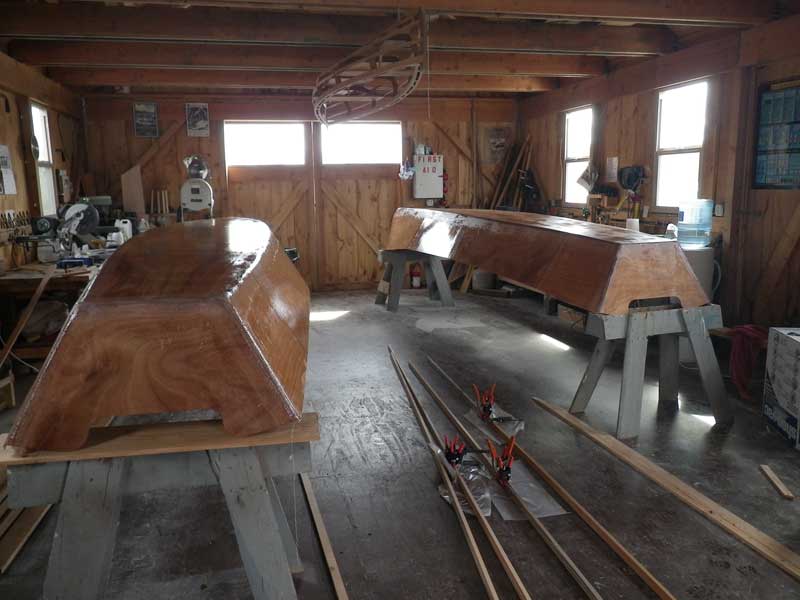
At the end of Friday's session, Curt and I had the bottom of one boat covered with fiberglass and the other boat sanded out.
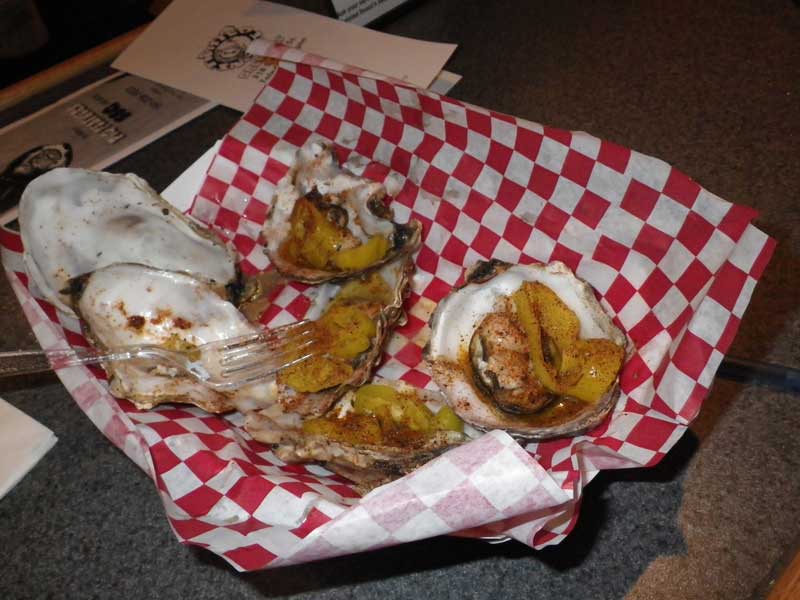
The it was "Across the street to Pig Feathers" - actually the Twisted Snout - for a beer and some oysters. I have eaten oysters in the past and am not really a fan (they usually have the flavor and consistency of snot) but these grilled and Cajun-spiced babies were FANTASTIC. Truly the BEST oysters I have ever eaten.
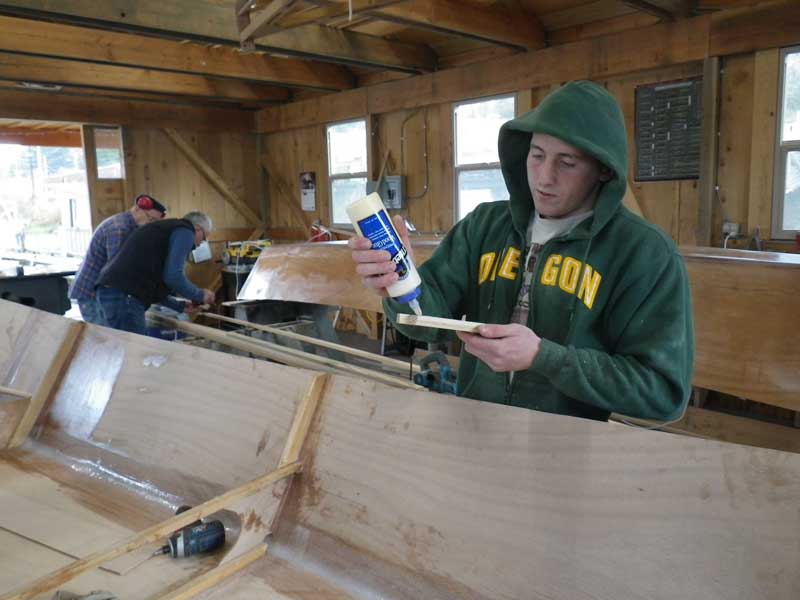
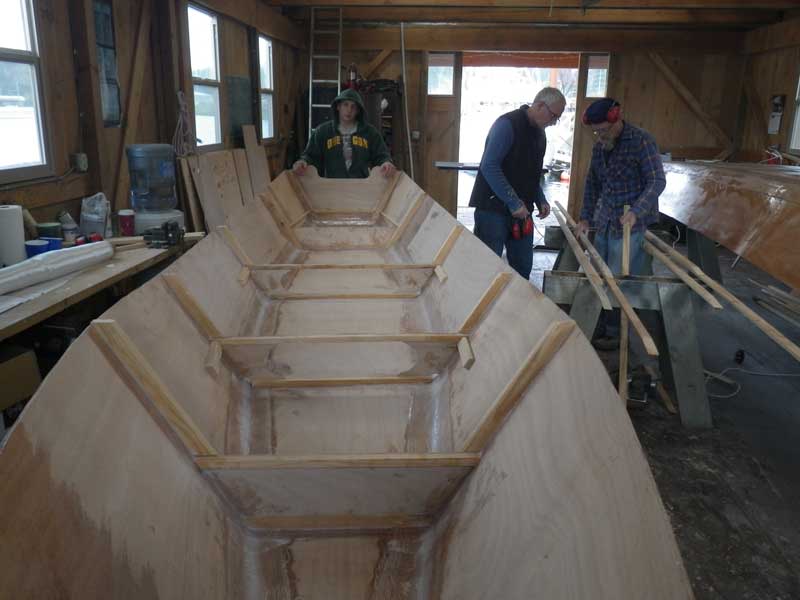
The next morning was a two-stage process. We had a lot of milling to do and we didn't want to get sawdust stuck to the epoxy. While Bud and Curt worked on milling the gunnels, Shawn and I got to work on the interior of one of the boats. We had to figure out how to make seat supports and such. Because the wood was (mostly) bare, we were using TiteBond III for the glue. On the other boat, it'll have the interior coated with epoxy before we get started on the interior cleating, so we'll use thickened epoxy for the glue there.
It doesn't look like much, but we actually accomplished quite a bit on the interior. What you can't see is the cleating for the aft and for'd air tanks.
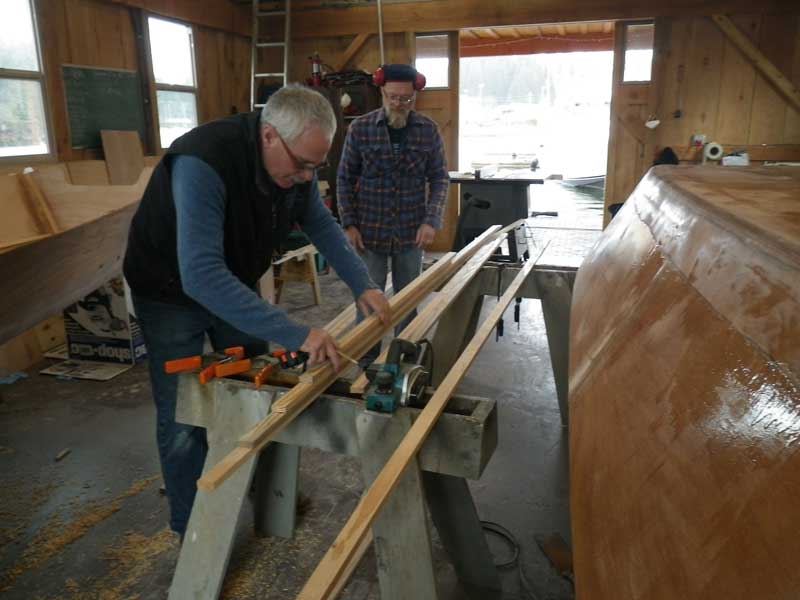
Meanwhile, Bud and Curt had ripped some 1x2s to make the gunnels and then cut out the knots - the wood needs to be (fairly) clear because the gunnels bend to match the curve of the hull, and knots tend to make weak spots, allowing the gunnel to break. Once the knots are cut out, the pieces need to be scarfed back together to make 18' long timbers. We use an 8:1 scarf.
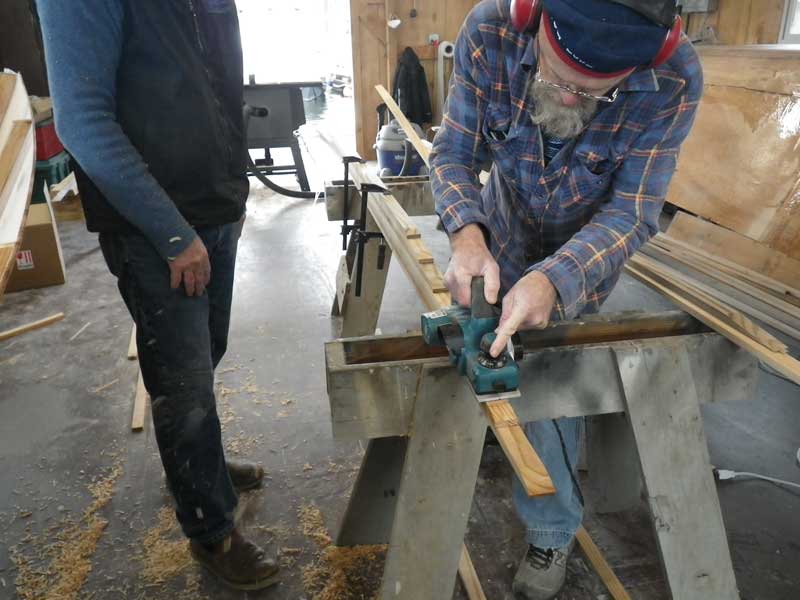
Stack up 3-4 pieces with scrap above and below, then do the rough cut with a power planer.
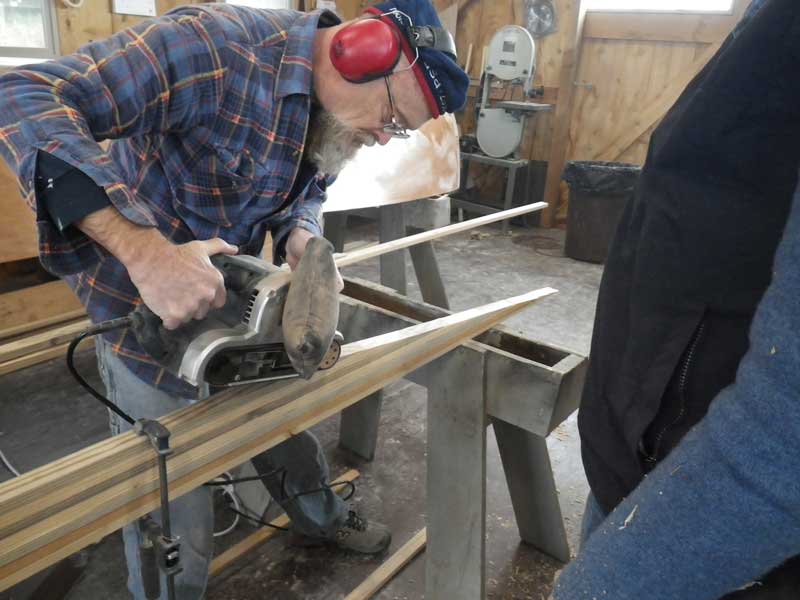
Next, smooth that surface with a belt sander. The final step is to glue and clamp the boards together, and you are done.
Once the milling was out of the way, we could cover the bottom of the second boat with 'glass and 'pox, then give both boats an nice coat of epoxy to seal the wood. That's it for this week. Next week, we do a lot more sanding, coat the interiors with epoxy, and give the bottoms their coating of epoxy mixed with graphite. |