|
Building a pair of Welsford Mollyhawks,
continued. Before we get into the building of the Mollyhawks, I thought I'd
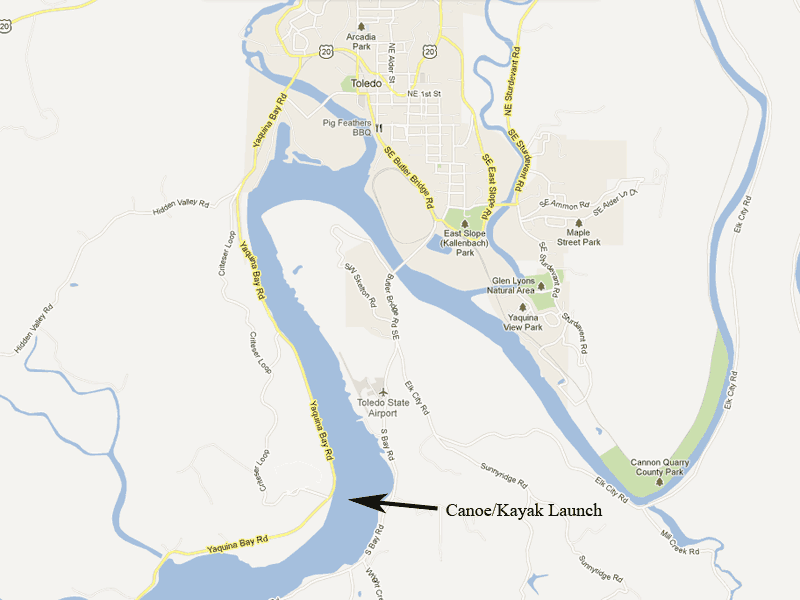
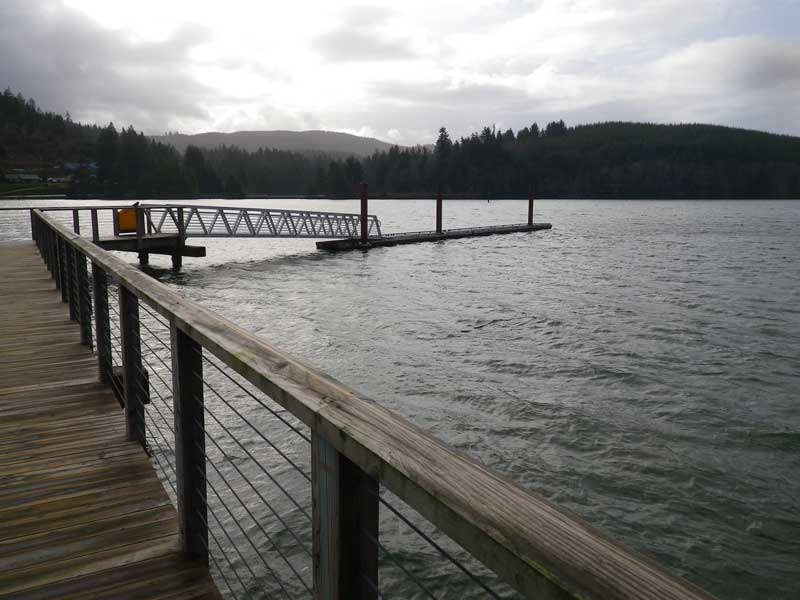
show the kayak/canoe launch the Port built on the Yaquina. There is a very nice dock with excellent gangway that is usable
in all weather - perfect for the Oregon Coast. They also have a very nice parking lot, picnic area, and vault toilet - all for use free of charge.
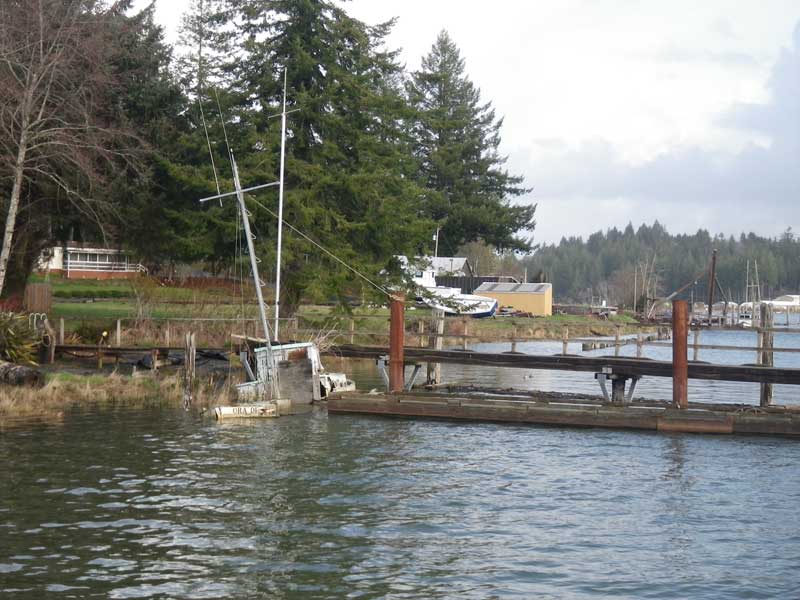
One of the things I like best about this ramp is the derelict boat
next door, the wreck of the Oro De (Mer, I'd guess, "Gold of
the Sea") Gives the spot a little flavor, don't you think? OK, On to the build. Last
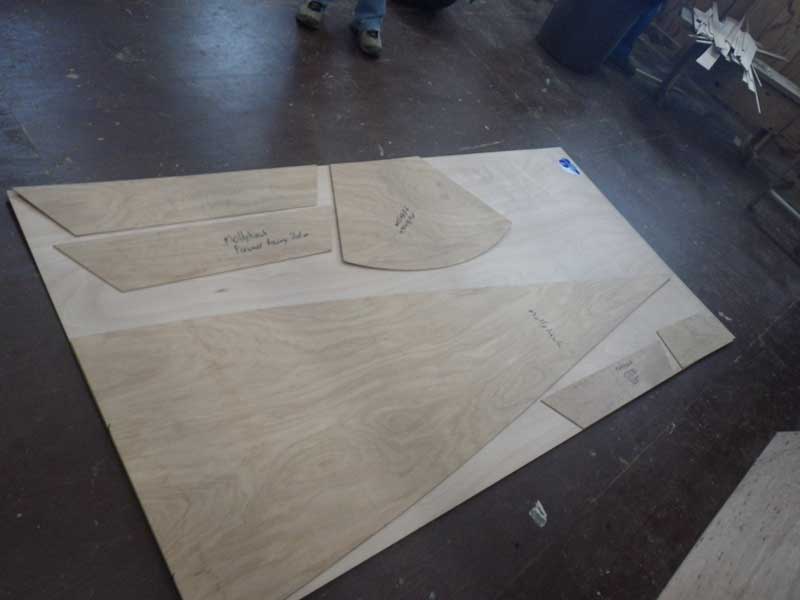
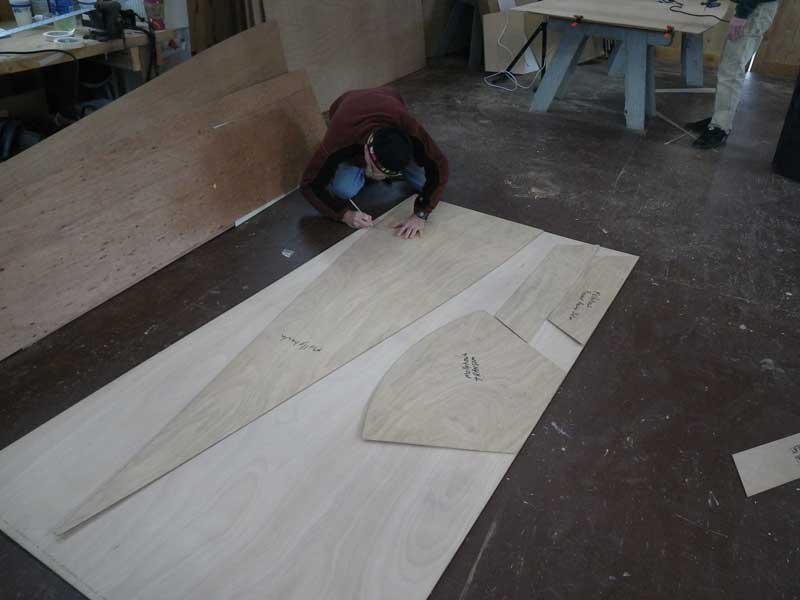
week saw us laying out the templates so we can fairly accurately
reproduce parts without having to go through the hassle of lofting
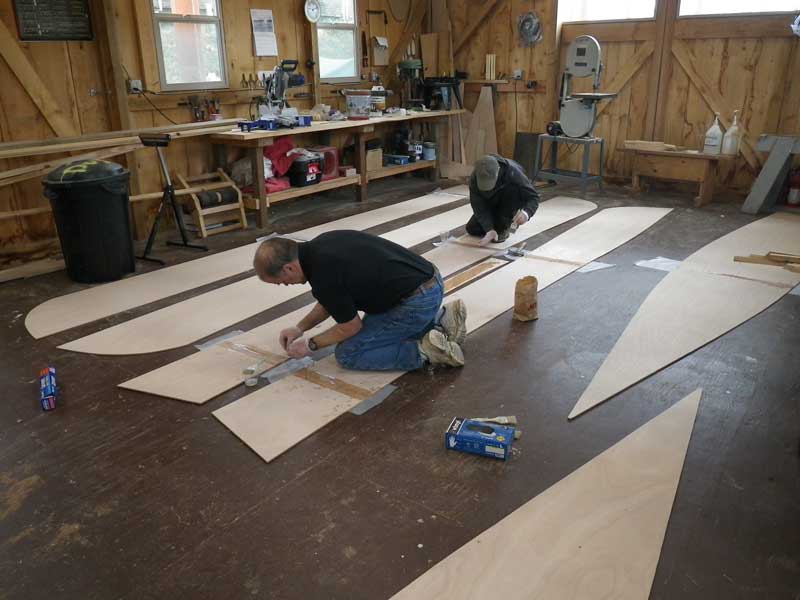
every boat. This week, we use those templates. After we cut these,
we realized I had misunderstood the plans. The rowing seats do not
sit on full-width bulkheads (the pieces in the upper left) but instead
sit up little gussets. This will save both wood and weight. The important thing about working with templates is aligning the
straight edge of the template to the edge of the plywood, then making
sure the template doesn't move while making nice, bold marks. Because
this is stitch and glue, we don't have to be exactly precise in
cutting out the parts. Rather than cut outside the line, then using
a block plane to shave down to the line, I advise using a sabersaw
(also called a jigsaw) and cutting the line. Concentrate on cutting
the line and the most you'll wander is ~ the width of the saw blade.
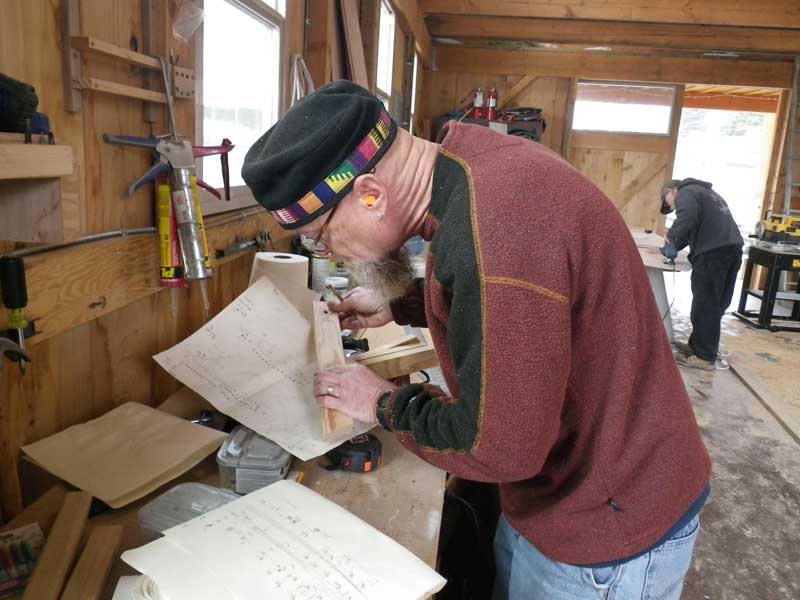
No muss, no fuss. While Sean cuts the pieces in there in the background, Curt moves
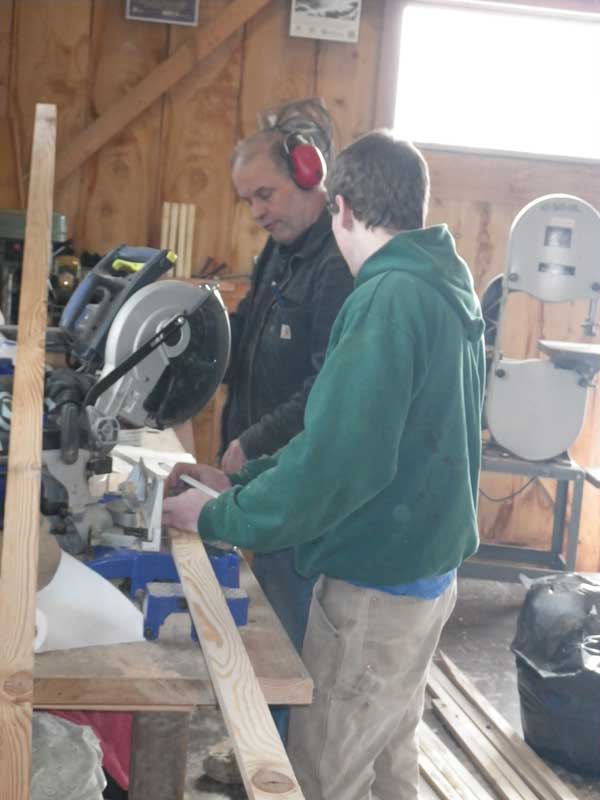
on to the next task: Figuring out the frames. Here I am going over the finer points of miter saw usage with Sean.
My safety lesson is basically "See the blade? Don't get your
fingers near it. We have a First Aid kit over there. Don't make
me use it. I don't even know where the hospital is around here."
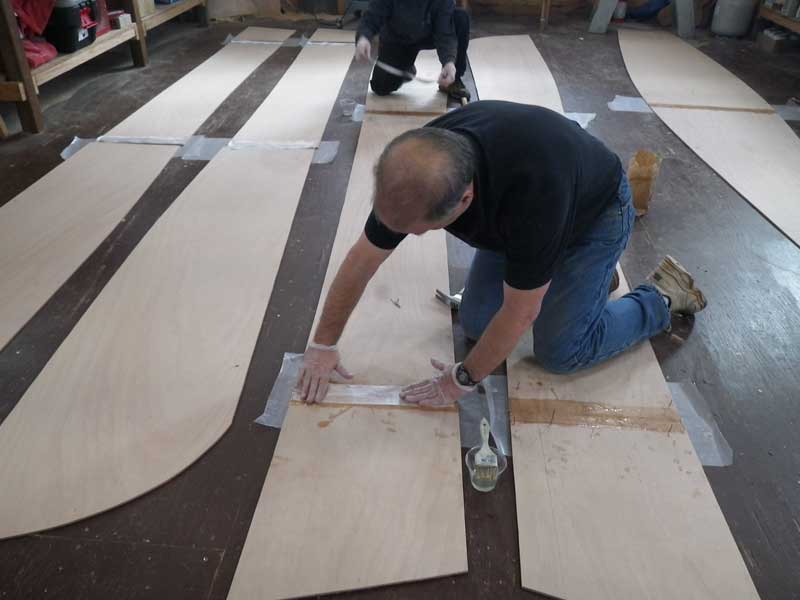
Our big goal for this weekend was getting the sides and bottoms
assembled. We are using Payson Fiberglass Butt-Joints instead of
regular butt-joints because . . . well, because I don't like regular
butt-joints, that's why. These are much smoother, and, I believe,
stronger. Rick and I did the actual epoxy and fiberglass work while Curt
mixed. We had a couple of scares when we were assembling pieces
upside down or backwards - remember people: Marking your pieces
top/bottom/aft/for'd/inside/outside is not a bad thing. When working
with other people, it is a very important thing. So that's it for this week. My Duckworks order for epoxy, fiberglass, and fillers is arriving Tuesday, and with luck, we'll be able to go 3D next weekend. Friday will be spent smoothing out these joints, gluing up the frames and working on the wales. Saturday we stitch and glue. |