How (not) to Skin a Chuckanut
Previously, we've seen how (not) to prepare for building and how (not) to assemble a Chuckanut 15. This essay is of our first ever attempt at skinning one.
We are using 8oz polyester cloth purchased from Dyson, Baidarka, and Company in Bellingham. They are the recommended source for this type of thing.

The Boathouse is getting busy. (l-r) Rick is laying out the build forms for a Glouchester Light Dory that was commissioned by a passerby while John works on the Chuckanut. Michael is helping Rick, but behind him, you can see Jim's back while Charlie supervises both projects.

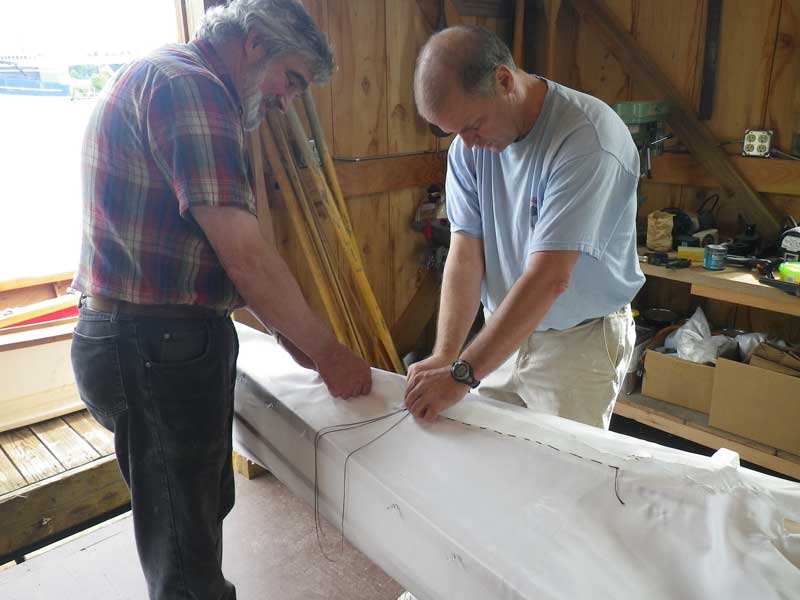
We started with the boat upside down and Jim and John laid out the cloth. I'd cut it to 16' 3" long, which worked, but I'd have been more comfortable with 16' 6".
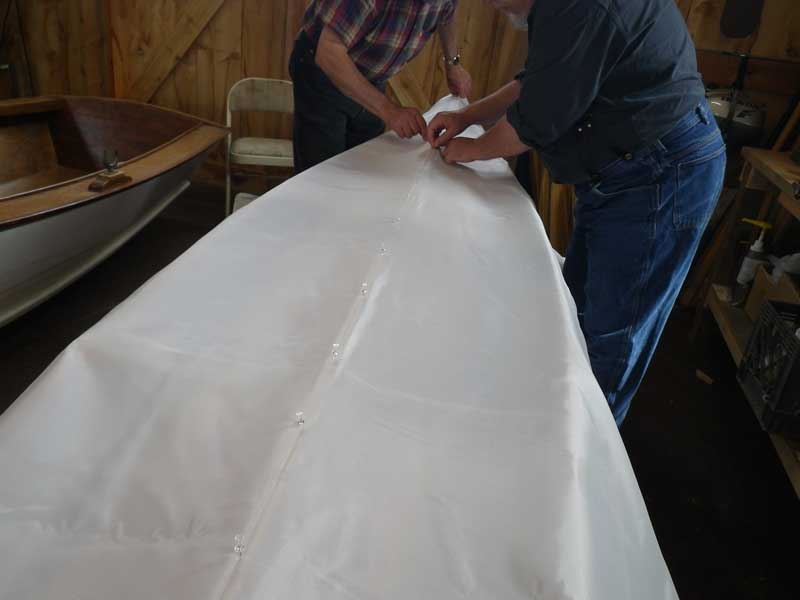
Once we laid out the cloth, we pulled on it - lengthwise - as hard as we could, then ran push pins down the keel to hold the cloth in place (it is pretty slippery.)
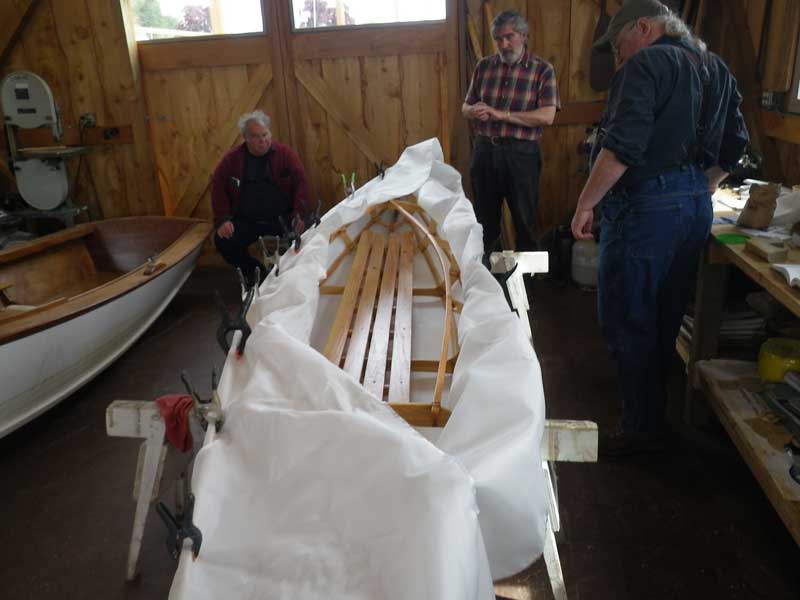
We rolled her over and began pulling the cloth tight - start in the middle and work towards the ends, clamp as you go.
You aren't really trying to stretch the cloth, just work it as smooth as you can. Again, we use push pins to temporarily hold it in place.
We pulled the cloth together over the bow, pinched it between a couple 1.5" wide battens, and sliced off the excess. I'd purchased a crappy little soldering iron with a knife attachment to do the slicing, and it didn't work with a hoot. John ended up using his Swiss Army knife.
We then put a running stitch down the center of the for and aft decks - leaving the cockpit to hang loose. THIS IS WRONG. Do the cockpit first, then work to the ends.
FIRST do the cockpit, THEN do the running stitch down the center of the for and aft decks, and finish with a running stitch down the bow and stern stems. You need a lot of thread to do this all in one run - it might be easier to work with one fathom lengths of thread and just live with the knots.

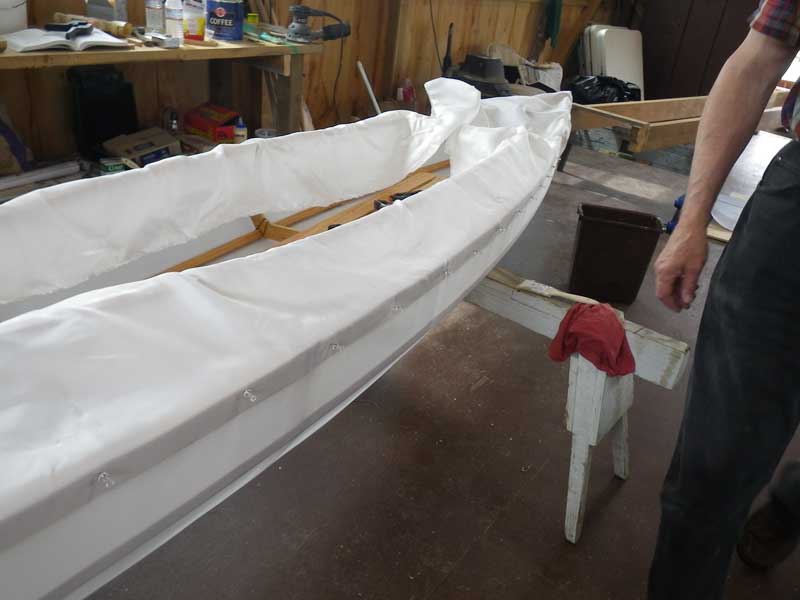
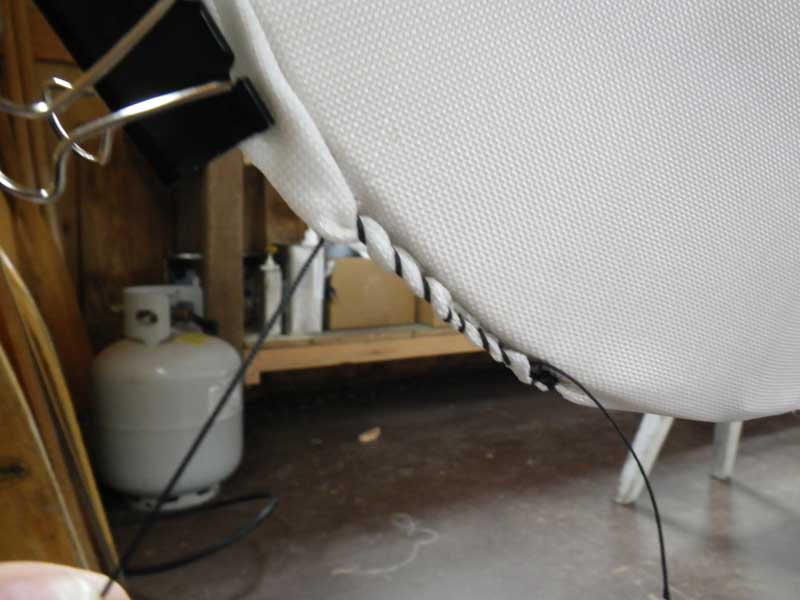
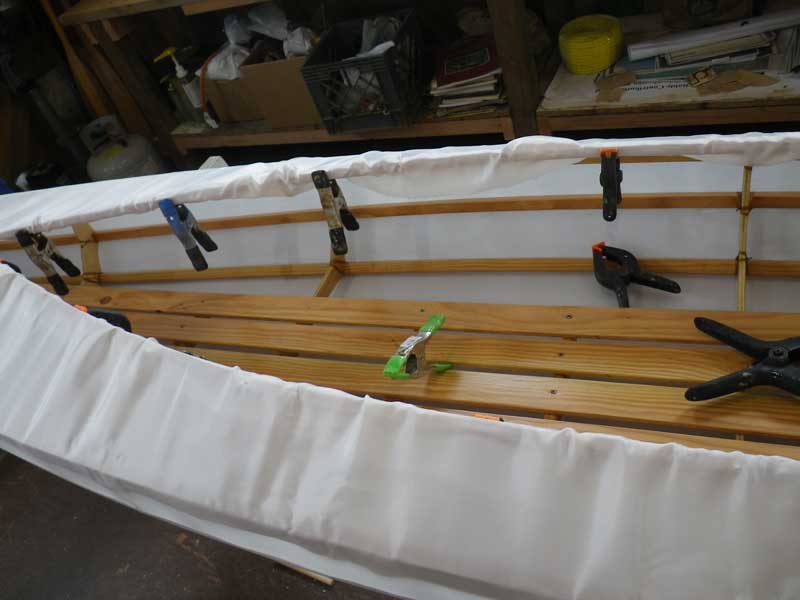
With the running stitch in place, I needed to take care of the excess. I rolled the cloth as tightly as I could and held it in place with these medium-sized binder clips. They worked pretty well.
And, again, I got to working the wrong way 'round. I should have started my whip-stitch at the cockpit and run it out, towards the end, rather than start at the end and go to the center. Remember: START IN THE MIDDLE AND WORK OUT.
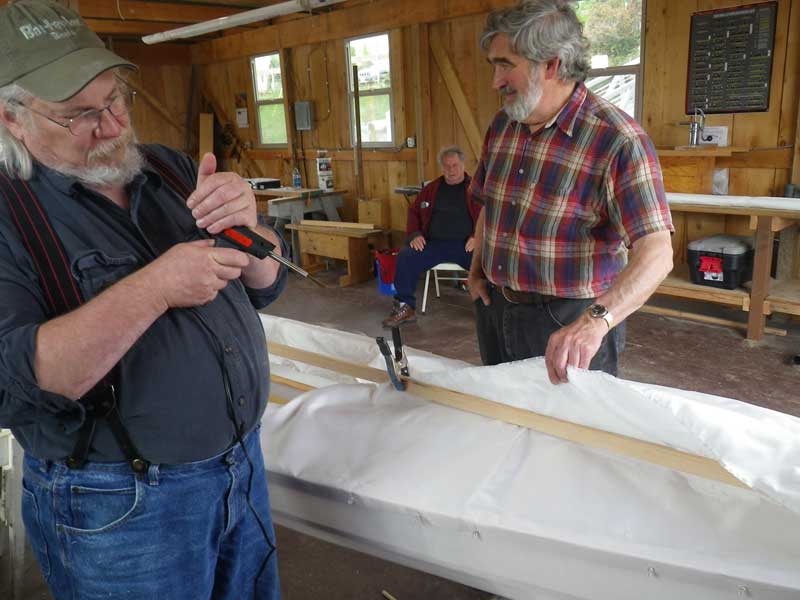
Curt practices his whip-stitching on the aft deck.
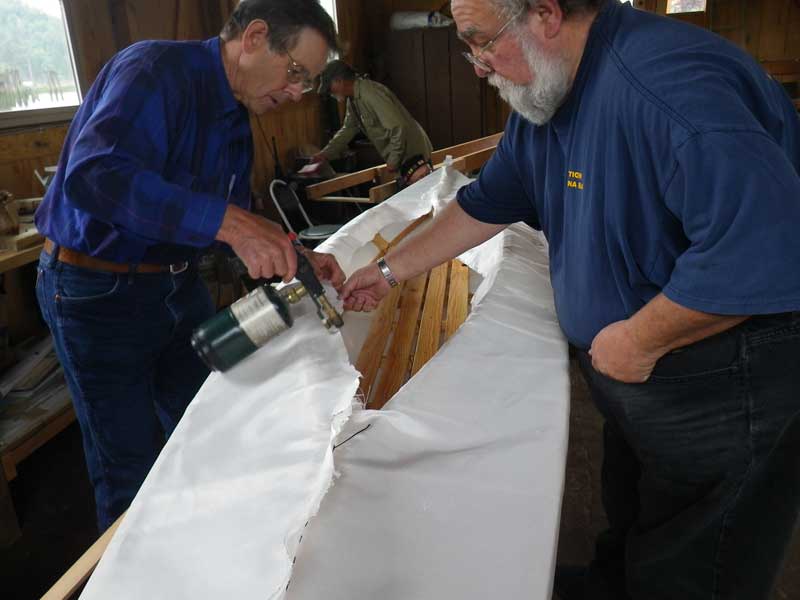
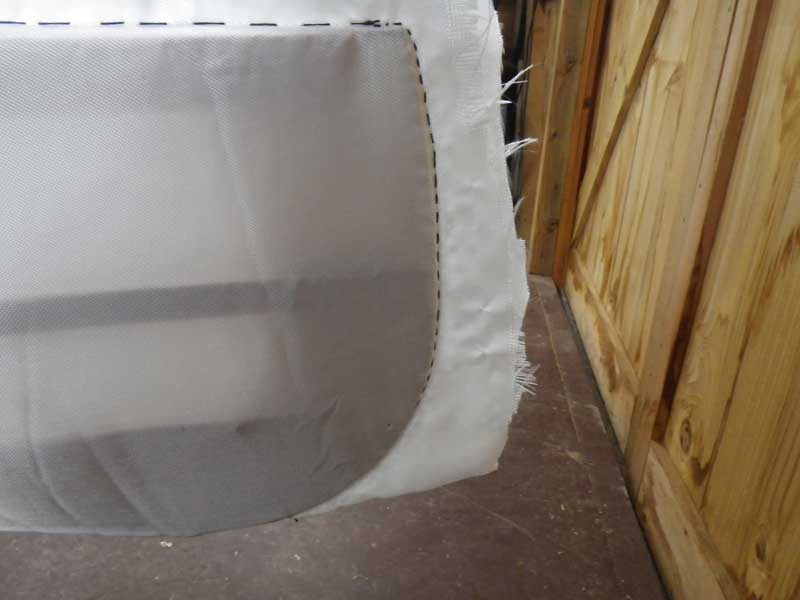
8oz polyester is a very loose weave cloth and the edges fray something fierce. If you have a heated knife or fabric cutter, the edges will seal as you go. If using a Swiss Army knife, you need to apply a flame after the fact. Here Hal and Frank are carefully using a blowtorch. Poly will burn through in an instant - open flame is not recommended for sealing.
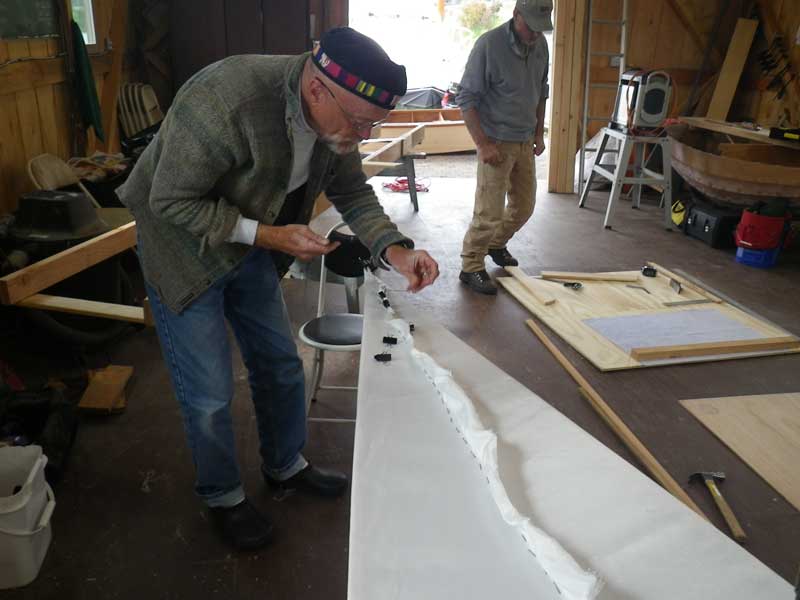
And here's the problem with working from the ends to the middle - I have a bunch of cloth in the middle and no where to put it. The cloth is supposed to shrink when heated, but I don't think it can shrink this much. I'll have to tear out the stitching and start over.
START IN THE MIDDLE AND WORK OUT